


Absolutely, using a high-powered cleaning device can effectively eliminate those unpleasant marks caused by bodily fluids in your lavatory. My extensive experience in the cleaning equipment industry has shown me that, with the right technique and settings, these machines can tackle tough residues that traditional scrubbing often fails to address. However, it’s crucial to approach this task with caution to avoid any damage to the porcelain surface.
First, always adjust the nozzle to a wide spray pattern. Concentrated jets can chip or crack the ceramic, leading to costly repairs down the line. I once witnessed a colleague lose a job simply because he didn’t heed this advice. Starting at a distance of at least two feet and gradually moving closer as necessary can help ensure a thorough clean without risking harm to the fixture.

Additionally, pre-treating the area with an appropriate cleaner can enhance results. I often recommend a biodegradable solution designed for bathroom use. Allow it to sit for a few minutes before you initiate the wash cycle. This combination of pre-treatment and high-powered cleansing can yield impressive results, leaving your lavatory not only clean but also fresh and inviting.
Cleaning Effectiveness
Using a high-powered cleaning device on ceramic surfaces can seem like a quick solution for tackling stubborn marks. However, my experience has shown that this method isn’t always the best choice. The intensity of the water stream can cause more harm than good, potentially damaging the glaze and leading to more extensive cleaning issues.
Recommended Alternatives
For best results, I suggest using a combination of a gentle scrub brush and a suitable cleaning solution designed for bathroom fixtures. Products containing citric acid or baking soda work wonders on mineral deposits and discolouration. A methodical approach of applying the cleaner, letting it sit, and then scrubbing will yield far better outcomes without risking damage to your fixtures.
Maintenance Tips
Regular maintenance is key to preventing build-up. Incorporating a weekly cleaning routine can significantly diminish the need for intense scrubbing later. A simple wipe with a dedicated cleaner can keep your ceramic surfaces looking pristine, making occasional deep cleaning sessions less daunting.
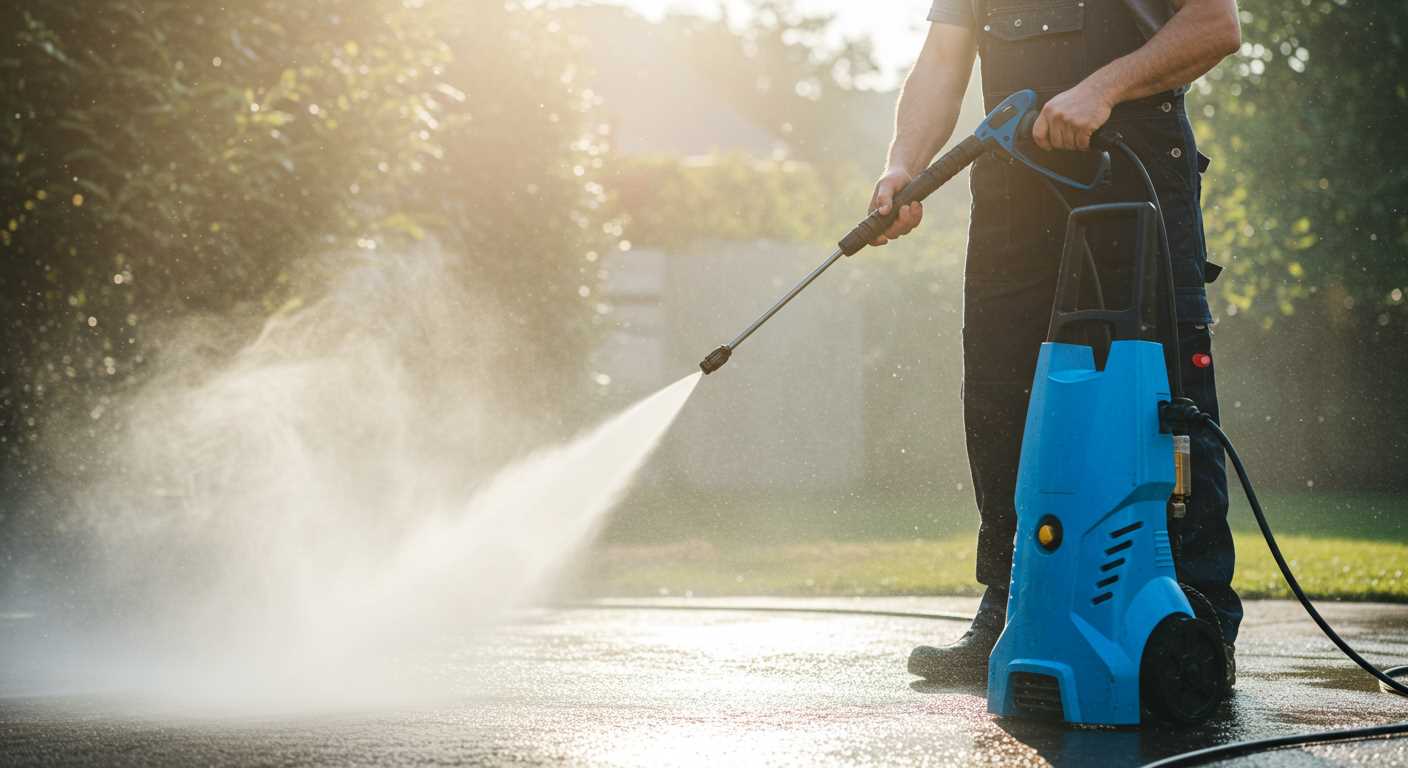
Understanding the Mechanics of High-Pressure Cleaning Devices
For those keen on achieving spotless surfaces, grasping the mechanics behind these cleaning units is key. The heart of these devices lies in their pump systems, which convert electrical or gasoline power into kinetic energy. This energy propels water through a narrow nozzle, increasing its velocity significantly. The result? A concentrated stream capable of dislodging even the most stubborn residues.
I’ve seen countless models, each with distinct features. The pressure generated can vary widely, measured in bar or PSI (pounds per square inch). For instance, lower settings around 1000-1500 PSI are suitable for delicate tasks, while more robust units pushing 3000 PSI are designed for heavy-duty cleaning. Choosing the right model hinges on the specific application; too much force can damage fragile surfaces.
Nozzle types play a crucial role as well. A fan nozzle disperses water over a broader area, ideal for rinsing large surfaces, whereas a zero-degree nozzle delivers a focused jet for tough spots. I recall a time when I misjudged the required nozzle for a delicate patio; the result was a chipped stone that taught me a valuable lesson about precision.
Beyond mechanics, the type of detergent used can enhance cleaning efficiency. Some units allow for detergent application through a siphon or an integrated tank. This can aid in breaking down grime and stains, making the process smoother. Always check compatibility before mixing chemicals, as some could damage the unit or surface.
Understanding the operating distance also contributes to effective cleaning. Maintaining an optimal distance from the surface ensures that the water hits with the right intensity without causing harm. I often recommend a start from about two feet away, adjusting as necessary based on the results observed.
Lastly, maintenance of these units cannot be overlooked. Regular checks on hoses, nozzles, and filters prolong their lifespan and enhance performance. I’ve encountered machines that seemed beyond repair simply due to neglect. A little care goes a long way in preserving functionality.
Types of Stains and Their Removal Challenges
Different blemishes possess unique characteristics, making them tricky to eliminate. Understanding these distinctions is crucial for selecting the right removal method.
Common Types of Bathroom Stains
- Mineral Deposits: Often appear as white or cloudy spots due to hard water. These require acidic solutions for effective removal.
- Mould and Mildew: Typically found in damp areas. They thrive on organic materials and need a biocide or bleach-based cleaner for eradication.
- Soap Scum: A combination of soap residue and minerals, it can build up over time. Alkaline cleaners work best to dissolve this type of deposit.
- Organic Discolouration: Stains from biological sources, such as food or waste, often require enzymatic cleaners to break down proteins effectively.
Challenges in Removal

Each type of blemish poses distinct challenges:
- Mineral Deposits: Their hardness can cause abrasion on surfaces if not treated gently.
- Mould and Mildew: They can spread quickly if not fully removed, requiring thorough scrubbing and possibly multiple applications of cleaning agents.
- Soap Scum: Its greasy texture can resist simple scrubbing, often needing stronger formulations.
- Organic Discolouration: The biological nature can lead to lingering odours if not dealt with properly, necessitating deeper sanitising methods.
Success in removing these blemishes often hinges on using the right approach tailored to the specific type of mark. A one-size-fits-all method rarely yields satisfactory results.
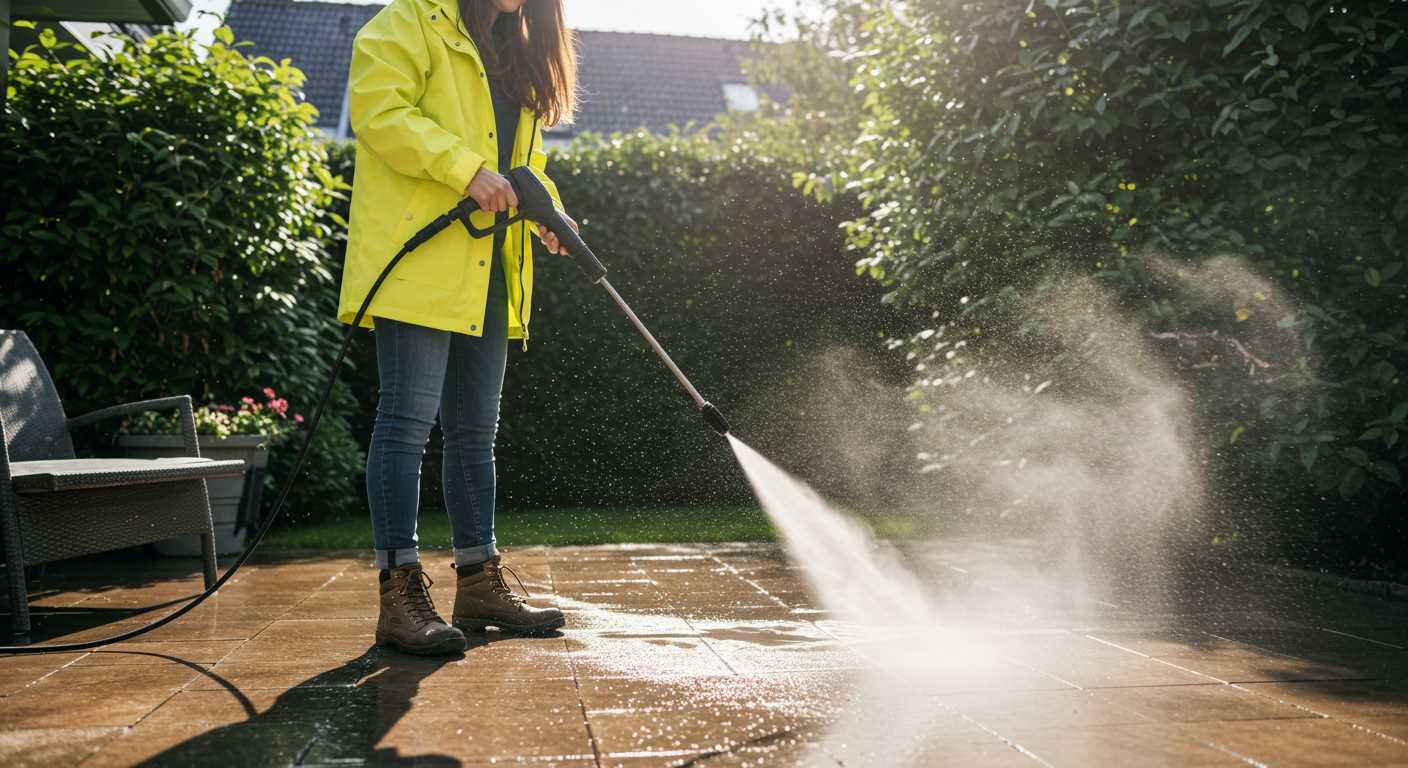
Is a Pressure Washer Safe for Toilet Use?
Using a high-powered cleaning device in a bathroom setting raises safety concerns. These machines operate at elevated pressures, which can lead to damage not only to the ceramic material but also to plumbing fixtures if mishandled. I’ve seen instances where the intense force caused cracks in toilets, resulting in costly repairs.
Potential Risks
When using this equipment, the likelihood of water spray ricocheting off surfaces is high. This can create a mess, splattering debris around the bathroom. It’s crucial to consider the surrounding areas, as the force can inadvertently splash contaminants back onto you. Additionally, if the device’s nozzle isn’t controlled properly, it can lead to unintentional damage to nearby fixtures or surfaces.
Recommendations for Safe Use
If you decide to proceed, ensure you maintain a safe distance and use the lowest pressure setting available. Always direct the nozzle away from sensitive areas and use protective gear, such as goggles and gloves, to shield yourself from any unintended splashes. For those curious about the merits of various cleaning devices, I recommend exploring how are digital cameras better than cell phones can offer insights into technology comparisons. This can provide perspective on choosing the right tools for your cleaning needs, whether for home or professional use.
Preparation Steps Before Using a Pressure Washer
Gather all necessary tools and materials before starting the cleaning process. You’ll need a suitable nozzle, safety goggles, and gloves. Ensure the area is free from any personal items and debris that could obstruct your work or be damaged during the process.
Check the unit’s manual for specific instructions regarding its use and maintenance. Familiarising yourself with the equipment will help avoid mishaps and ensure proper functioning. Adjust the water flow and pressure settings according to the task at hand, as this can significantly impact the cleaning efficiency.
Inspect the Area
Examine the toilet and surrounding area for cracks or damage. Avoid applying high-force water on compromised surfaces that may worsen the condition. If the seat or tank has significant wear, consider repairs before proceeding with cleaning.
Pre-Treating the Surface
Apply a suitable cleaning solution to the affected area prior to using the high-powered equipment. Allow it to sit for a short period to break down any organic matter or build-up. This pre-treatment can enhance the cleaning outcome and reduce the time spent on the task.
Recommended Pressure Settings for Toilet Cleaning
For optimal results, set your device to a range of 1500 to 2000 PSI. This pressure level strikes a balance between effective dirt removal and safety for ceramic surfaces, ensuring no risk of damage while still being powerful enough to tackle stubborn residues.
When working on ceramic fixtures, begin with the lowest setting and gradually increase. I recall a time when I hastily used the maximum force without assessing the surface, leading to minor chipping. A steady approach avoids such mishaps.
Utilising a fan nozzle attachment can broaden the spray pattern and reduce concentrated force, minimising the risk of harm. I often opt for a 25-degree nozzle for general cleaning tasks; it provides adequate coverage without excessive pressure on delicate areas.
Distance plays a significant role as well. Keep the nozzle at least 12 to 18 inches away from the surface. This distance allows for effective cleaning without risking damage. During my early days, I learned the hard way that getting too close results in unnecessary wear and tear.
Always test a small, inconspicuous area before committing to a full clean. This practice lets you gauge the impact and adjust the settings as needed. Every situation is unique, and what works in one instance may not be suitable in another.
Finally, remember that technique matters. Maintain a steady, sweeping motion while working, rather than focusing on one spot for too long. This approach not only enhances effectiveness but also prevents potential surface damage. By following these guidelines, you’ll achieve a thorough clean without compromising the integrity of your fixtures.
Alternative Methods for Tackling Urine Stains
For those persistent marks on ceramic surfaces, there are several practical alternatives that can yield impressive results without resorting to high-powered cleaning devices.

- Baking Soda and Vinegar: This classic combination creates a natural reaction. Sprinkle baking soda on the affected area, then spray with vinegar. Let it fizz for a few minutes before scrubbing with a brush. Rinse thoroughly afterwards.
- Enzymatic Cleaners: These products contain enzymes that break down organic matter. Apply according to the manufacturer’s instructions for optimal results. They are often effective in eliminating odours as well.
- Hydrogen Peroxide: A solution of hydrogen peroxide can act as a mild bleach. Apply it directly to the stain, let it sit for about 30 minutes, then scrub and rinse. Always test on a small, inconspicuous area first.
- Commercial Stain Removers: There are many products specifically designed for tough marks on toilets. Check labels for those that target biological stains. Follow application instructions precisely for the best effect.
- Dish Soap and Hot Water: Sometimes, a simple solution is all you need. Mix dish soap with hot water, apply to the area, scrub gently, and rinse. It’s a straightforward approach that can be surprisingly effective.
Always remember to wear gloves and ensure proper ventilation when using any cleaning agents. For a deep clean on surfaces like stone, consider exploring cleaning natural stone with a pressure washer. This might provide additional insights for those looking to tackle tougher challenges around the home.
Post-Cleaning Maintenance for Toilets
After tackling the cleaning process, focus on maintaining the toilet to ensure long-term cleanliness and hygiene. Regular upkeep prevents the build-up of grime and makes future cleaning easier. Here are some practical tips based on my experience.
Regular Cleaning Schedule
Establish a routine cleaning schedule. Aim for at least once a week. Use a dedicated toilet cleaner that can help combat limescale and mineral deposits. Keep a toilet brush handy for quick touch-ups, especially if you notice any discolouration appearing.
Inspect and Replace Components
Periodically check the internal components of the toilet, like the flapper valve and fill valve. These parts wear out over time and can lead to leaks or poor flushing. Replace them as needed to maintain optimal performance.
| Component | Signs of Wear | Replacement Frequency |
|---|---|---|
| Flapper Valve | Frequent leaks, weak flush | Every 2-3 years |
| Fill Valve | Continuous running noise, slow tank refill | Every 5 years |
| Toilet Seat | Cracks, loosening | As needed |
Consider applying a silicone-based lubricant to the moving parts, like the hinges or any joints. This reduces friction and prolongs their lifespan.
Finally, maintain proper water levels in the tank. Too much water can lead to overflow, while too little can cause inefficient flushing. Adjust the float mechanism if necessary. By committing to these maintenance practices, you’ll ensure your fixture remains in top condition and hygienically sound.
Common Mistakes to Avoid When Using a Pressure Cleaner
Avoiding high settings is crucial. Many users think that more force equals better results. This can lead to damage, especially on delicate surfaces. I once witnessed a friend use maximum intensity on a simple patio. The outcome was chipped tiles, which required costly repairs.
Neglecting the right nozzle type is another frequent error. Using an inappropriate nozzle can hinder your cleaning efforts or even cause harm. I recommend always having a variety of nozzles on hand. For instance, the 25-degree nozzle is versatile for most outdoor surfaces, while the 0-degree nozzle should be reserved for stubborn spots only.
Rushing through the process often leads to missed areas. It’s tempting to speed things up, but a thorough, methodical approach yields far better results. I recall a project where I hurried and left behind significant grime. Returning to clean those spots took more time than if I had done it properly the first time.
Failing to prepare the area can create unnecessary mess. Clear away furniture, plants, and debris before starting. I learned this the hard way when I soaked a flower bed that I had forgotten to cover. It took me ages to replace the damaged plants.
Not wearing appropriate protective gear is a significant oversight. Goggles and gloves are essential, as the force can cause debris to fly. I once got a piece of gravel in my eye because I skipped the goggles, and it was an experience I’d rather not repeat.
Ignoring safety guidelines can lead to accidents. Always read the manufacturer’s instructions. I’ve seen individuals bypass safety precautions, resulting in injuries or damage to their equipment. It’s not worth the risk.
Finally, skipping maintenance on your equipment can lead to poor performance and costly repairs. Regularly check for clogs, leaks, and wear. I make it a point to clean my equipment after each use. This small habit has saved me from bigger headaches down the line.

.jpg)


