
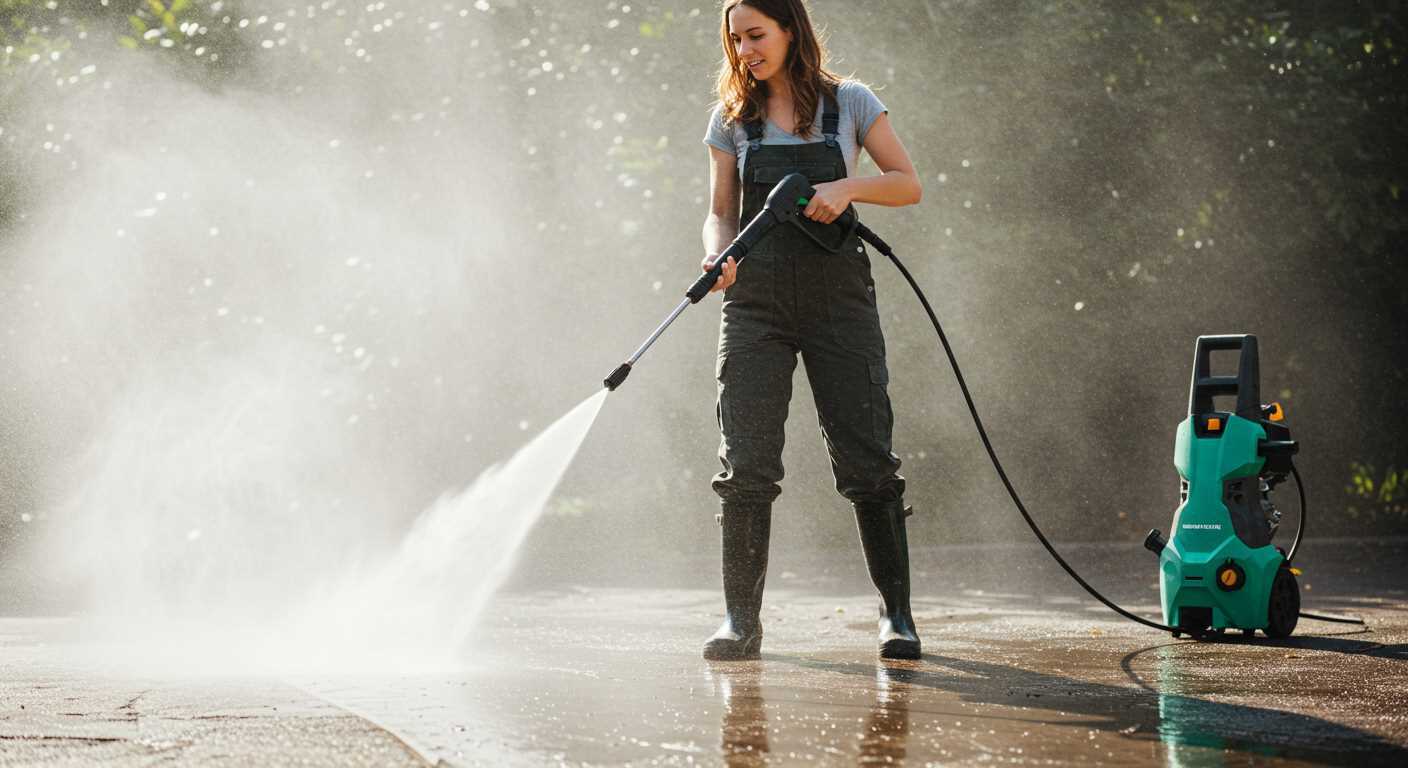


Using a high-powered cleaning device can effectively tackle stubborn green growth that tends to cling to outdoor surfaces. In my professional experience, I have found that a combination of the right equipment and technique can yield impressive results when dealing with this persistent issue. Make sure to select a model that delivers at least 2000 PSI and a suitable nozzle for the job, typically a 25-degree or 40-degree tip.
Before you start, it’s wise to pre-treat the area with a cleaning solution designed to break down organic material. Let it sit for about 10 to 15 minutes to maximise its effectiveness. Then, approach the surface at a consistent distance of around 12 inches, keeping the nozzle moving to avoid damage. The high velocity of water will dislodge the unwanted growth, leaving your pathways looking refreshed.
After the initial pass, a second treatment may be necessary, especially if the surface hasn’t been cleaned in a while. It’s crucial to inspect the area afterward; stubborn patches may require additional attention. The results can be quite satisfying, transforming your outdoor spaces into cleaner, safer environments.

Will a High-Pressure Cleaner Clear Green Growth from Hard Surfaces?
Absolutely, using a high-pressure cleaning device is a highly effective approach to tackling that green growth on your hard surfaces. I’ve spent years testing various models, and I can confidently say that these machines can blast away stubborn grime, including the aforementioned organic matter. The combination of forceful water jets and the right nozzle can make a significant difference in the cleanliness of your surfaces.
Choosing the Right Equipment
For optimal results, select a unit with at least 2000 PSI (pounds per square inch) for residential tasks. This level provides enough power to dislodge stubborn remnants without causing damage to the surface. A 25-degree nozzle is often ideal for cleaning hard surfaces, as it strikes a balance between pressure and coverage. If the growth is particularly stubborn, consider pre-treating the area with a suitable cleaner designed for this purpose to enhance the outcome.
Technique Matters
When you start cleaning, maintain a consistent distance of about 12 to 18 inches from the surface. Keeping the nozzle in motion and avoiding prolonged focus on one spot helps prevent any potential surface damage. I once made the mistake of lingering too long on a small section, which resulted in surface etching. Learning from that, I always recommend moving steadily to ensure an even clean.
After the initial clean, a rinse with a lower pressure setting can help eliminate any leftover residue, ensuring the area is free from streaks or marks. In my experience, following these steps guarantees a beautifully restored surface, free from unwanted growth.
Understanding Algae Growth on Concrete Surfaces
To effectively tackle the issue of green growth on hard surfaces, it’s crucial to comprehend the factors contributing to its development. This type of growth thrives in moist, shaded environments, often found in areas with poor drainage or limited sunlight exposure. Here are some key points to consider:
- Moisture: Consistent dampness creates an ideal breeding ground. Rainwater, sprinkler systems, or even high humidity can invite unwanted growth.
- Shade: Areas that remain dark for extended periods are particularly susceptible. Trees, buildings, or fences can block sunlight, allowing growth to flourish.
- Surface Texture: Porous materials retain moisture and organic matter, providing nutrients for the growth. Smooth surfaces tend to be less prone but can still accumulate debris.
- Temperature: Warm weather encourages rapid growth. During spring and summer, the conditions become favourable, leading to quicker infestations.
Preventative measures can significantly reduce the likelihood of growth. Regular cleaning and maintenance are essential. Applying a protective sealant to surfaces can create a barrier against moisture. Furthermore, ensuring proper drainage and trimming overhanging vegetation can mitigate shade and moisture retention.
For additional cleaning tips, check out how to clean sash windows the ultimate guide for sparkling windows. This resource offers insights that may prove helpful in maintaining various surfaces.
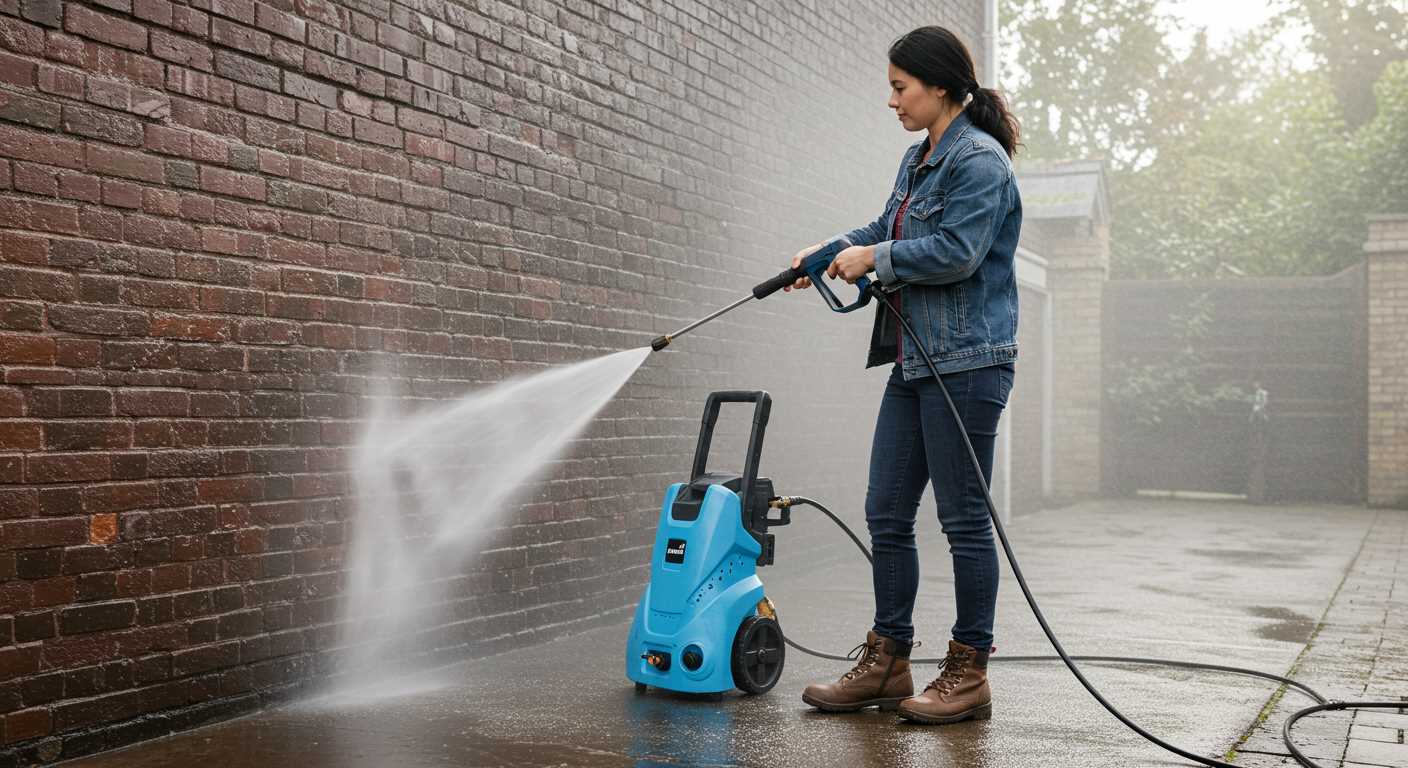
How Pressure Cleaners Tackle Stubborn Stains
For tough blemishes on surfaces, the right equipment can make a significant difference. These machines operate by forcing water through a narrow nozzle, creating a concentrated stream that dislodges grime effectively. I recall a particularly challenging experience with a patio that had been neglected for years. The dirt was thick, and traditional scrubbing methods proved futile.
Utilising one of these machines, I adjusted the nozzle for a tighter spray, which increased the force significantly. The result was impressive; stubborn residues began to lift almost instantly. The secret lies in the combination of high velocity and the right angle of application. I learned that approaching the stain at a 45-degree angle often yields the best results, allowing the water jet to penetrate the layers of buildup.
Another observation from my experiences is the impact of water temperature. Using heated water can enhance the cleaning process. Hot water dissolves oils and greases more effectively than cold, which can be crucial for certain kinds of stains. I once tested this approach on a driveway marred by oil spills. The heat combined with the pressure worked wonders, transforming the surface back to its original state.
Additionally, incorporating cleaning agents can amplify the power of these machines. While many surfaces respond well to plain water, some stubborn blemishes require a little extra help. I’ve found that eco-friendly detergents are not only effective but also safe for the environment. Mixing a suitable cleaner with the water in the tank can create a potent solution that tackles even the most entrenched stains.
In conclusion, the combination of high pressure, temperature control, and appropriate cleaning solutions creates a formidable team against blemishes. The versatility of these machines allows for tackling a variety of surfaces, ensuring that even the most challenging jobs can be completed with ease and efficiency.
Choosing the Right Equipment for Algae Elimination
For tackling stubborn growth on surfaces, selecting the correct device is paramount. Based on my extensive experience, I recommend looking for a unit that offers a minimum of 2000 PSI (pounds per square inch) along with a flow rate of at least 1.5 GPM (gallons per minute). This combination ensures sufficient force to dislodge unwanted growth while maintaining the integrity of the surface.
Key Features to Consider
| Feature | Importance |
|---|---|
| Adjustable Nozzle | Allows for varying spray patterns, essential for different surface types. |
| Detergent Injection | Facilitates the use of cleaning solutions for enhanced effectiveness. |
| Electric vs Gas | Electric models are quieter and easier to maintain, while gas units offer more power for larger areas. |
| Weight and Portability | A lighter model is easier to manoeuvre, especially for extended tasks. |
Personal Insights on Usage
I’ve found that using the right attachments can significantly improve results. A rotary or turbo nozzle can increase cleaning efficiency, creating a focused high-pressure stream that penetrates deeper into stubborn spots. Always remember to keep a safe distance from the surface to avoid damage–about 12 to 18 inches is generally safe for most surfaces.
When it comes to cleaning agents, I’ve often opted for eco-friendly solutions. They tend to be less harsh on surfaces and the environment. Pre-treating the area with a suitable cleaning solution before using high-pressure equipment can enhance the overall outcome. Just let it sit for the recommended time before rinsing.
Step-by-Step Process for Using a Pressure Washer on Concrete
Begin with a proper inspection of the surface. Identify any loose debris or dirt that could be dislodged during cleaning. Ensure the area is free of obstacles, which might hinder your movement or introduce hazards.
Prepare the equipment by connecting the unit to a water source and plugging it into a power outlet. Make sure to select the correct nozzle. A wide fan nozzle is typically best for expansive areas, while a narrow stream can target stubborn spots.
Adjust the pressure settings according to the surface condition. A lower setting is preferable for delicate surfaces, while a higher one can be used for heavily soiled areas. Test the pressure on a small, inconspicuous section to assess its effectiveness and prevent damage.
Begin cleaning from the top down. This method ensures that dirt and debris flow downwards, preventing re-soiling of areas already cleaned. Maintain a consistent distance between the nozzle and the surface to avoid etching or gouging.
Utilise a side-to-side motion, overlapping each pass slightly for uniform coverage. For particularly stubborn spots, pause briefly to allow the water to penetrate deeper into the grime.
After completing the washing process, inspect the area for any remaining stains. If necessary, reapply cleaning solution specifically designed for tough residues and repeat the washing process in targeted areas.
Once satisfied with the results, rinse the surface thoroughly with clean water to remove any remaining cleaning solution. This step is crucial to prevent residue buildup that could attract dirt in the future.
Finally, allow the area to dry completely before placing any furniture or decorations back onto the surface. Monitor the space over the following days to see how well the treatment has worked and to identify any areas that may need further attention.
Safety Precautions When Using a High-Pressure Cleaner on Surfaces
Always wear protective gear, including gloves, goggles, and sturdy footwear. Water jets can cause injury, and splashes from cleaning solutions may irritate the skin or eyes. I remember a colleague who neglected his safety goggles and ended up with a nasty eye irritation from the cleaning agent. Never underestimate the power of the water stream; it can puncture skin and cause serious harm.

Evaluate the area prior to starting. Check for loose debris, sharp objects, or electrical hazards. A friend of mine once tripped over a garden hose while cleaning, leading to a sprained ankle. Clear the space to minimise risks. Ensure all electrical outlets are covered and that any nearby power sources are turned off.
Test the equipment before use. Familiarise yourself with the settings and controls. During a demo for a local business, I once encountered a malfunctioning unit that sprayed water uncontrollably. Fortunately, I had tested it first, allowing me to switch to another machine without issue.
Maintain a safe distance from the surface being cleaned. A minimum of 2 feet is advisable to prevent injury and damage. In my experience, I’ve witnessed machines getting too close and causing surface etching. Keep the nozzle at an angle rather than pointing directly at the surface, which reduces the risk of damage.
Be mindful of your surroundings. Watch for children, pets, or passersby. I’ve had moments when I had to stop mid-clean to ensure that no one wandered into the work area. It’s easy to lose focus, but awareness prevents accidents.
Use biodegradable cleaning solutions where possible. I recall a time when I used a harsh chemical that not only harmed the environment but also left a residue on the surface. Opt for gentler alternatives that are still effective but safer for both you and nature.
Finally, avoid working in wet or slippery conditions. I once faced a mishap when I attempted to clean a patio after a rain shower. The ground was slick, and I nearly lost my footing. Wait for dry weather to ensure both your safety and the effectiveness of the cleaning process.
Alternative Methods for Algae Removal from Concrete
For those looking to tackle stubborn green patches on their outdoor surfaces, a few alternative techniques can be quite effective. Here are some strategies I’ve found useful over the years:
1. Vinegar Solution
A mixture of white vinegar and water is a natural option that can help eliminate growth. Here’s how you can use it:

- Combine equal parts of vinegar and water in a spray bottle.
- Saturate the affected area thoroughly.
- Allow it to sit for about 30 minutes to an hour.
- Scrub the surface with a stiff brush and rinse with clean water.
2. Baking Soda Paste
Baking soda is another household item that works wonders. This method is particularly good for small patches:
- Create a paste by mixing baking soda with a small amount of water.
- Apply the paste directly onto the affected areas.
- Let it sit for 15-20 minutes.
- Scrub vigorously, then rinse with a hose.
3. Oxygen Bleach
For a more potent solution, consider using oxygen bleach, which is less harsh than chlorine:
- Mix the bleach with water according to the package instructions.
- Apply the solution to the concrete and let it penetrate for an hour.
- Scrub the surface and rinse thoroughly to remove residue.
4. Commercial Cleaners
If you prefer a ready-made solution, numerous commercial products are designed specifically for outdoor surfaces. Look for biodegradable options that are safe for plants and pets.
5. Preventive Measures
Taking steps to prevent future growth can save time and effort:
- Ensure proper drainage to avoid standing water.
- Regularly sweep and clean surfaces to remove organic debris.
- Consider applying a sealant to create a barrier against growth.
For those interested in a more robust tool for outdoor projects, check out a pressure washer for decks and fences. This equipment can make tackling larger areas much simpler while enhancing your cleaning routine.

.jpg)


