


Absolutely, using a high-powered cleaning device can effectively strip away old coatings from exterior wooden surfaces. In my years as a consultant, I’ve seen this method yield impressive results when done correctly. The choice of nozzle and the distance maintained from the surface are critical factors that significantly influence the outcome.
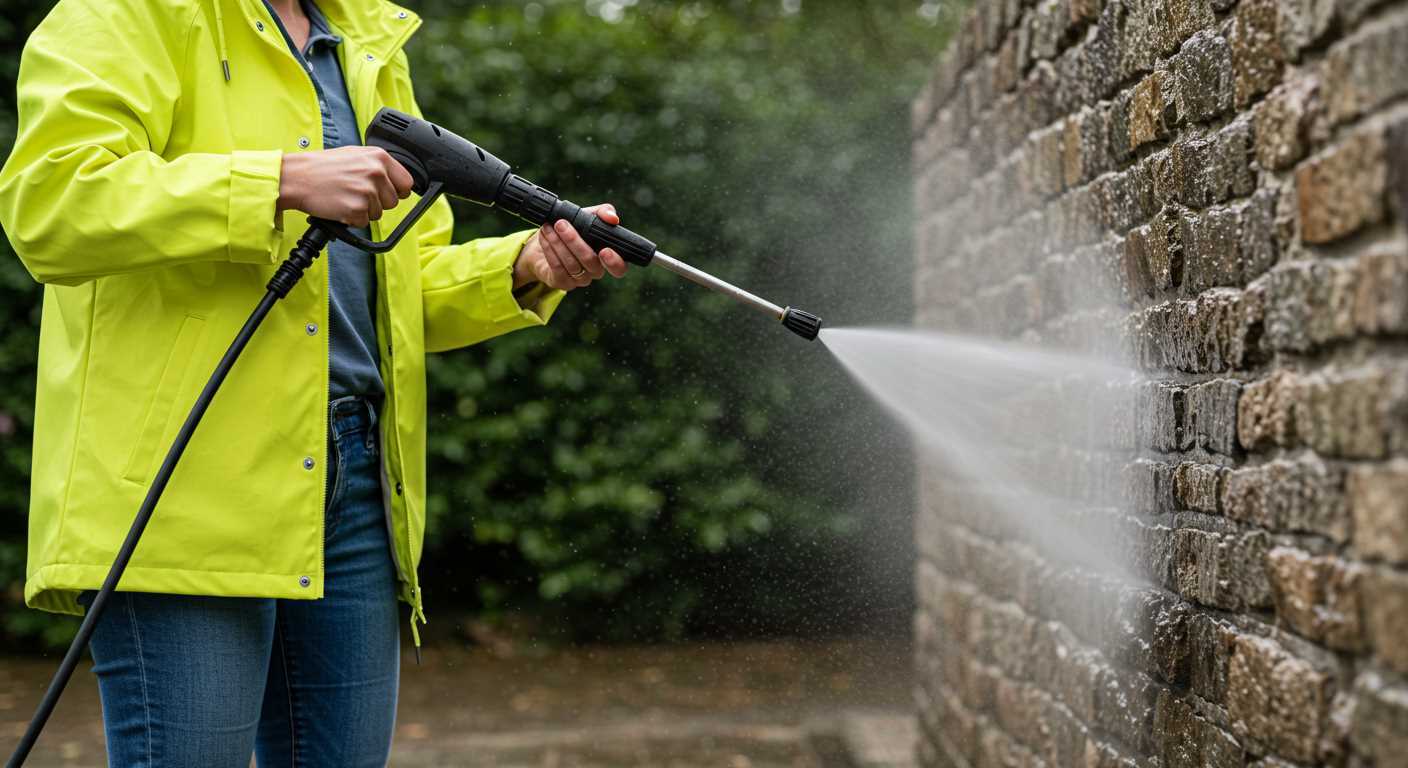
During one of my early projects, I tackled a weathered patio that was hidden beneath layers of old varnish. By adjusting the pressure settings and using a 25-degree nozzle, I managed to lift the coating without damaging the wood beneath. The key is to maintain a consistent distance of about 12 to 18 inches from the surface to prevent gouging. This technique not only revitalised the wood but also prepared the surface for a fresh application.
Always remember to test a small, inconspicuous area first. I once encountered a stubborn stain that required a bit more power, but after a quick test, I adjusted my approach, ensuring I didn’t compromise the integrity of the timber. With the right technique and equipment, you can bring your outdoor spaces back to life.
Impact of High-Pressure Equipment on Deck Coatings
Using high-powered cleaning tools can lead to the removal of coatings on outdoor wood surfaces. However, outcomes can vary significantly based on several factors.
Factors Influencing Coating Removal
- Water Temperature: Hot water can be more effective at breaking down the bond between the surface and the coating, especially if it has been applied for some time.
- Nozzle Selection: The type of nozzle used affects the intensity of the stream. A narrow nozzle creates a concentrated jet that can strip coatings more efficiently than a wider spray.
- Distance from Surface: Maintaining the correct distance from the wood is crucial. Too close can cause damage, while too far may reduce effectiveness.
- Type of Coating: Different finishes respond differently. Oil-based finishes may be more resilient than water-based ones.
- Technique: A methodical approach, using overlapping strokes, can enhance the chances of success without causing harm to the underlying material.
Recommended Techniques for Effective Stripping
- Start with a lower pressure setting to assess the impact on the surface.
- If necessary, gradually increase the pressure while monitoring the changes.
- Use a fan spray pattern to evenly distribute the force across the area.
- Consider applying a stripping agent beforehand for stubborn coatings to ease the removal process.
- Always test a small, inconspicuous area first to ensure desired results without damage.
In my experience, achieving a clean surface often requires patience and the right combination of equipment settings. The key is understanding the specifics of the material and the coating in question to prevent unintentional damage while striving for a thorough clean.

Understanding the Impact of Pressure Washing on Deck Surfaces
Using a high-powered cleaning tool on wooden surfaces can lead to significant changes. My experiences have shown that while these machines are effective at removing dirt and grime, they can also strip away layers of wood, especially if not used correctly. I recall a time when a client wanted to refresh their outdoor space. They were eager to remove years of built-up filth but were unaware of how aggressive the spray could be.
When working with timber, choosing the right nozzle and distance is crucial. I often recommend starting with a wider spray pattern and maintaining a distance of at least 12 inches from the surface. This approach minimises the risk of damaging the wood fibres and helps preserve the integrity of the surface. I vividly remember a situation where I got too close, and the result was a marked indentation that required sanding and refinishing.
Another lesson learned was the importance of moisture content. Wet conditions can lead to splintering, while overly dry wood can crack under the force of the water. It’s wise to check the weather forecast before proceeding. On one occasion, I had to halt a project due to sudden rain, which could have compromised the results and led to further issues.
In terms of preparation, I always suggest clearing the area of furniture and debris. This not only ensures a thorough clean but also protects surrounding items from potential damage. Once, I was caught off guard when a gust of wind blew debris onto a freshly cleaned surface, negating hours of work. Always better to be safe than sorry!
Lastly, I advise considering the type of wood. Hardwoods generally withstand the pressure better than softwoods. Reflecting on past experiences, I’ve encountered many homeowners who mistakenly believed that all types of timber would respond similarly. The differences can be dramatic, leading to uneven results if not handled with care.
Choosing the Right Pressure Washer for Paint Removal
For effective stripping of coatings from surfaces, select a model with a minimum pressure rating of 2000 PSI. This level ensures sufficient force to break the bond between the finish and the underlying material. I recall a project where I opted for a unit with 2500 PSI. It made quick work of a stubborn layer, saving hours of effort compared to weaker alternatives.
Understanding Flow Rate
The flow rate, measured in gallons per minute (GPM), plays a critical role. A higher GPM translates to quicker cleaning, as it washes away debris and loosened material more efficiently. Aim for at least 2.5 GPM for optimal results. I encountered a situation where a lower GPM model left behind residue, prolonging the task.
Choosing the Right Nozzle
Selecting the appropriate nozzle is equally important. A 15-degree nozzle generally works best for removal tasks, as it directs a concentrated stream of water onto the surface. I once used a 25-degree nozzle, which proved insufficient for heavy coatings, forcing me to switch mid-project to achieve desired results.
Always consider compatibility with different surfaces. Some materials are more delicate and can be damaged by high pressure. For wooden structures, use lower settings and a wider nozzle to avoid gouging. I’ve had my share of mishaps, where too much force resulted in costly repairs.
Investing in adjustable models can also provide versatility for various tasks. They allow for changes in pressure and flow, accommodating different surfaces or cleaning needs without needing multiple units.
Finally, remember to factor in portability and ease of use. A lightweight design with sturdy wheels simplifies transport, especially if you’re moving between different areas. I learned this the hard way after struggling with a cumbersome machine during a lengthy project.
Optimal Pressure Settings for Different Types of Paint
To effectively remove various coatings from surfaces, it’s vital to adjust the settings on your cleaning equipment according to the type of finish. For latex paints, a pressure range of 1500 to 2000 PSI is generally suitable. This ensures that the paint is stripped away without causing harm to the wood or underlying material. I’ve seen countless projects where folks went too high on the pressure, resulting in splintered wood and a lot of regret.
Oil-Based Paints
When tackling oil-based finishes, you’ll want to increase the pressure to around 2500 PSI. This type of coating is tougher, and a higher force will help break down the bond with the surface. During a job at a local community centre, I had to use this setting to successfully lift layers of old oil-based paint–it was a game changer for that project! Always remember to keep the nozzle at least 12 inches away to avoid damaging the surface.
Stains and Sealants
For stains and sealants, a lower range of 1200 to 1600 PSI works best. These products are designed to soak into the wood, so a gentler approach is necessary. I once tackled a deck that had been treated with a heavy sealant; using a lower setting allowed me to efficiently strip away the sealant without affecting the wood grain. If you’re unsure, testing a small area first is always wise. Additionally, consider using a pressure washer nozzle for garden hose to achieve a more controlled spray pattern, especially on delicate surfaces.
Preparing Your Deck for Pressure Washing
Before you commence the cleaning process, ensure you’re fully equipped for the task ahead. Here’s a direct approach to getting your outdoor space ready.
1. Clear the Area
- Remove all furniture, planters, and decor items.
- Check for any loose boards or protruding nails; these should be fixed to avoid injury.
- Clear away any debris such as leaves, dirt, or branches.
2. Assess the Surface
- Examine the condition of the wood. Look for signs of rot or damage that may need attention first.
- If the surface is stained, note the type of stain as this will influence your cleaning technique.
3. Protect Surrounding Areas
- Cover any plants or landscaping nearby with tarps to shield them from debris.
- Use painter’s tape to cover areas that shouldn’t get wet, such as exterior walls or windows.
4. Gather Necessary Equipment
- Choose a suitable model that matches your needs.
- Ensure you have the right nozzles and cleaning solutions for the surface type.
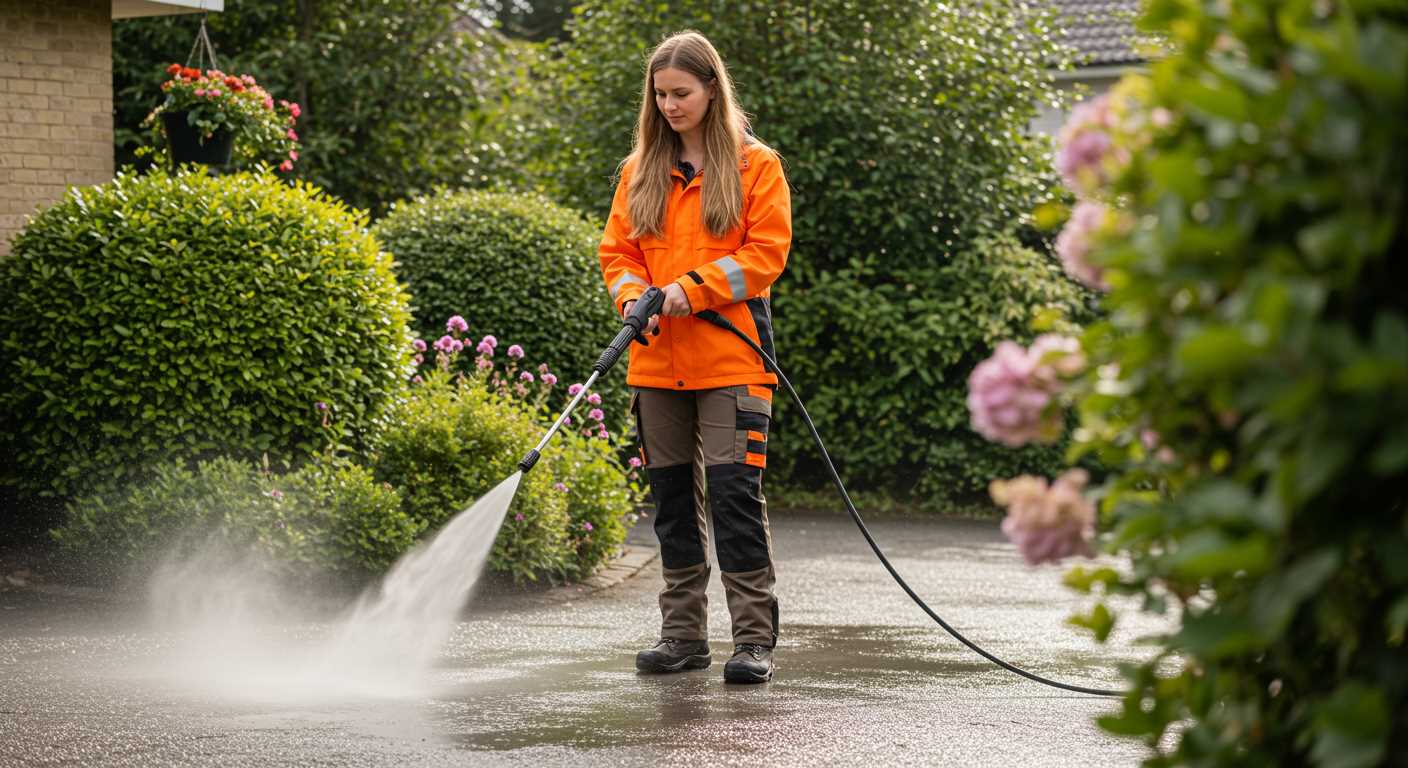
- Invest in safety gear: goggles, gloves, and non-slip footwear are must-haves.
By taking these steps, you’ll create a safe and effective workspace, ensuring a smoother experience when you get to the actual washing part. Remember, preparation can significantly affect the outcome, so don’t rush this phase.
Step-by-Step Guide to Removing Paint with a Pressure Washer
Begin with safety precautions. Equip yourself with protective eyewear, gloves, and a mask to shield against dust and debris. It’s vital to ensure the work area is clear of obstacles and that any plants or delicate surfaces nearby are covered or moved.
Next, assemble your equipment. Select a suitable unit, ideally one that offers adjustable settings. Make sure to have a variety of nozzles at hand, as different tasks may require varying spray angles.
Prepare your surface. Start by sweeping the area to remove loose dirt and debris. If there are any large flakes of old finish, scrape them away with a putty knife to create a more even surface for the cleaning process.
Before you begin, test the machine on a small, inconspicuous spot. This will help determine the right distance and angle for effective removal without damaging the wood beneath.
Follow these steps for the removal process:
- Connect the unit to a water source and power supply, ensuring all connections are secure.
- Choose a nozzle with a wider spray angle to start. This helps cover more area and reduces the risk of gouging the wood.
- Hold the nozzle approximately 30 to 45 cm away from the surface. Begin at one end of the area and work your way across in smooth, even strokes, overlapping each pass slightly.
- If stubborn residue remains, switch to a narrower nozzle for more concentrated force, and adjust the distance accordingly.
- After the initial pass, inspect the surface. Repeat the process as needed, adjusting settings or switching nozzles for more challenging areas.
Once you’ve achieved the desired result, rinse the area thoroughly to remove any residue. Allow the surface to dry completely before applying any new finishes or treatments.
Here’s a handy reference table for nozzle selection and pressure settings:
| Nozzle Angle | Recommended Use | Distance from Surface |
|---|---|---|
| 0° | Heavy-duty removal | 15-30 cm |
| 15° | Medium-duty removal | 30-45 cm |
| 25° | Light-duty cleaning | 45-60 cm |
| 40° | Washing surfaces | 60+ cm |
After finishing, clean your equipment thoroughly to maintain its longevity and efficiency for future tasks. This process, while straightforward, can yield impressive results when done correctly.
Post-Washing Care for Your Deck After Paint Removal
After the removal of old finishes, immediate attention to your outdoor surface is crucial. Start by thoroughly rinsing the area with clean water to eliminate any remaining debris. This step ensures that no leftover residue interferes with subsequent treatments.
Next, inspect for any damage. Look for splintered wood or areas that may need sanding. If you notice rough patches, lightly sand them down to create a smooth surface, which will aid in the adhesion of any new treatments.
Once the surface is prepped, allow it to dry completely. This can take anywhere from 24 to 48 hours, depending on the weather conditions. Ensure that moisture is not trapped beneath any new coatings, as this can lead to peeling or bubbling later.
Consider applying a wood preservative or stabiliser. This step not only protects against moisture but also enhances the wood’s longevity. Choose a product that’s appropriate for your specific type of material, as this can make a significant difference in the performance and durability of the finish.
After the preservative has dried, you can apply your chosen stain or sealant. Opt for high-quality, water-repellent products designed for outdoor use. These will provide protection against the elements and maintain the aesthetic appeal of your yard for years.
Finally, establish a regular maintenance routine. Clean the surface periodically and inspect for signs of wear. Timely touch-ups can extend the life of your finish and keep your outdoor space looking its best.
Alternatives to Pressure Washing for Deck Paint Removal
Consider using a chemical paint stripper if you’re looking for a gentler approach. These products penetrate and dissolve the coating without the risk of damaging the wood. Ensure you select a biodegradable option to minimise environmental impact. Apply the stripper as per the manufacturer’s instructions, allowing it to sit for the recommended time before scraping away the loosened material.
Sanding as an Effective Method

Sanding is another reliable technique. Start with coarse-grit sandpaper to remove the majority of the finish, then switch to finer grits for a smooth surface. This method can be labour-intensive but offers precise control and ensures that the wood remains intact. Investing in an orbital sander can significantly speed up this process.
Utilising a Heat Gun
A heat gun can also serve as an efficient alternative. The heat causes the coating to bubble and lift, making it easier to scrape off. Maintain a safe distance to prevent burning the wood. Always wear protective gear when using a heat gun to avoid burns or inhalation of fumes.
For maintaining a clean workspace during these processes, consider utilising the best battery garden leaf vacuum. This will help in keeping debris to a minimum, allowing for a more organised and efficient removal of the old finish.

.jpg)


