
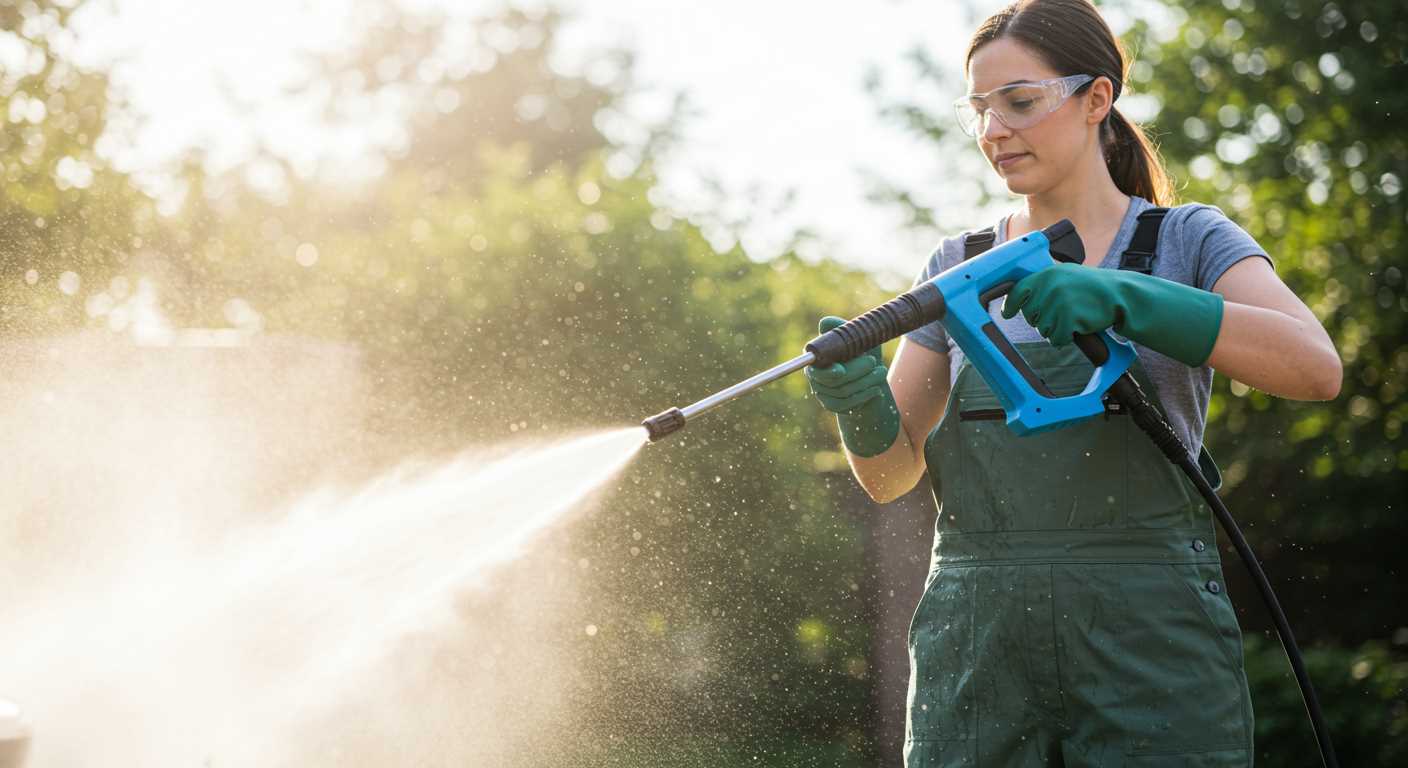


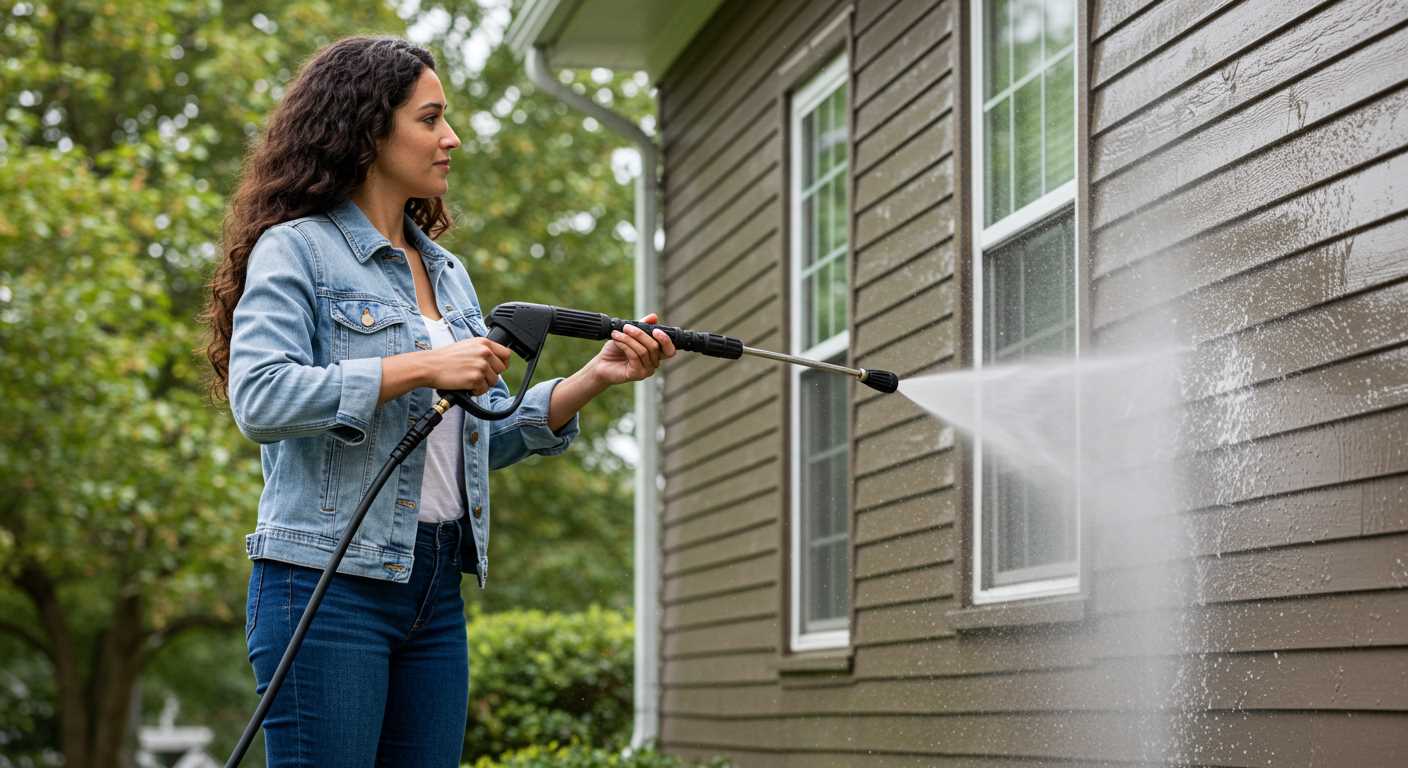
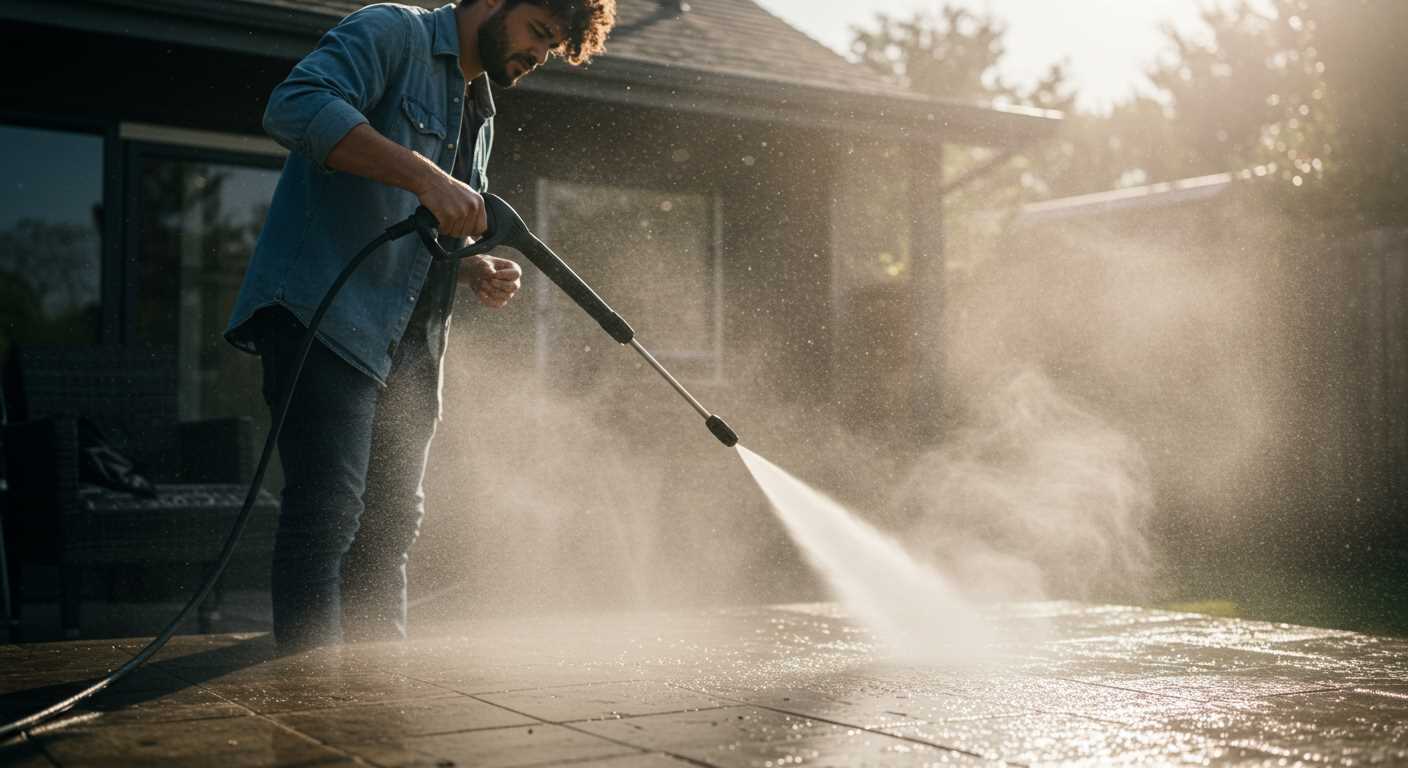
Using a pressure washer may seem like the go-to solution for an immaculate outdoor space, but there are numerous alternatives that can yield impressive results. For those who prefer a quieter, more controlled approach, consider utilising a combination of manual scrubbing and eco-friendly cleaning solutions. This method not only saves water but also allows for greater precision.
Start with a thorough sweep to remove debris and loose dirt. A stiff-bristled broom is your best ally here, ensuring that all loose particles are lifted away. Next, mix a solution of warm water and a mild detergent or vinegar. This blend effectively tackles stains and grime without the harshness of chemical cleaners. Apply the mixture using a mop or a soft brush, allowing it to sit for a few minutes to penetrate tough spots.
For stubborn areas, a scrub brush with firm bristles can make a significant difference. This method, combined with a little elbow grease, often restores the surface to its former glory. Rinse thoroughly with a hose, ensuring all cleaning agents are washed away, and enjoy the refreshed look of your outdoor area.
In my experience, taking this hands-on approach not only fosters a sense of accomplishment but also allows for a more sustainable cleaning routine. Regular maintenance using simple tools and natural products keeps the space inviting and well-kept.
Choosing the Right Cleaning Solutions for Patio Surfaces
For stone, concrete, and wooden surfaces, selecting appropriate cleaning agents is crucial. For instance, a mix of warm water and mild dish soap works wonders on general grime. Just a few drops can create a soapy solution that lifts dirt effectively.
For tougher stains, white vinegar or baking soda can be your go-to. Mixing equal parts of vinegar and water in a spray bottle targets moss or algae, while a paste of baking soda and water provides a gentle abrasive for scuff marks. Allow them to sit for a while before scrubbing.
Oil stains require a more robust approach. Cornstarch or talcum powder absorbs the oil; sprinkle it generously and let it sit for several hours. Afterward, sweep it away and wash the area with soapy water.
For wooden surfaces, use a specialised wood cleaner that preserves the finish. These products often contain natural oils that help maintain the wood’s integrity while removing dirt.
Always test any cleaning solution on a small, inconspicuous area first. This ensures compatibility and avoids damage. Remember, the right solution not only cleans but also protects your surfaces for the long haul.
Tools Needed for Manual Patio Cleaning
To achieve a pristine outdoor space without high-pressure equipment, gather the following tools:
| Tool | Purpose |
|---|---|
| Broom | Ideal for sweeping away loose debris, leaves, and dirt. |
| Scrub Brush | Perfect for tackling stubborn stains and grime on various surfaces. |
| Bucket | Necessary for mixing cleaning solutions and holding rinse water. |
| Garden Hose | Useful for rinsing off surfaces after scrubbing. |
| Sponges | Effective for detailed cleaning in smaller areas or between tiles. |
| Protective Gloves | Keep hands safe from harsh chemicals and dirt. |
| Cleaning Solutions | Choose appropriate options based on the material of your outdoor area. |
| White Vinegar or Baking Soda | Natural alternatives for stain removal and disinfecting. |
In my experience, investing in a sturdy scrub brush can make a significant difference. I remember a time when I had to remove years of mildew from a stone surface. I used a stiff-bristled brush combined with a vinegar solution, and the results were astounding. The combination of elbow grease and the right tools pays off in the long run.
Always keep a bucket handy for preparing cleaning mixtures. I often make a point to mix a small batch of soapy water, which helps in loosening dirt before I scrub. If needed, you can also refer to this resource for tips on capturing the before-and-after transformation of your clean-up efforts.
Finally, don’t underestimate the power of a good garden hose. A steady stream of water aids in rinsing away any remnants of cleaning solutions and dirt, ensuring a clean finish. With these tools, a sparkling outdoor area is entirely achievable!
Step-by-step guide to scrubbing your patio
Begin with a thorough sweep to remove leaves, dirt, and debris. Using a stiff-bristled broom is ideal for this task, ensuring you get into all the nooks and crannies.
Next, prepare a bucket of warm water mixed with a suitable detergent. For stone or concrete surfaces, a solution containing mild dish soap works wonders. For wooden decks, opt for a cleaner specifically designed for timber.
Once your solution is ready, dip a scrub brush into the mixture. Start scrubbing in sections, applying firm pressure to lift grime and stains. Focus on areas with heavy soiling or moss growth. It may take some elbow grease, but persistence pays off.
After scrubbing a section, rinse it thoroughly with clean water. A hose with a spray nozzle can help remove soap residue while flushing away loosened dirt.
For stubborn stains, consider using a paste made from baking soda and water. Apply it directly to the stain, allow it to sit for 10-15 minutes, then scrub with your brush before rinsing.
Once the entire surface has been scrubbed and rinsed, allow it to dry completely. If you’ve used a wooden surface cleaner, a final treatment with a sealing product may enhance its longevity and appearance.
Regular maintenance will keep your outdoor area looking fresh. A quick sweep and wash every few months can prevent the buildup of dirt and algae, making future cleaning sessions easier.
Using vinegar and baking soda for stubborn stains
For tough marks, a mixture of vinegar and baking soda works wonders. Start by sprinkling baking soda over the stained area. This acts as a gentle abrasive. Next, spray white vinegar on top; the combination will fizz and bubble, breaking down grime effectively.
Allow the mixture to sit for about 15-20 minutes. This wait lets the solution penetrate deeper into the surface, loosening stubborn dirt. After soaking, scrub the area with a stiff-bristled brush. Apply firm pressure, focusing on the most discoloured spots while being cautious not to damage the surface.
Rinse thoroughly with water to remove any residue. For persistent stains, repeat the process. This method is not only eco-friendly but also budget-friendly, making it a go-to choice for many. For further tips on maintaining your surfaces, check out how to clean concrete.
How to Remove Mould and Mildew Without Pressure Washing
For effective removal of mould and mildew, start with a solution of water and white vinegar in a 1:1 ratio. Apply it generously to affected areas using a spray bottle or sponge. Allow the mixture to sit for at least 30 minutes to penetrate the growth. This step is crucial since it softens the stubborn layers of mould.
After the waiting period, scrub the surface with a stiff-bristled brush. Focus on corners and crevices where mould tends to accumulate. If the mould persists, create a paste using baking soda and water. Apply the paste to the affected spots, let it sit for another 10-15 minutes, and scrub again. This method not only removes mould but also deodorises the surface.
Alternative Solutions for Tough Stains
If vinegar and baking soda don’t fully address the issue, consider using a store-bought mould remover. Choose a product specifically designed for outdoor surfaces. Follow the manufacturer’s instructions for application. Always test the chosen cleaner on a small, inconspicuous area first to ensure compatibility with the surface material.
Safety Precautions
While working with cleaning agents, wear gloves and a mask to protect your skin and lungs from irritants. Ensure proper ventilation in the area to disperse any harmful fumes. After completing the task, rinse the surface thoroughly with clean water to remove any residue from cleaning agents.
Tips for cleaning patio grout and joints
For tackling the grime in grout and joints, a simple toothbrush or a stiff-bristled brush works wonders. Apply a mixture of water and mild detergent directly to the affected areas. Let it sit for about 10 minutes to penetrate the dirt. This pre-treatment makes scrubbing much easier.
Homemade Solutions
Combine equal parts of white vinegar and water in a spray bottle. Spray generously onto the grout lines and let it sit for 5-10 minutes. The acidity of vinegar breaks down stains and kills mould. Afterward, scrub with your brush and rinse with clean water.
Maintaining Grout After Cleaning
Once the grout is clean, consider applying a grout sealer. This adds a protective layer, helping to prevent future staining and mould growth. Regularly sweeping and mopping can also keep dirt from accumulating, making future cleaning easier.
Advantages of Using a Broom and Bucket Method
Opting for a broom and bucket approach offers several benefits that may surprise you. Here’s what I’ve learned over the years:
- Cost-Effective: This method requires minimal investment. A sturdy broom and a bucket of warm soapy water are usually all that’s needed, making it accessible for everyone.
- Control Over Cleaning: Manual scrubbing allows for precision. You can focus on stubborn areas without oversaturating the surrounding surfaces.
- Gentle on Surfaces: Certain materials, like natural stone or delicate tiles, can sustain damage from high-pressure systems. A broom and bucket are much safer alternatives.
- Environmentally Friendly: This technique typically uses less water and fewer harsh chemicals than mechanical cleaners, reducing your ecological footprint.
- Physical Exercise: Engaging in this method provides a good workout. The physical activity involved can be beneficial for your health.
- Convenience: It’s straightforward and requires no setup or electricity. You can begin whenever you please, making it a flexible option.
From my experience, the satisfaction of seeing a surface transform through manual effort is rewarding. The results can be equally impressive when done with care and the right approach.
When to Consider Hiring Professional Cleaners
Assessing the need for expert assistance boils down to a few clear indicators. If the task seems overwhelming or the area has not been maintained for a significant time, it may be wise to seek professional help.
Signs It’s Time to Hire Help
- Severe Stains: Persistent discolouration from oil, rust, or other substances that resist home remedies often calls for advanced solutions.
- Extensive Growth: Heavy mould or algae infestations can pose health risks and may require specialised equipment for effective removal.
- Surface Damage: If the surface shows signs of wear or cracking, professionals can assess the condition and apply appropriate restorative techniques.
- Lack of Time: Busy schedules can hinder thorough cleaning. Investing in a service can save valuable time and effort.
Benefits of Professional Services
- Expertise: Professionals possess knowledge and experience to handle various materials, preventing potential damage.
- High-Quality Equipment: Access to advanced tools ensures a deeper clean than standard household methods can achieve.
- Safety Measures: Professionals are trained to manage hazardous substances and ensure safe cleaning practices.
Ultimately, if the job feels daunting or requires intensive effort, engaging professionals can lead to better results and peace of mind. Investing in their services often yields long-lasting benefits, maintaining the aesthetic appeal and integrity of your outdoor space.
Maintaining a clean patio after manual cleaning
Regular upkeep is key to preserving the pristine state of your outdoor space. After putting in the effort to scrub down surfaces, follow these steps to ensure longevity and cleanliness.
Routine Maintenance Tips
- Sweep regularly to remove dirt and debris. This prevents grime buildup and helps maintain a fresh appearance.
- Inspect joints and grout for cracks or damage. Addressing these issues promptly can prevent further deterioration.
- Consider applying a sealant to porous surfaces after thorough cleaning. This offers protection against stains and weathering.
Seasonal Care
.jpg "Can you clean a patio without a pressure washer")
- In spring, conduct a deep clean to remove winter residues. This sets a clean foundation for the warmer months.
- During autumn, clear away fallen leaves to prevent them from trapping moisture and causing mould.
- Winter preparations include checking drainage systems to avoid ice build-up and potential damage from freezing conditions.
Utilising mats or rugs in high-traffic areas can also protect surfaces from wear and tear. When hosting gatherings, a quick refresh with a broom or a damp mop can keep everything looking its best. Always remember to store furniture properly during harsh weather to maintain the integrity of your outdoor surfaces.
.jpg)


