
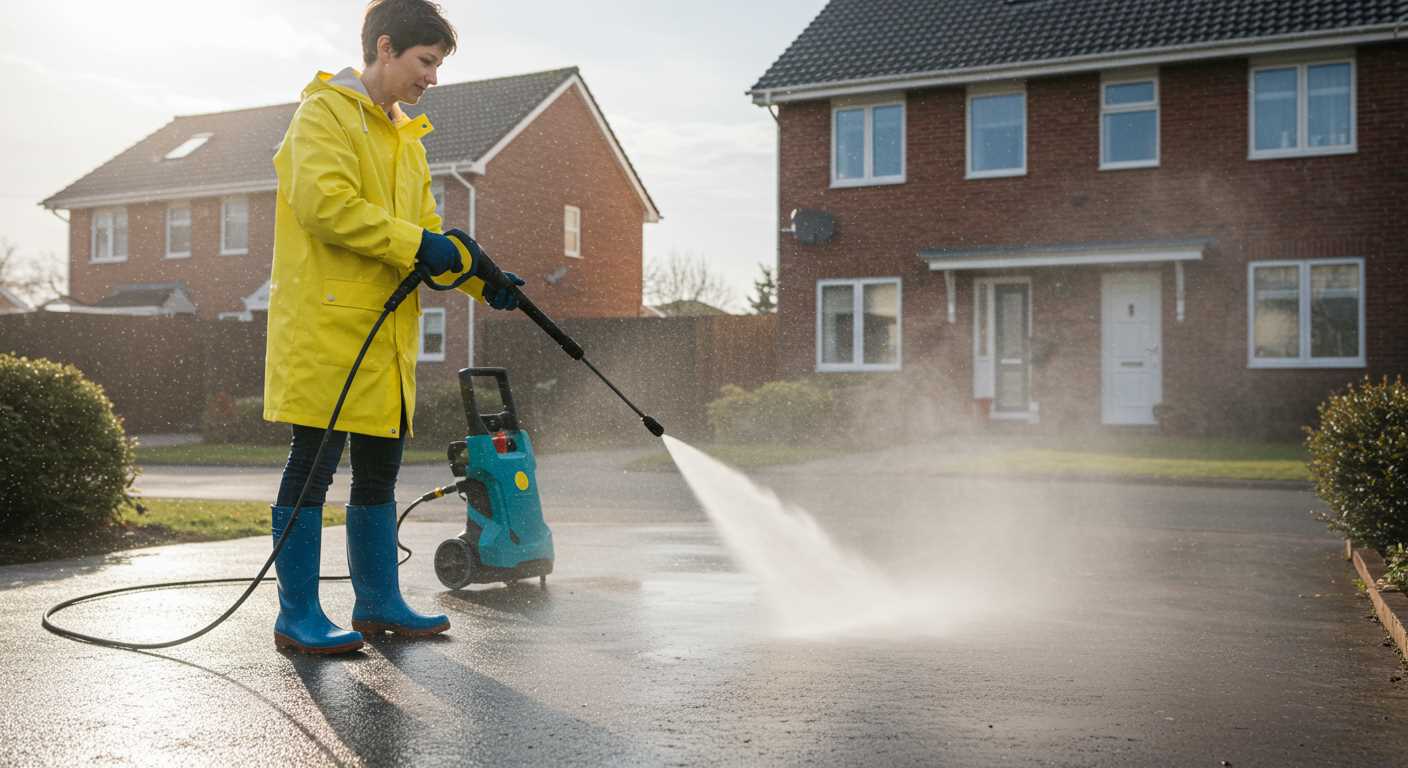


Using high-powered cleaning devices on surfaces treated with protective coatings can lead to significant results, but caution is essential. From my experience in the cleaning equipment industry, I can assure you that not all cleaning methods are compatible with every protective finish. For example, while some coatings can withstand the force, others may degrade or lose their effectiveness when exposed to intense water streams.
In my years of testing various models, I encountered numerous instances where a seemingly harmless cleaning session turned into a costly mistake. One notable case involved a customer who used a high-velocity cleaner on a vehicle with a newly applied protective layer. The high intensity removed not just dirt but also compromised the integrity of the coating, leaving it vulnerable to future damage. I always advise testing on a small, inconspicuous area first.

Additionally, consider the nozzle type and distance from the surface. A narrow spray can concentrate force in a way that may harm delicate finishes, while a wider spray reduces pressure but may require more effort to clean effectively. Always maintain a safe distance to mitigate risks. Remember, the goal is to clean without compromising the protective layer.
Do Pressure Cleaners Impact Gardx?
Using high-powered cleaning equipment can be a double-edged sword for surfaces treated with protective coatings. From my experience, I’ve seen how improper use can compromise a protective layer, while correct application can maintain its integrity.
- Distance Matters: Maintain a safe distance from the surface. I’ve found that keeping the nozzle at least 2 feet away prevents excessive force from disrupting the coating.
- Angle of Application: Always approach the surface at an angle rather than directly. This technique helps in preserving the protective layer while effectively removing dirt and grime.
- Water Temperature: Use cooler water settings. Hot water can break down protective solutions more quickly than you might expect.
- Pressure Settings: Utilize the lowest effective pressure setting. I recommend starting low and gradually increasing if necessary, ensuring you don’t damage the coating.
In my years of testing, I’ve witnessed coatings fail due to excessive force. Conversely, when used correctly, equipment can clean without compromising surface protection. Always follow the manufacturer’s guidelines for both the cleaning equipment and the coating. Consistency in maintenance will keep surfaces looking pristine without risking damage.
Lastly, consider using a gentle detergent designed for coated surfaces. This can enhance cleaning without undermining the protective qualities. Regular maintenance with the right techniques will ensure longevity for any treated surface.
Understanding Gardx: What It Is and Its Purpose
Gardx is a protective coating designed for automotive surfaces, offering a layer of defence against environmental contaminants, UV rays, and minor abrasions. This product is particularly beneficial for maintaining the appearance of your vehicle, ensuring it looks newer for longer. Its application is often recommended for both new and used cars, providing a safeguard that enhances the vehicle’s aesthetic appeal.
One of the key purposes of Gardx is to simplify car maintenance. By creating a hydrophobic surface, it helps repel water and dirt, making cleaning less laborious. This means less time spent scrubbing and more time enjoying your vehicle. When applied properly, Gardx can significantly reduce the frequency of cleaning needed, which can be a game-changer for busy individuals.
Another advantage is its resistance to staining. Common contaminants, such as bird droppings, tree sap, and industrial fallout, can be detrimental to a vehicle’s finish. Gardx acts as a barrier, allowing for easier removal of these substances without damaging the underlying paintwork.
In terms of longevity, Gardx can last for several years, depending on environmental conditions and the level of care taken. Regular maintenance, including the use of suitable cleaning products, can help extend its effectiveness. For those considering enhancement tools, a turbo nozzle for electric pressure washer can assist in achieving optimal cleaning results without compromising the coating.
| Feature | Benefit |
|---|---|
| Hydrophobic Properties | Repels water and dirt, making cleaning easier. |
| Stain Resistance | Protects against common contaminants, allowing for easy removal. |
| Durability | Can last for years with proper maintenance. |
| Visual Appeal | Enhances the shine and overall look of the vehicle. |
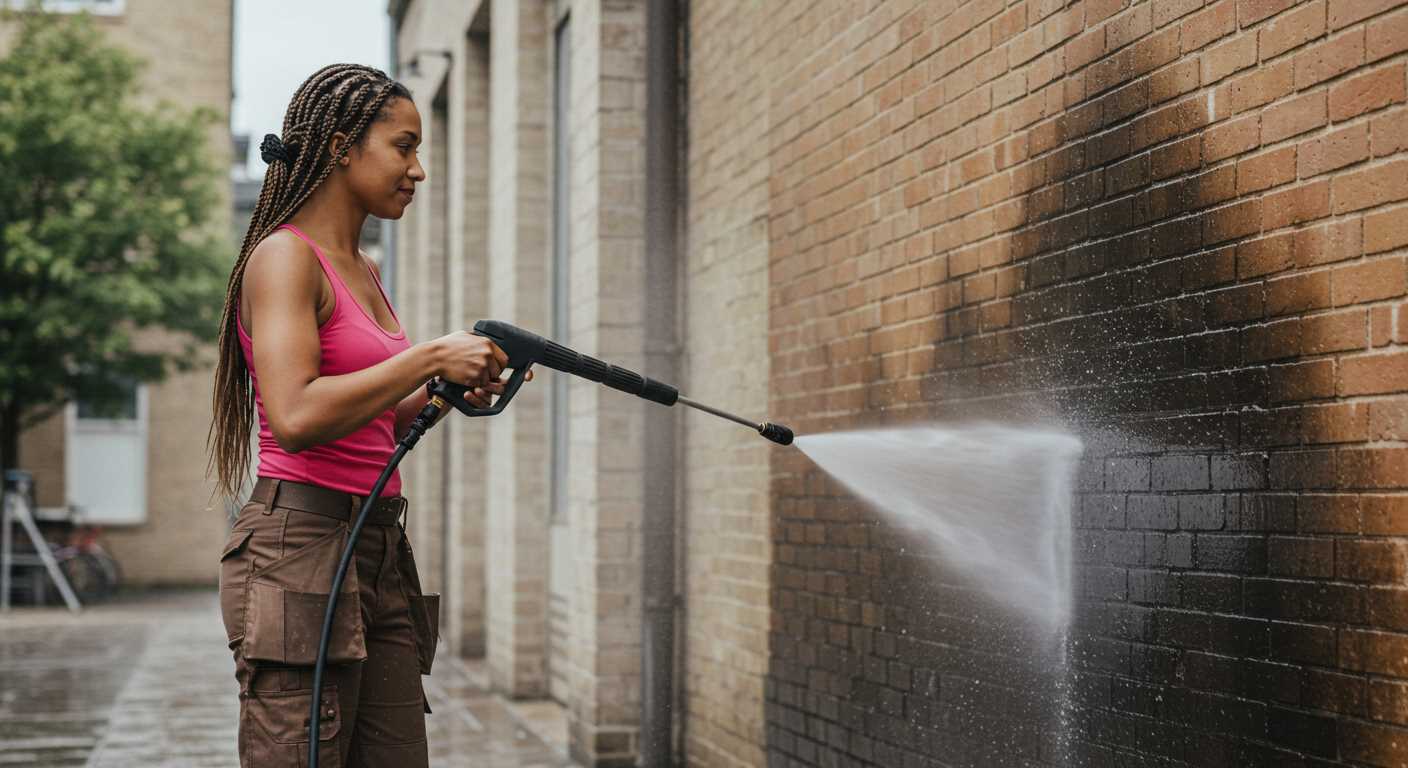
How Pressure Washers Work: Pressure and Water Dynamics
To understand how these cleaning devices operate, it’s crucial to focus on two key elements: water dynamics and the force applied. The mechanics behind the technology are relatively straightforward, yet they result in impressive cleaning capabilities.
Water Dynamics
The heart of the operation lies in the water flow. When the device is activated, water enters through an inlet and is drawn into a pump. This pump plays a vital role, as it increases the water’s pressure before it’s expelled through the nozzle. The nozzle’s design further influences how the water is released, allowing for various spray patterns and intensities.
- Inlet System: Water is drawn from a source, typically a hose or tank.
- Pump Mechanism: The pump pressurises the water, creating a forceful stream.
- Outlet Nozzle: The shape and size of the nozzle determine the spray’s reach and pressure.
Force Application
Once the water is pressurised, it exits through the nozzle at high velocity. The combination of speed and pressure results in a powerful jet that can remove dirt and grime from a variety of surfaces. I’ve seen stubborn stains vanish in seconds when using the right technique.
- Impact Force: The high-speed water strikes the surface, dislodging contaminants.
- Angle of Approach: Adjusting the angle at which you direct the stream can enhance cleaning efficiency.
- Distance from Surface: Keeping an optimal distance ensures the power is focused without causing damage.
For those tackling construction dust or similar debris, I recommend using a quality best air scrubber for construction dust alongside your cleaning device for comprehensive results. This combination can help in maintaining a clean environment effectively.
Potential Risks of Using High-Pressure Equipment on Gardx Coatings
When utilising high-pressure cleaning devices on surfaces treated with Gardx, caution is paramount. My years of experience have shown that while these coatings offer excellent protection, they can be compromised under certain conditions. One key issue arises from the intensity of water jetting. If the pressure is set too high, the force can lift the coating from the surface, leading to diminished effectiveness and potential peeling.
In my practice, I’ve observed that the nozzle distance plays a significant role. Keeping the nozzle too close can cause abrasions, especially on delicate finishes. I recommend maintaining a safe distance of at least 30 centimetres from the surface. This approach helps to mitigate the risk of damage, ensuring that the coating remains intact.
Another factor to consider is the temperature of the water. Using excessively hot water can weaken the bond of the protective layer. I’ve encountered situations where heated water has caused the coating to lose its sheen and protective qualities, which is frustrating for both the user and the vehicle owner.
Additionally, the cleaning solutions used in conjunction with these machines can react negatively with the coating. It’s crucial to select pH-balanced products that are compatible with Gardx. I’ve seen instances where harsh chemicals have led to discolouration or degradation of the protective layer, resulting in costly repairs.
Finally, frequency of use is an important consideration. Regular application of high-pressure techniques can wear down the coating over time. I suggest limiting this method to occasional use and opting for gentler cleaning methods for routine maintenance.
By adhering to these recommendations, you can prolong the life of your Gardx treatment and maintain the aesthetic appeal of your vehicle.
Best Practices for Cleaning Vehicles with Gardx Protection
Start by rinsing the vehicle with clean water to remove loose dirt and debris. This initial step helps prevent scratches during the cleaning process. Use a soft sponge or wash mitt with a pH-neutral shampoo to gently clean the surface. Avoid abrasive materials that can damage the protective coating.
Technique and Tools
Utilise a foam cannon for applying the shampoo evenly across the vehicle. This method allows the cleaning solution to cling to the surface longer, enhancing cleaning efficacy. Rinse the foam off thoroughly with clean water, ensuring no residue remains.
Drying and Finishing Touches
After rinsing, dry the vehicle using a microfibre towel to prevent water spots. This material is soft and effective, reducing the risk of scratches. Once dry, consider applying a quick detailer specifically designed for coated surfaces to enhance shine and add an extra layer of protection.
| Best Practice | Description |
|---|---|
| Initial Rinse | Remove loose dirt to minimise scratches |
| Soft Cleaning Tools | Use pH-neutral shampoo with a soft sponge |
| Foam Application | Utilise foam cannon for even coverage |
| Thorough Rinse | Ensure all cleaning products are rinsed off |
| Microfibre Drying | Prevent water spots with soft drying towels |
| Detailing Spray | Apply detailer for added shine and protection |
Alternative Cleaning Methods for Gardx-Protected Surfaces
To maintain surfaces protected with Gardx, consider using a gentle touch approach. A soft sponge or microfiber cloth combined with a mild pH-neutral shampoo can effectively remove dirt without compromising the coating. During my years in the cleaning equipment industry, I often recommended this method to clients, particularly for high-end vehicles.

Another efficient technique involves using a foam cannon. This tool, paired with a low-pressure nozzle, allows for a thick layer of foam to sit on the surface, loosening grime while being gentle on the protective layer. I recall a customer who was astonished at how well this method worked after previously relying on harsher alternatives. The results were impressive, and the vehicle retained its lustrous finish.
For tougher stains, a clay bar can be an excellent choice. This product pulls contaminants from the surface without scratching it. I’ve demonstrated this technique at workshops, and participants were always surprised by the noticeable difference it made. Just be sure to lubricate the surface with a dedicated lubricant or soapy water to avoid any abrasion.
Microfibre towels are indispensable for drying and buffing. Using them ensures that no water spots form, which can detract from the appearance of the coating. I’ve seen countless vehicles shine after a thorough drying process using these towels, leaving surfaces streak-free and pristine.
Lastly, regular maintenance with waterless wash solutions can be a game-changer for lightly soiled surfaces. These products are designed to encapsulate dirt particles, allowing you to wipe them away effortlessly. I often shared this tip with car enthusiasts who wanted to keep their vehicles looking fresh between thorough cleanings.
Signs of Damage on Gardx After High-Pressure Cleaning

After using a high-pressure cleaning tool, look for specific indicators of damage on the protective coating. One of the first signs to check for is loss of gloss. If the surface appears dull or has lost its shine, it may indicate that the protective layer has been compromised.
Another clear sign is the presence of streaks or marks. These can suggest that the coating has been stripped away in certain areas, exposing the underlying material to potential harm. Pay attention to any uneven surfaces that might indicate areas where the protective layer has been affected.
Additionally, inspect for peeling or flaking. If you notice sections where the coating is lifting away from the surface, this is a strong indication that the integrity of the protective layer has been breached. This can lead to further deterioration if not addressed quickly.
Discolouration can also be a telltale sign of damage. If the colour of the surface starts to fade or change, it might suggest that the cleaning method used has had a negative impact on the protective coating.
Lastly, be vigilant about water spots or stains that remain after cleaning. If these persist, it could point to a failure in the protective layer, allowing contaminants to settle onto the surface more easily. Regularly monitoring for these signs will help maintain the longevity of the protective coating.
Maintaining Gardx: Tips for Long-Lasting Protection
Regular maintenance can significantly extend the life of your protective coating. I’ve learned that using a pH-neutral shampoo during routine cleans makes a noticeable difference. Avoid acidic or alkaline cleaners, as they can weaken the protective layer over time.
In my experience, a soft microfiber cloth or sponge is the best choice for applying the cleaner. This ensures that you avoid scratching the surface while effectively removing dirt and grime. I recall a time when I used a rough cloth, thinking it would be more effective, only to end up with fine scratches that compromised the shine.
Rinsing thoroughly after using any cleaning products is crucial. Residue can lead to build-up, diminishing the protective qualities. I once overlooked this step and noticed a dullness that took extra effort to rectify. A good rinse with clean water will keep your surface looking pristine.
For added protection, consider applying a dedicated sealant every few months. This can enhance the gloss and provide an extra layer of defence against environmental factors. I’ve found that investing a little time in this step pays off, especially in harsh weather conditions.
Inspect the surfaces regularly for any signs of wear or damage. Look for areas where the coating may have started to lift or discolour. I’ve caught issues early on during routine checks, which saved me from more extensive repairs later.
Lastly, storing your vehicle indoors or using a high-quality cover can significantly reduce exposure to the elements. I’ve witnessed how much better a car fares when protected from sun, rain, and dirt, keeping that coating intact for longer periods. Taking these steps ensures your protective barrier remains effective and your vehicle stays looking its best.
.jpg)
.jpg)


