
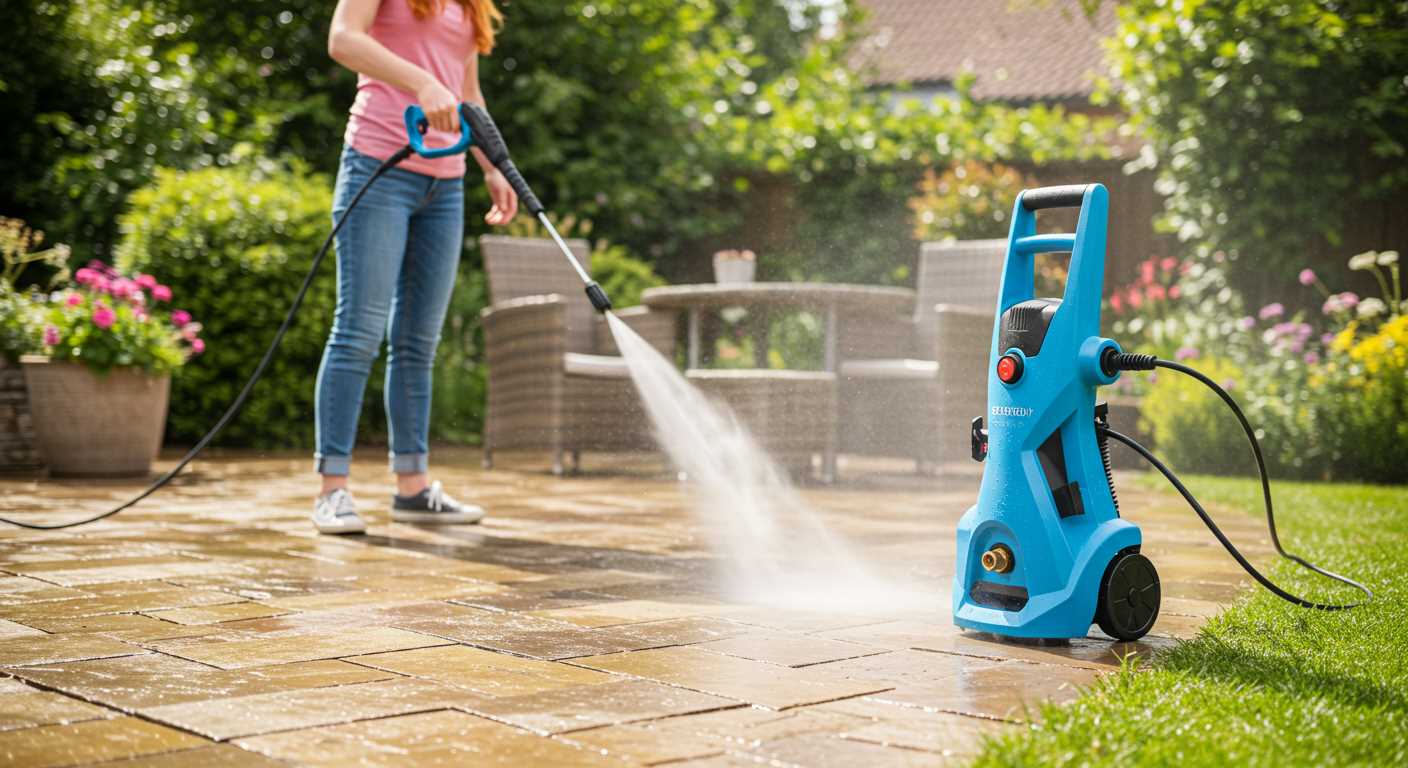


Absolutely, a high-pressure cleaner can effectively eliminate lichen and similar growths from various surfaces. In my extensive experience with these machines, I have seen firsthand how powerful jets of water can strip away stubborn organic matter that clings to patios, driveways, and roofs. The key lies in the right technique and equipment settings.
When tackling lichen, use a nozzle that produces a concentrated spray. This precision will help in dislodging unwanted growth without damaging the underlying material. I recommend starting at a distance of about 30 centimetres and adjusting as necessary to find the sweet spot for your specific surface. In my trials, I found that a pressure of around 2000 psi works wonders on concrete and stone.

Before you begin, it’s wise to wet the area thoroughly. This step softens the lichen, making it easier to remove. After applying the high-pressure spray, a follow-up with a stiff brush can help dislodge any remaining fragments. In my experience, combining mechanical action with high-pressure cleaning yields the best results, ensuring your surfaces look pristine and free from unwanted growths.
Understanding Moss Growth on Surfaces
To effectively manage the presence of green growth on various surfaces, it’s crucial to grasp the conditions that favour its development. Typically, damp, shaded areas provide an ideal environment for this organism. Surfaces like roofs, patios, and wooden decks are particularly susceptible due to moisture retention and limited sunlight exposure.
In my experience, I’ve observed that organic matter accumulation, such as leaves and debris, can significantly contribute to moss proliferation. When these materials combine with moisture, they create a breeding ground, making it necessary to regularly clear away any build-up to prevent unwanted growth.
Temperature also plays a role. Moss thrives in cooler conditions, particularly in spring and autumn. During these seasons, even slight moisture can lead to rapid spread, often resulting in dense patches that are challenging to eliminate. Monitoring these factors can help in early detection and intervention.
For a more thorough understanding of the cleaning process, consider the importance of selecting the right technique and tools. While high-velocity water streams can remove surface-level growth, they may not be sufficient for complete eradication. Regular maintenance and preventative measures are paramount to keeping these surfaces clean.
If you’re interested in exploring more about time management in cooking, check out this article on how long to steam a pudding using a pressure cooker. Just as with cleaning, knowing the right timing can make all the difference in achieving the desired results.
How a High-Pressure Cleaner Works for Cleaning
Using a high-pressure cleaner is straightforward and delivers impressive results. The device operates by drawing water from a source, such as a tap, and then pressurising it through a motor. The key component is a pump that increases the water pressure, allowing it to be expelled through a nozzle at high velocity. The power generated can effectively dislodge various types of dirt, grime, and unwanted growth from surfaces.
Understanding the Mechanism
When the trigger is pulled, water is forced through a narrow opening, creating a focused jet. This high-speed stream can reach several hundred bar, depending on the model, allowing it to tackle stubborn buildups. The adjustable nozzles let you alter the spray pattern, which can vary from a wide fan to a concentrated jet, providing versatility for different cleaning tasks.
Application Techniques
For optimal results, angle the nozzle at around 45 degrees to the surface. This position maximises the impact while minimising the risk of damaging delicate materials. Start from a distance of about two feet, gradually moving closer as needed to avoid causing harm. Techniques such as overlapping strokes ensure even coverage, preventing streaks or missed spots.
| Surface Type | Recommended Pressure (bar) | Recommended Nozzle Type |
|---|---|---|
| Concrete | 150-200 | Rotary |
| Wood | 70-100 | 25-degree |
| Brick | 100-150 | 15-degree |
| Car | 100-120 | 25-degree |
Always remember to protect surrounding areas and adjust settings according to the material being cleaned. Regular maintenance of the machine itself, including checking hoses and nozzles, ensures longevity and consistent performance. From my experience, mastering the right technique and equipment can make any cleaning task much simpler and more satisfying.
Preparing Your Equipment for Moss Removal
Before tackling the task of cleaning surfaces plagued by green growth, ensure your machine is in optimal condition. Here’s how to get ready:
- Check the Nozzle: Use a narrow-angle nozzle, typically 15 or 25 degrees. This will concentrate the water stream for better removal of stubborn growth.
- Inspect Hoses and Connections: Look for any signs of wear or leaks. A tight, secure connection prevents loss of power and ensures effective cleaning.
- Fill with Clean Water: Ensure the tank is filled with fresh water. Contaminants can impair performance and leave residues.
- Choose the Right Detergent: If you plan to use a cleaning solution, select one specifically designed for biological growth. Always follow the manufacturer’s guidelines.
- Power Source: Ensure you have a reliable power source. For electric models, check the cord for damage. For gas units, confirm fuel levels and oil quality.
- Stabilise the Surface: If it’s safe, clear the area around the cleaning site. This avoids accidents and allows for an unobstructed cleaning path.
Based on my experience, taking these steps not only enhances performance but also prolongs the life of the equipment. I once overlooked a simple hose check, leading to a frustrating delay in a project. Don’t make the same mistake.
Once everything is set up, you’ll be ready to tackle those green patches effectively!
Best settings for eliminating stubborn growth
To effectively tackle unwanted green growth, adjust your equipment to a pressure of around 2000 to 3000 PSI. This range strikes the right balance between power and safety, minimising the risk of damaging surfaces. For surfaces like wood or shingles, a lower setting closer to 2000 PSI is advisable to prevent wear.
Nozzle selection matters
Utilise a wide-angle nozzle, specifically a 25-degree or 40-degree one, for broad cleaning areas. This helps disperse the water over a larger surface without concentrating too much force in one spot. Avoid using a zero-degree nozzle; the intense pressure can cause harm to delicate materials.
Appropriate distance and technique
Maintain a distance of approximately 2 to 3 feet from the surface when spraying. Move the wand in a sweeping motion, ensuring even coverage. For stubborn patches, you may need to hold the nozzle closer, but be cautious to avoid damage. Always work from the top down to allow debris and water to flow away from the cleaned area.
In some cases, pre-treating the area with a suitable cleaning solution can enhance results. After treatment, waiting for about 10 to 15 minutes before rinsing helps the solution penetrate effectively. If you’re also looking to clean windows, consider checking out a pressure washer for cleaning windows for optimal results.
Safety precautions when using a pressure cleaning device
Always wear appropriate protective gear. This includes safety goggles to shield your eyes from debris, sturdy gloves to protect your hands, and non-slip footwear to avoid accidents on wet surfaces. A full-length apron can also guard against any stray spray or chemical exposure.
- Check the equipment: Before you start, inspect the unit for any visible damage, such as frayed cords or leaks. Ensure all connections are secure to prevent unexpected mishaps.
- Maintain a safe distance: Keep the nozzle at least two feet away from the surface you are cleaning. This distance helps prevent damage to surfaces and reduces the risk of injury from flying debris.
- Avoid overhead cleaning: When working on roofs or elevated surfaces, use a stabilising ladder or platform. Never lean too far over the edge or reach excessively while handling the device.
- Protect bystanders: Ensure that children and pets are at a safe distance from the work area. It’s wise to inform neighbours about your cleaning schedule, especially if they live nearby.
- Mind the power source: Use extension cords rated for outdoor use. Keep cords away from water to prevent electrical hazards. Always unplug the unit when changing nozzles or performing maintenance.
Familiarising yourself with the user manual is crucial. Each model may have specific safety instructions tailored to its design. Understanding these nuances can prevent accidents and ensure effective operation.
Finally, if you’re using detergents or chemicals, follow the manufacturer’s guidelines for safe handling and application. Mixing different cleaning agents can be hazardous, so stick to recommended products.
Comparing high-pressure cleaning to other moss removal methods
For effective removal of unwanted green growth, using high-pressure cleaning stands out against traditional approaches like scrubbing or chemical treatments. In my experience, the sheer force of water can dislodge stubborn growth quickly and efficiently, often in a single pass. I’ve seen how a concentrated jet can clear large areas without the need for excessive manual labour.
While chemical solutions may seem appealing, they often require time to take effect and can pose risks to surrounding vegetation and surfaces. I’ve encountered situations where chemicals damaged plants or left residues that needed additional cleaning. In contrast, high-pressure cleaning operates using just water, minimising these risks while delivering immediate results.
Manual scrubbing is another common technique, but it can be laborious and time-consuming, especially on extensive surfaces. I recall spending an entire afternoon scrubbing a patio, only to find I hadn’t removed all the growth. With a high-pressure unit, that same area was cleaned in mere minutes, allowing for more time to enjoy the results rather than labouring over them.
Another method often discussed is using a steam cleaner. While steam can be effective in certain situations, it typically requires a longer duration to achieve similar results. In my hands-on experience, the immediate impact of high-pressure cleaning was far superior for tackling thick layers of unwanted greenery.
In summary, while there are various methods available for eliminating unwanted growth, high-pressure cleaning consistently proves to be the quickest and most efficient option, saving both time and effort while ensuring thorough results.
Post-cleaning care for surfaces affected by moss
After tackling the green invader, it’s crucial to maintain the surface to prevent regrowth. My experience has taught me that a few simple practices can significantly prolong the cleanliness of your surfaces.
First, consider applying a biocide or moss killer. I’ve seen the benefits firsthand; these products can create a protective barrier that inhibits future growth. Ensure you choose a formulation suitable for the specific material you’re treating, whether it’s wood, stone, or concrete.
Next, regular inspections are key. I recommend checking the area at least once a month, looking for any signs of new growth. Early detection means less effort to manage. If you spot any resurgence, a quick treatment can save you from a larger problem later.
Also, remember to clear debris from the surface. Leaves and dirt can trap moisture, creating an ideal environment for moss to thrive. A simple sweep or rinse can make a big difference. I often advise homeowners to create a routine–perhaps after a rain shower–just to keep an eye on things.
Finally, keep surrounding vegetation trimmed back. If plants or trees are shading the area, they can contribute to moisture retention and promote moss growth. I’ve found that a little landscape management goes a long way in maintaining a clean and healthy surface.
Maintaining a moss-free environment after cleaning
To keep surfaces clear of unwanted green growth, immediate post-cleaning care is vital. Once you’ve removed the unwanted vegetation, applying a biocide or moss killer can help prevent regrowth. Look for products specifically designed to inhibit moss and algae, ensuring they are safe for the surfaces you’re treating.
Regular Inspections
Schedule routine checks every few months, especially in damp or shaded areas where growth is more likely. Early detection allows for timely intervention, preventing extensive infestations. During these inspections, look for any signs of re-emerging greenery or discoloration.
Environmental Modifications
Consider altering the environment to discourage future growth. Trim back overhanging branches to increase sunlight exposure on surfaces. Reducing shade can significantly limit moisture retention, making conditions less favourable for moss to thrive. Additionally, improving drainage around your property can help keep areas dry.
| Action | Frequency | Benefits |
|---|---|---|
| Apply biocide | Every 6-12 months | Prevents regrowth |
| Inspect surfaces | Every 3 months | Early detection of growth |
| Trim overhanging branches | As needed | Increases sunlight |
| Improve drainage | As needed | Reduces moisture |
Implementing these strategies ensures a prolonged period free from unwanted greenery, maintaining the aesthetics and integrity of your surfaces. Stay proactive, and you’ll enjoy a cleaner environment year-round.
FAQ:
Can a pressure washer effectively remove moss from surfaces?
Yes, a pressure washer can be quite effective at removing moss from various surfaces such as patios, driveways, and roofs. The high-pressure water stream dislodges the moss, making it easier to wash away. However, it’s important to adjust the pressure settings according to the surface material to avoid damage.
What type of pressure washer is best for moss removal?
For removing moss, a pressure washer with a minimum pressure of 2000 PSI is recommended. Electric models are suitable for smaller areas, while gas-powered washers are better for larger surfaces. Additionally, using a wider nozzle can help cover more area without damaging the surface.
Do I need to use any chemicals along with the pressure washer to remove moss?
While a pressure washer can remove moss on its own, using a moss-killing solution beforehand can enhance the results. This solution helps to break down the moss and makes it easier to wash away. After applying the chemical, allow it to sit for a while before using the pressure washer for optimal results.
Is it safe to use a pressure washer on my roof to remove moss?
Using a pressure washer on a roof can be risky, as the high pressure can damage shingles or tiles. If you choose to use one, it’s advisable to use a lower pressure setting and a wide-angle nozzle. Alternatively, consider hiring a professional who can safely clean the roof without causing damage.
How often should I use a pressure washer to prevent moss growth?
To prevent moss growth, it’s generally a good idea to pressure wash surfaces at least once a year, particularly in damp or shaded areas where moss tends to thrive. Regular maintenance can help keep surfaces clean and reduce the likelihood of moss returning.

.jpg)


