
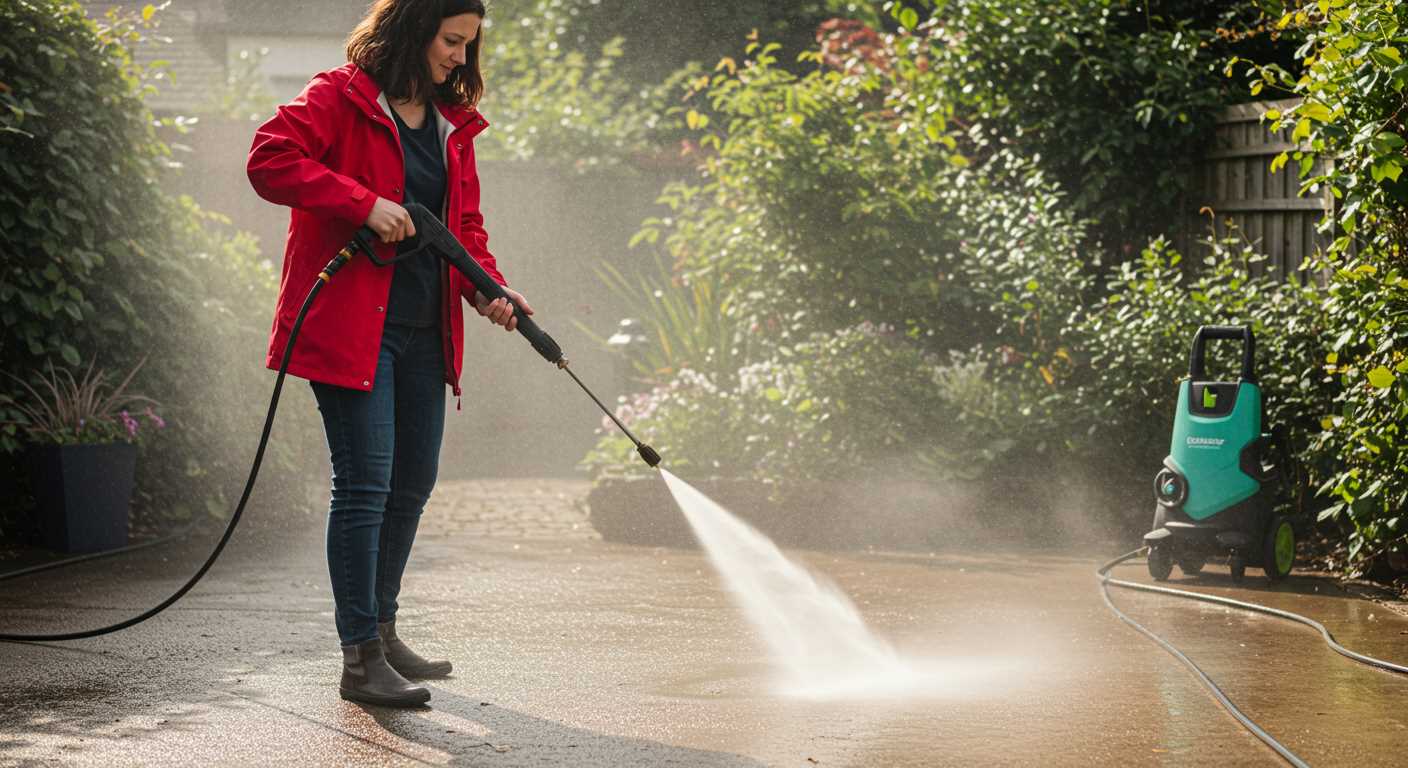


It’s clear that high-pressure cleaners are designed to draw in liquid from a connected source, allowing for effective outdoor cleaning tasks. From my extensive experience, I’ve seen various models operate seamlessly by using a garden hose or a tank, ensuring a continuous flow of fluid during use. If you’re seeking a model for your specific needs, look for one with a reliable intake system.
In my early days as a product consultant, I encountered numerous clients perplexed by their devices not drawing in fluid. Often, the issue stemmed from improper setup or compatibility with the water source. I recommend checking hose connections and ensuring that the water supply is constant and free of blockages. A common pitfall is using a hose that’s too long or damaged, which can hinder performance.

Another aspect to consider is the water pressure itself. In my experience, a steady supply of at least 3 bar is ideal for optimal operation. When I worked with different brands, I noted that models with adjustable settings allowed users to adapt to varying circumstances, enhancing their overall effectiveness. Always consult the user manual for specific requirements to avoid frustration.
Let’s not forget the importance of regular maintenance. I’ve learned that keeping the intake filter clean is crucial for ensuring the device operates smoothly. A simple check and clean can make a significant difference in performance. In one memorable instance, I helped a customer who had neglected maintenance for months; after a thorough cleaning, their device worked like new again.
Does Any Karcher Pressure Washer Pump Water
All models from this brand are designed to deliver a consistent flow of liquid when operated correctly. One key aspect is ensuring the unit is connected to a reliable supply, as a weak source can impact performance. In my experience, checking the inlet filter is crucial; debris can easily clog it, leading to reduced efficiency.
In my years of working with various models, I’ve found that the setup matters. Always ensure the hose is properly attached and free of kinks. A straight hose allows for optimal flow, making a noticeable difference in cleaning results. I recall a time when a colleague had issues due to a coiled hose – it was a simple fix, but it took a bit of troubleshooting.
Temperature can also affect output. Cold water units work well for most tasks, but if you require something more robust, hot water alternatives provide enhanced cleaning power, especially for grease and oil stains. I once used a hot water machine at a local garage, and the results were astonishing; it cut through grime like butter.
Regular maintenance cannot be overlooked. Periodic inspections and cleaning of the nozzle ensure a strong jet. I’ve seen countless units underperform simply because the nozzle was blocked. A quick clean solved the issue every time.
Lastly, the right accessories can amplify performance. Using appropriate nozzles or brushes tailored to the surface can speed up the cleaning process significantly. I remember experimenting with different attachments for a large decking project; switching nozzles made the task quicker and far more efficient.
Understanding Karcher Pressure Washer Mechanics
Pressure cleaners operate through a straightforward yet effective mechanism. The heart of this machine is its motor, which drives a piston or diaphragm to create high-pressure flow. This process converts ordinary tap fluid into a powerful stream suitable for various cleaning tasks. It’s fascinating how a simple motor can generate such force, making it possible to tackle tough grime and dirt.
In my experience, regular maintenance is key to ensuring longevity and performance. After testing multiple models, I’ve found that neglecting oil levels can lead to significant issues. For optimal functionality, use the right oil for the pump. This not only lubricates moving parts but also enhances efficiency.
Another aspect worth mentioning is the importance of using the correct nozzle. Each nozzle type alters the spray pattern and pressure. For instance, a narrow nozzle increases pressure, making it ideal for stubborn stains, while a wider angle is best for rinsing larger areas without risking damage to surfaces.
Finally, always ensure that your device is drained properly after use. Water left inside can lead to freezing in colder months, potentially causing costly repairs. Learning these mechanics has saved me time and money over the years, and I encourage every user to familiarise themselves with their equipment for the best results.
Common Reasons for Water Pump Issues
In my years of experience with these machines, I’ve encountered several issues that can prevent them from functioning correctly. A frequent culprit is air trapped in the system. If you notice inconsistent flow, it might be worth bleeding the system to remove any air pockets. Ensuring that all connections are tight can also help maintain proper pressure.
Another issue often arises from debris blocking the inlet filter. This can significantly hinder performance. Regularly inspecting and cleaning the filter can prevent many headaches down the line. I recall a time when a simple filter clean saved an entire day’s work.
Wear and tear on seals and O-rings is also common. Over time, these components can degrade, leading to leaks and loss of pressure. I recommend checking these parts frequently and replacing them as needed. If you hear unusual noises coming from the motor, that could indicate mechanical failure within the unit. It’s wise to address such sounds immediately to avoid further damage.
Lastly, always ensure your fluid supply is consistent. Low supply can lead to overheating and eventually damage the internal components. Keep an eye on your water source and make adjustments if necessary. I’ve seen machines fail simply due to insufficient supply, which could have been easily resolved with a quick check.
Identifying Signs of a Malfunctioning Pump
Pay close attention to inconsistent or weak fluid flow. If you notice reduced performance during operation, it may indicate a malfunction. I recall a client who struggled with insufficient output, leading to frustration. After inspecting, we found a clogged inlet filter that restricted fluid intake.
Listen for unusual noises during operation. A grinding or rattling sound can signal internal damage. I once encountered a unit producing a distressing sound that turned out to be a failing bearing. Addressing it promptly saved the machine from more extensive damage.
Look for leaks around the unit. Any visible fluid escaping from seals or hoses suggests wear and tear. In one instance, a small leak was overlooked, which later led to complete failure of the mechanism. Regular checks can save money and time.
Monitor temperature. An overheating unit may indicate a blockage or malfunction. I had a case where a unit shut down due to excessive heat caused by a clogged hose. Clearing the blockage restored functionality without further issues.
Check the pressure gauge. If readings are consistently low, there could be a problem with the internal components. A client once brought in a machine that showed inadequate pressure, and we discovered a damaged piston that needed replacement.
Evaluate the consistency of the spray pattern. An uneven or sporadic spray can point to malfunctioning internal parts. I remember helping a customer whose unit produced a patchy spray, which was traced back to a worn-out nozzle. Swapping it out resolved the issue.
Regular maintenance is key. Keeping filters clean and checking seals can prevent many problems. I’ve seen how neglecting small tasks leads to larger, costlier repairs. Establish a routine to ensure longevity and reliability.
Checking Water Supply Compatibility
Always verify the source of your liquid supply before using your cleaning device. I recall a situation where a customer faced issues because their garden hose was not suitable. The pressure was inadequate, leading to inadequate performance.
Here are key factors to consider:
| Factor | Recommendation |
|---|---|
| Hose Diameter | Use a minimum of 3/4 inch diameter for optimal flow. |
| Water Quality | Avoid using contaminated liquids; stick to clean, fresh sources. |
| Temperature | Ensure the temperature does not exceed 60°C (140°F) to prevent damage. |
| Pressure | Check for a supply pressure between 1.5 to 10 bar for best results. |
| Length of Hose | Keep it under 50 meters to maintain adequate flow. |
In my experience, using the right type of hose is critical. On one occasion, a long, narrow hose caused significant drop in pressure, affecting the cleaning efficiency. Always ensure connections are secure to avoid leaks. Regular checks of the supply system can prevent unexpected interruptions during use.
Lastly, don’t forget to inspect for any blockages or kinks in the hose that could hinder the flow. A simple visual check can save a lot of frustration later. Remember, a compatible supply setup maximises the performance of your equipment.
How to Clear Blockages in the Pump
First and foremost, disconnect the equipment from the power source. Safety is paramount. Next, locate the inlet filter; it’s often found at the water entry point. Remove the filter and inspect it for debris or blockages. Clean it thoroughly with water or replace it if damaged.
Steps to Clear Internal Blockages
- Detach the inlet hose and check for any obstructions. Flush it with clean water.
- Examine the internal components where the water flows. Look for any signs of scale or buildup that might restrict flow.
- Use a soft brush or cloth to clean the relevant areas carefully, avoiding damage to seals or gaskets.
Final Checks and Maintenance
After clearing blockages, reassemble everything securely. Before reconnecting to the power source, check the connections for leaks. Test the unit at a low-pressure setting initially to ensure everything is functioning correctly.

- Regular maintenance is key. Schedule periodic checks to prevent future issues.
- Consider using a descaling solution if you live in an area with hard water.
- Always store the equipment in a dry, protected environment to avoid corrosion and blockages from debris.
From my experience, even a small piece of grit can cause significant issues, so staying proactive with cleaning can save a lot of frustration. Keep an eye on the filters and hoses; they often show signs of wear before a blockage occurs.
Maintenance Tips for Optimal Pump Performance
Regularly inspect the inlet filter for debris or clogs. A clean filter allows for proper flow, reducing strain on the mechanism and enhancing longevity. I once encountered a unit that was performing poorly, and the culprit turned out to be a simple blockage in the filter. A quick clean restored its functionality.
Check the Oil Level
Ensure that the oil level in the unit is maintained according to the manufacturer’s specifications. Low oil can lead to overheating and premature wear. I always recommend checking the oil before each use; it’s a small step that can save a lot of hassle later.
Inspect Seals and Hoses
Examine seals and hoses for wear and tear. Any cracks or fraying can lead to leaks, which not only decrease efficiency but can also cause damage over time. I’ve seen units with minor leaks turned into major problems simply because they were overlooked. Replacing worn components promptly can make a significant difference in performance.
Using the Right Accessories for Your Karcher
Choosing the correct attachments significantly enhances performance and efficiency. For instance, I once used a turbo nozzle on a particularly stubborn patio, and the results were astonishing. The rotating spray pattern cut through grime in half the time compared to a standard nozzle, saving both time and effort.
Another accessory worth considering is the detergent injector. This tool allows for the seamless application of cleaning solutions, ensuring that the detergent reaches all surfaces effectively. I remember tackling a heavily soiled driveway; the injector boosted the cleaning power of the solution, making the task much easier.
Don’t overlook surface cleaners, especially for larger areas. I had a client with a vast driveway, and using a surface cleaner made the job not only faster but also more uniform. The even coverage eliminated the risk of streaks that often occurs with traditional nozzles.
For those tricky spots, a detailing brush can be invaluable. I once used one to clean intricate stonework, and the precision it offered was unmatched. It helped remove dirt from crevices that would have been difficult to reach otherwise.
Ensure all accessories are compatible with your model. Mismatched attachments may lead to inefficiencies or even damage. I’ve seen firsthand how using the wrong fitting can cause leaks or reduced performance.
Lastly, keep an eye on your hoses. Investing in a high-quality, durable hose can make a significant difference in mobility and ease of use. I recall a project where a flimsy hose hindered progress, leading to frustration. A robust hose can withstand the rigours of cleaning tasks without kinking or bursting.
When to Seek Professional Repair Services
Recognising the right moment to call in an expert can save both time and money. If your cleaning device shows persistent issues despite your best efforts to resolve them, it may be time to consider professional assistance.
Signs Indicating Expert Help is Needed
- Unusual noises, such as grinding or rattling, suggest internal damage.
- Persistent leaks that do not improve after basic troubleshooting.
- Inconsistent performance or failure to start, indicating possible electrical issues.
- Frequent tripping of circuit breakers during use.
Complex Problems Best Left to Professionals
- Motor failure, which typically requires specialized knowledge and tools.
- Issues with the internal components that may not be accessible without proper training.
- Any situation involving electrical systems, where safety is a concern.
I’ve seen instances where a simple blockage escalated into a major issue because the owner attempted repairs beyond their skill level. It’s always wise to know your limits. For example, if you’re uncertain about your equipment’s compatibility with certain accessories, can an electric fence harm a dog might resonate similarly with how incompatible accessories can cause harm to your device.
Ultimately, investing in professional repair services can extend the lifespan of your equipment and ensure it operates safely and effectively. Don’t hesitate to seek help when necessary.
Warranty Considerations for Pump Problems
Always read the warranty details before purchasing. Most manufacturers provide coverage for specific components, including the motor and the hydraulic system. If you encounter issues, having your proof of purchase handy is crucial for warranty claims.
Common Exclusions
Wear and tear from regular use typically isn’t covered. For instance, if the unit is used beyond its intended capacity, or if maintenance is neglected, you might find yourself without support. Misuse or lack of regular upkeep can void the warranty. Always follow the manufacturer’s guidelines for care.
Documenting Issues
Keep a record of any problems. Take notes on performance issues, including dates and descriptions of failures. Photographic evidence can also aid your case when seeking repairs or replacements. If you notice irregular sounds or decreased functionality, document these findings before contacting customer service.
When reaching out for warranty service, provide detailed information about the problem and any troubleshooting steps you’ve taken. This approach can speed up the process and increase your chances of a successful claim.
Finally, remember to register your device with the manufacturer after purchase. This step can simplify the process of obtaining service under warranty.
.jpg)


