


Begin by ensuring you have the correct adapter that matches the specifications of your unit and the blending faucet. This simple step can save time and potential hassles down the line. I recall my first attempt at this–what a challenge it was! Countless trips to the hardware store later, I discovered that the right fitting makes all the difference.
Next, turn off the water supply to avoid any unpleasant surprises. I remember trying to connect a cleaner without doing this; the result was a spray of water that caught me completely off guard. Once the supply is shut off, you can unscrew the existing hose from the valve with ease. Keep a towel handy, as some residual water may escape during this process.
After removing the old connection, attach your new adapter securely to the blending valve. It’s crucial to ensure a tight seal to prevent leaks. I’ve seen too many friends overlook this and end up with a slippery mess. Once connected, you can then attach your cleaning device’s hose to the other end of the adapter. Ensure everything is snug and secure; a loose fit can lead to inefficiencies during operation.
Finally, don’t forget to turn the water supply back on slowly. I learned this the hard way–rushing can lead to unexpected pressure issues. Once everything is reconnected and the water is flowing, test the setup for leaks by running your cleaner briefly. If there are no drips or sprays, you’ve successfully made the connection!
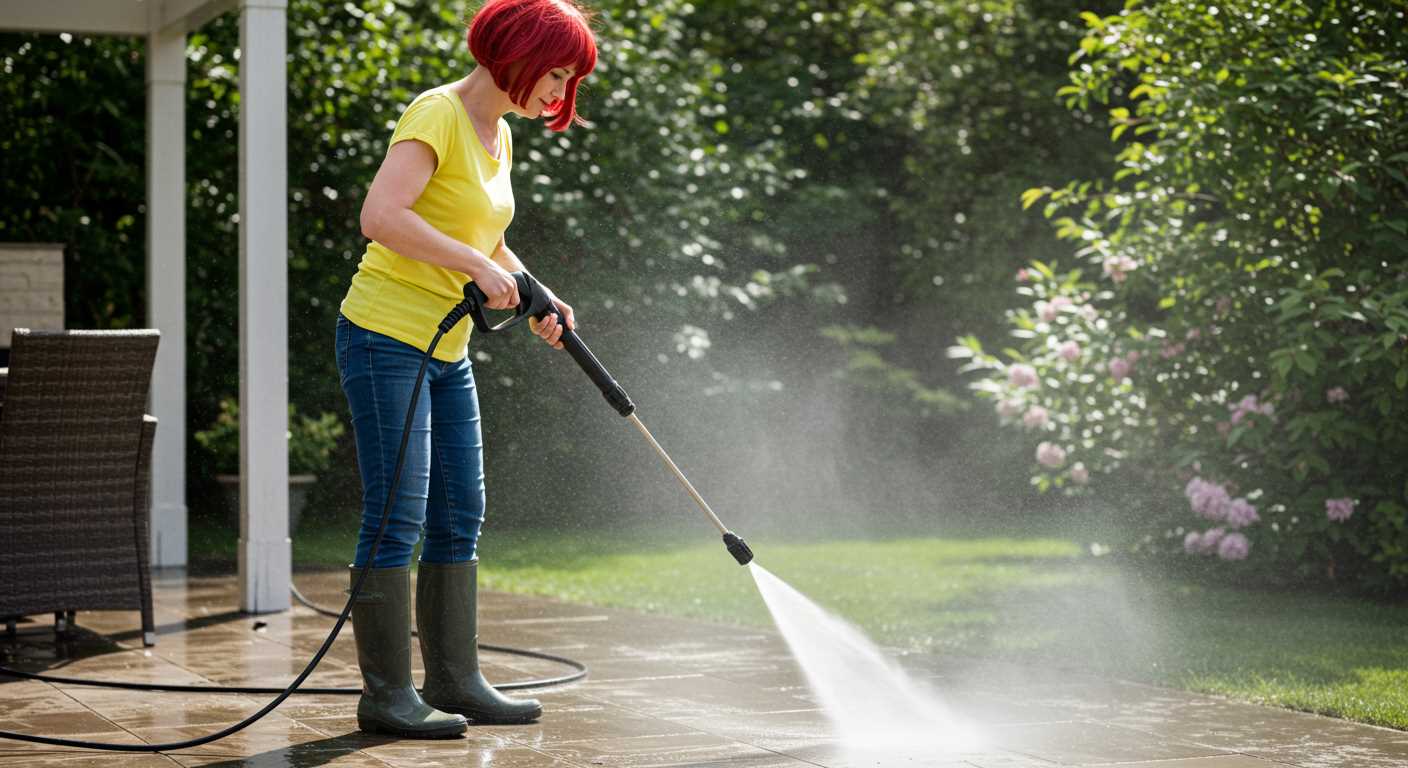
Connecting a High-Pressure Cleaner to a Mixer Faucet
Use an appropriate adapter to create a secure connection between your high-pressure cleaner and the mixer faucet. I’ve found over the years that the right fittings can save a lot of hassle.
- Start by measuring the diameter of the faucet outlet. Most mixer faucets have a standard size, but it’s always good to check.
- Purchase an adapter that matches the measurements. Ensure it is compatible with both your cleaner and the faucet; brass or plastic options are common.
- Turn off the water supply to avoid any leaks during installation.
Once you have the adapter, follow these steps:
- Remove any existing attachments from the faucet.
- Attach the adapter securely by screwing it onto the faucet outlet. Use plumber’s tape if necessary to prevent leaks.
- Connect the hose from the cleaner to the other end of the adapter. Ensure a tight fit to avoid any disconnection during use.
After everything is connected:
- Turn the water supply back on slowly to check for leaks. If you notice any, make adjustments to tighten connections.
- Test the system by running the cleaner. Verify that water flows without interruptions.
In my experience, a well-sealed connection can make a significant difference in performance. Make sure to regularly inspect the setup for any wear and tear, as this can affect the cleaning efficiency over time.
Choosing the Right Adapter for Your Mixee Tap
To ensure a seamless connection between your cleaning unit and a standard kitchen faucet, selecting the correct adapter is key. I recommend prioritising compatibility with your existing tap setup by measuring the thread size and type. Most kitchen faucets have either a ½-inch or ¾-inch thread, so having an accurate measurement is crucial.
In my experience, a universal adapter often does the trick. These adapters usually come with multiple fittings to accommodate various thread sizes. Always check for rubber seals within the adapter to prevent leaks, which I’ve found to be a common issue when using lower-quality products.
Types of Adapters
There are primarily two types of adapters: screw-on and snap-on. Screw-on types provide a more secure connection and are less likely to come loose during operation. Snap-on fittings, while easier to attach, can sometimes disconnect under pressure. I’ve learned the hard way that opting for a screw-on adapter can save you from unexpected interruptions while working.
Where to Purchase
Shopping at a reputable hardware store or online retailer is your best bet for finding high-quality adapters. Reading customer reviews can give insight into the reliability and performance of the product. If you’re in doubt, consulting an expert at a local store can help steer you in the right direction. For additional insights on equipment choices, consider exploring resources like are digital cameras better than film cameras, which, while not directly related, does highlight the importance of making informed decisions on your tools.
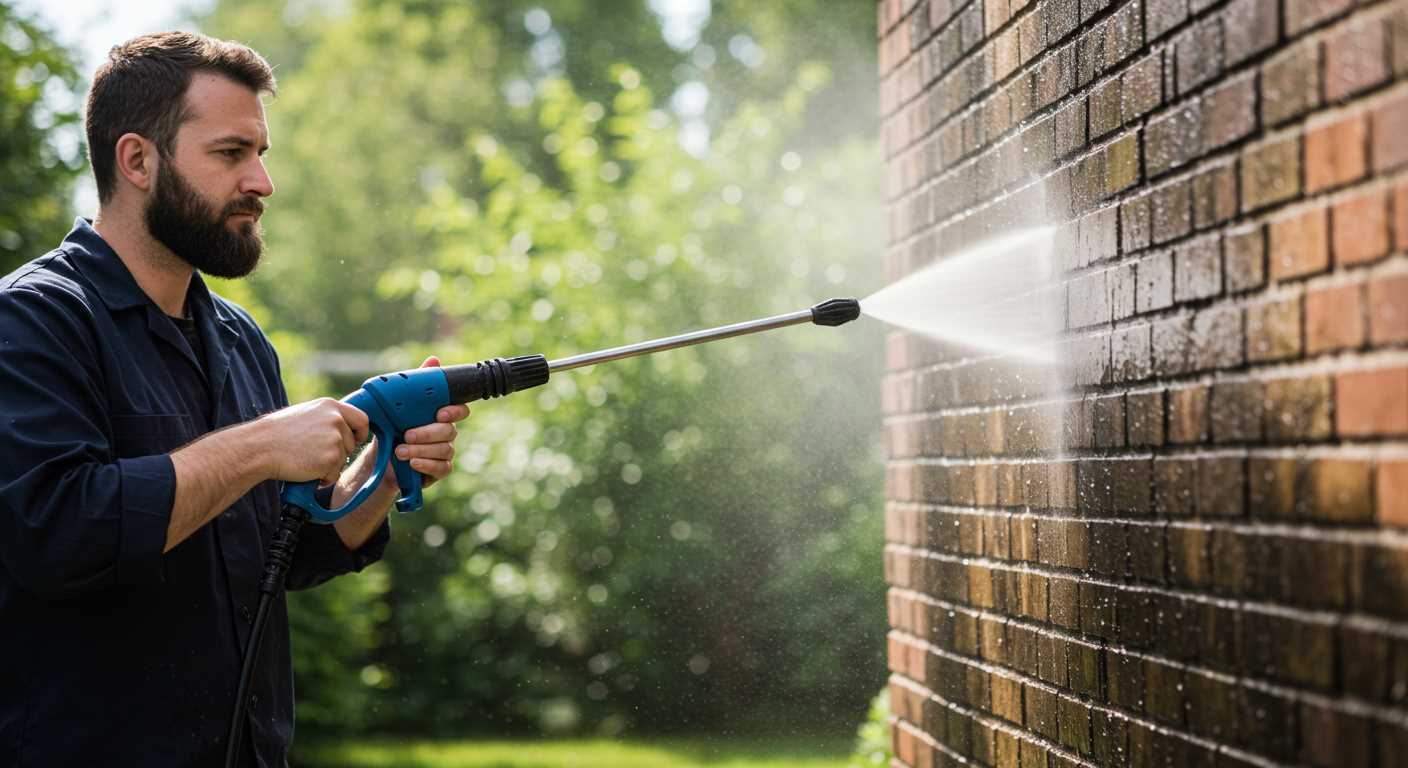
Preparing the Pressure Washer for Connection
Ensure that the machine is positioned on a flat surface, ideally close to the water source. Check the manual for specific instructions regarding setup, as different models may have unique requirements. Before connecting any hoses, inspect them for wear or damage. A frayed hose can lead to leaks and reduce performance, so it’s wise to replace any compromised parts.
Water Supply Check
Verify that the water supply is adequate and free of debris. Clear any filters or strainers to prevent blockages. Once the water source is ready, attach the inlet hose securely to the washer, making sure it’s tight enough to prevent any leakage during operation. I always give it a gentle tug to ensure it’s secure before turning the water on.
Power Connection
If your unit is electric, ensure the power cord is in good condition and rated for the wattage of your equipment. Avoid using extension cords if possible, as they can cause voltage drops. Plug the device into a grounded outlet to prevent electrical hazards. For gas models, check the fuel levels and ensure the oil is at the proper level. Proper maintenance is key for optimal performance.
Steps to Attach the Pressure Washer to the Tap
Ensure the water supply is turned off before beginning the connection process. Check that the threaded end of your water inlet is clean and free from debris to avoid leaks.
Start by selecting the right connector for your system. Often, a universal connector will suffice, but if you have a specific model, consult the manufacturer’s guidelines for compatibility. Once you have the correct adapter, proceed as follows:
| Step | Description |
|---|---|
| 1 | Attach the adapter to the water source. Align the threads on the adapter with those on the inlet and rotate clockwise until secure. Hand-tightening is usually sufficient. |
| 2 | Connect the hose from the cleaning unit to the opposite end of the adapter. Ensure the hose is pushed in fully and tightened using a wrench if necessary, but take care not to over-tighten, as this could damage the fittings. |
| 3 | Open the water supply gradually. Check for any signs of leaks at the connection points. If you notice water escaping, turn off the supply and check the tightness of the connections. |
| 4 | Once confirmed there are no leaks, turn on the device and allow it to pressurise. Keep an eye on the connections during this step to ensure everything remains secure. |
After these steps, you should be all set to start using your cleaning unit effectively. It’s always a good practice to familiarise yourself with the owner’s manual for specific instructions related to your model.
Checking for Leaks and Ensuring a Secure Fit

After connecting your cleaning unit to the water source, checking for leaks is paramount. A simple visual inspection often suffices. Turn on the water supply and examine all connection points. Look for any signs of moisture or dripping. If you spot any leaks, gently tighten the connections. Use a wrench if necessary, but be careful not to overtighten, which could cause damage.
Using Water-Safe Sealants
In cases where tightening doesn’t resolve the issue, consider applying a water-safe sealant tape around the threads of the connectors. This can help create a more watertight seal. I’ve had success with Teflon tape in the past; just wrap it around the threads a few times before reattaching. It’s a small step that can save you from significant messes down the line.
Final Checks Before Use
Once everything appears secure, perform another round of checks. With the water on, observe the connections for a minute. If everything remains dry, you’re set for use. If you’re in the Dublin area, you might want to explore options like those listed on pressure washer dublin ca for quality equipment that suits your needs. Ensuring a leak-free connection not only protects your equipment but also enhances your cleaning experience.
Troubleshooting Common Connection Issues
Check for any discrepancies in the thread size between the adapter and the faucet. I once encountered a situation where a common size mismatch caused significant frustration. A quick comparison with a thread gauge resolved the issue swiftly. Always have a few gauges handy; they can save you time and effort in the long run.
Seal Integrity
Inspect the rubber washer inside the connector. A worn or damaged washer can lead to leaks, which is often overlooked. I remember a time when I thought I had everything secured, only to find water spraying from an unnoticed gap. Replacing the washer took mere minutes and resolved the issue completely.
Alignment and Tightness
Ensure that everything is aligned correctly before tightening. Misalignment can cause uneven pressure, leading to leaks or even damage. I learned this the hard way during a project when I noticed a slight tilt in the connection. A simple adjustment made all the difference, ensuring a snug and secure fit without any awkward angles.
.jpg)


