
.jpg)


.jpg "How to assemble nilfisk pressure washer")
Begin by laying out all components on a flat surface. This makes it easier to identify each piece and ensures nothing is missing. I recall the first time I attempted to put together a similar unit; having everything visible helped me avoid unnecessary frustration.
Next, consult the instruction manual closely. Each model has its peculiarities, and the manual provides crucial insights into the assembly sequence. I once overlooked a small detail in a guide that led to a significant setback, which turned a simple setup into an all-day project.

Pay special attention to the connections. Ensure that hoses and attachments fit snugly without forcing them. I’ve seen too many units damaged due to over-tightening or incorrect fittings. A gentle yet firm hand is key here. Once everything is in place, do a thorough check before powering up; this step can save you from unexpected leaks and malfunctions.
Finally, take your time during the assembly process. Rushing often results in mistakes that can be costly in terms of time and resources. I’ve learned from experience that patience pays off, leading to a smoother operation once the machine is ready. Enjoy the process–it’s the first step towards efficient cleaning!
Assembly Steps for Your Cleaning Unit
Begin by laying out all parts in a spacious area. This helps in identifying each component quickly and ensures nothing is overlooked during the process.
Gather Required Tools
- Phillips screwdriver
- Flathead screwdriver
- Adjustable wrench
Step-by-Step Instructions
- Attach the handle to the main body. Align the screws and secure them firmly using the Phillips screwdriver.
- Connect the high-pressure hose to the pump outlet. Ensure the connection is tight to prevent leaks.
- Install the nozzle holder. This usually requires a small screw, which should be tightened with the flathead screwdriver.
- Assemble the wheels by inserting them into the designated slots at the base. Ensure they click into place for stability.
- Connect any additional accessories, such as the detergent tank, if included. This often involves sliding it into a bracket until it locks.
- Check all connections. Go over each part to confirm they are secure and correctly fitted.
- Finally, plug in the device and turn it on briefly to ensure everything is functioning correctly.
After following these steps, your unit should be ready for use. Always refer to the specific user manual for any unique features or requirements related to your model.
Gather Required Tools and Materials
Before you start putting everything together, ensure you have the following tools and items within reach. A well-prepared workspace can significantly streamline the process, making it more straightforward and enjoyable.
| Tool/Material | Purpose |
|---|---|
| Crosshead screwdriver | For securing screws in various components. |
| Adjustable wrench | To tighten or loosen fittings as needed. |
| Hose connectors | To link hoses for water supply. |
| Sealant tape | To prevent leaks at threaded connections. |
| Protective gloves | For safety during assembly and to avoid cuts. |
| Instruction manual | Guides you through the assembly steps. |
Having these items on hand will simplify the assembly. I remember the first time I set up a similar device without the right tools. It turned into a frustrating experience, and I had to make multiple trips to find what I needed. Don’t repeat that mistake!
Additionally, make sure your workspace is clean and well-lit. This helps you see the components clearly and reduces the chance of losing small parts. After all, there’s nothing worse than searching for a tiny screw on a cluttered bench. Just like in photography, where a digital camera’s image quality is determined by the cameras, your assembly quality is influenced by your preparation.
Unbox and Identify Components
Open the box carefully and lay out all components in a clear space. It’s crucial to ensure nothing is missing before starting the setup. Here’s what you should typically find:
- Main unit: This is the body housing the motor and pump.
- Trigger gun: Essential for controlling water flow.
- High-pressure hose: Connects the gun to the main unit.
- Nozzle attachments: Different angles for various cleaning tasks.
- Assembly tools: Usually, you’ll get a wrench or screwdriver.
- Instruction manual: A vital resource for guidance.
Once you have everything laid out, take a moment to inspect each part. The quality of the components can vary, but in my experience, a sturdy trigger gun and a flexible hose can make all the difference in usability. If you’re looking for something lightweight, consider a light duty pressure washer that suits smaller cleaning jobs.
Check for any visible signs of damage. If you notice anything amiss, contact the retailer before proceeding. It’s best to resolve issues upfront rather than later.
Finally, ensure you have a clear workspace free from clutter. This not only helps in the assembly but also in maintaining focus. A tidy area can prevent accidental damage to parts and streamline the entire process.
Attach the Handle Securely
Begin by aligning the handle with the designated slots on the main body. You should hear a click when the handle is correctly positioned. This ensures a snug fit, preventing any movement during operation. Make sure to double-check that the screws are not cross-threaded before tightening them.
Tools for a Secure Fit
You’ll need a Phillips screwdriver to secure the handle. While tightening, apply consistent pressure without over-torquing, as this could lead to stripping the screws or damaging the plastic components. A firm grip is essential, but precision is key.
Final Checks
Once the handle is attached, give it a gentle shake. If it feels loose, revisit the screws. An improperly fastened handle can lead to instability while in use, making it crucial to ensure everything is tight and secure. Trust me; a solid handle makes all the difference during a cleaning session, especially when tackling tough grime.
Connect the High-Pressure Hose
First, locate the high-pressure hose in your kit. It’s typically a robust, coiled component designed to withstand intense water flow. Take one end of the hose and firmly insert it into the high-pressure outlet on your machine. You should hear a satisfying click or feel a gentle resistance; this indicates a secure connection.
Next, ensure the other end of the hose is attached to the spray gun. The connection here is equally crucial. Align the hose with the inlet on the spray gun and twist it clockwise until it’s snug. Avoid over-tightening, as this may cause damage to the fittings.

Once both ends are connected, check for any visible cracks or kinks along the length of the hose. A damaged hose can lead to leaks or reduced performance, which is not what you want. If everything looks good, turn on the water supply to fill the hose completely.
Finally, with the machine off, squeeze the trigger on the spray gun to release any trapped air. This step ensures optimal pressure when you start your cleaning tasks. If you see water coming out without any leaks at the connections, you’re ready to roll.
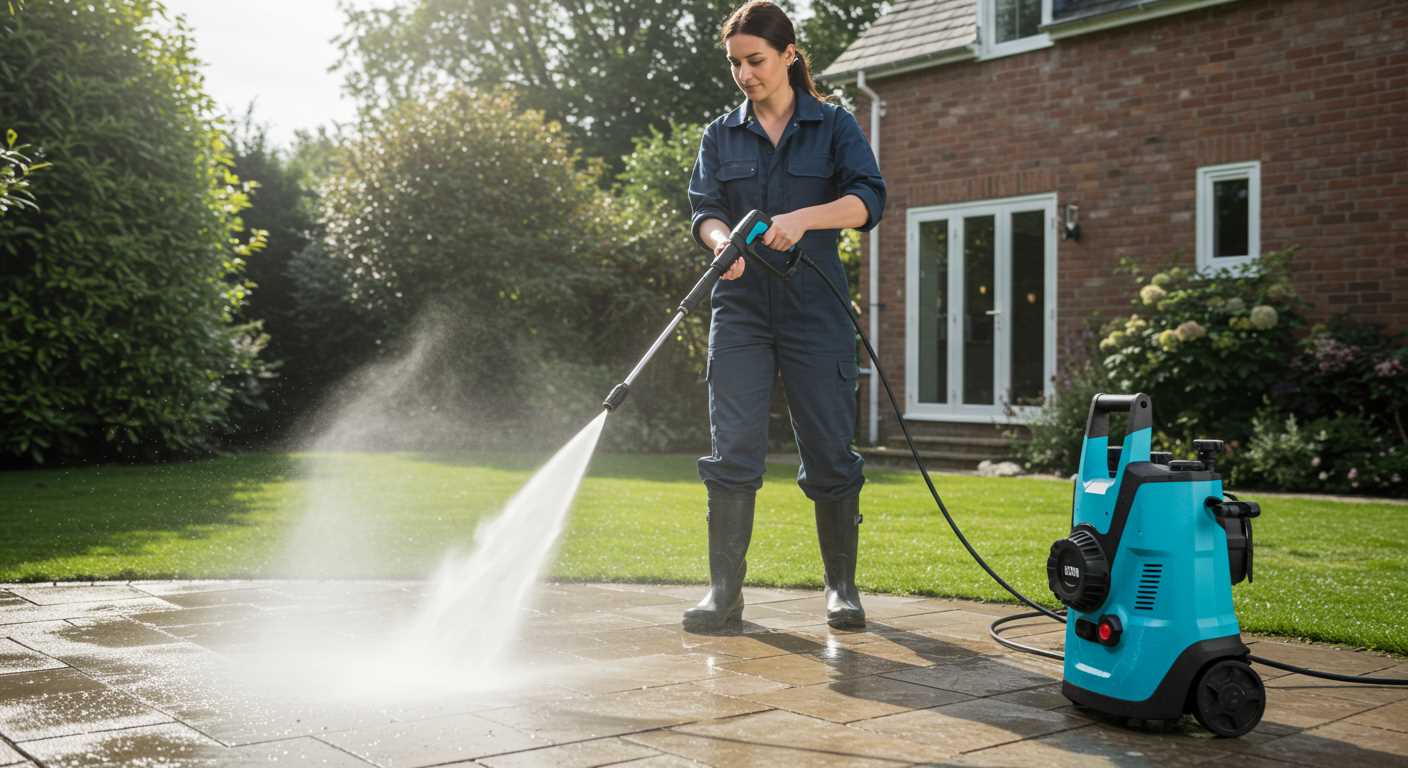
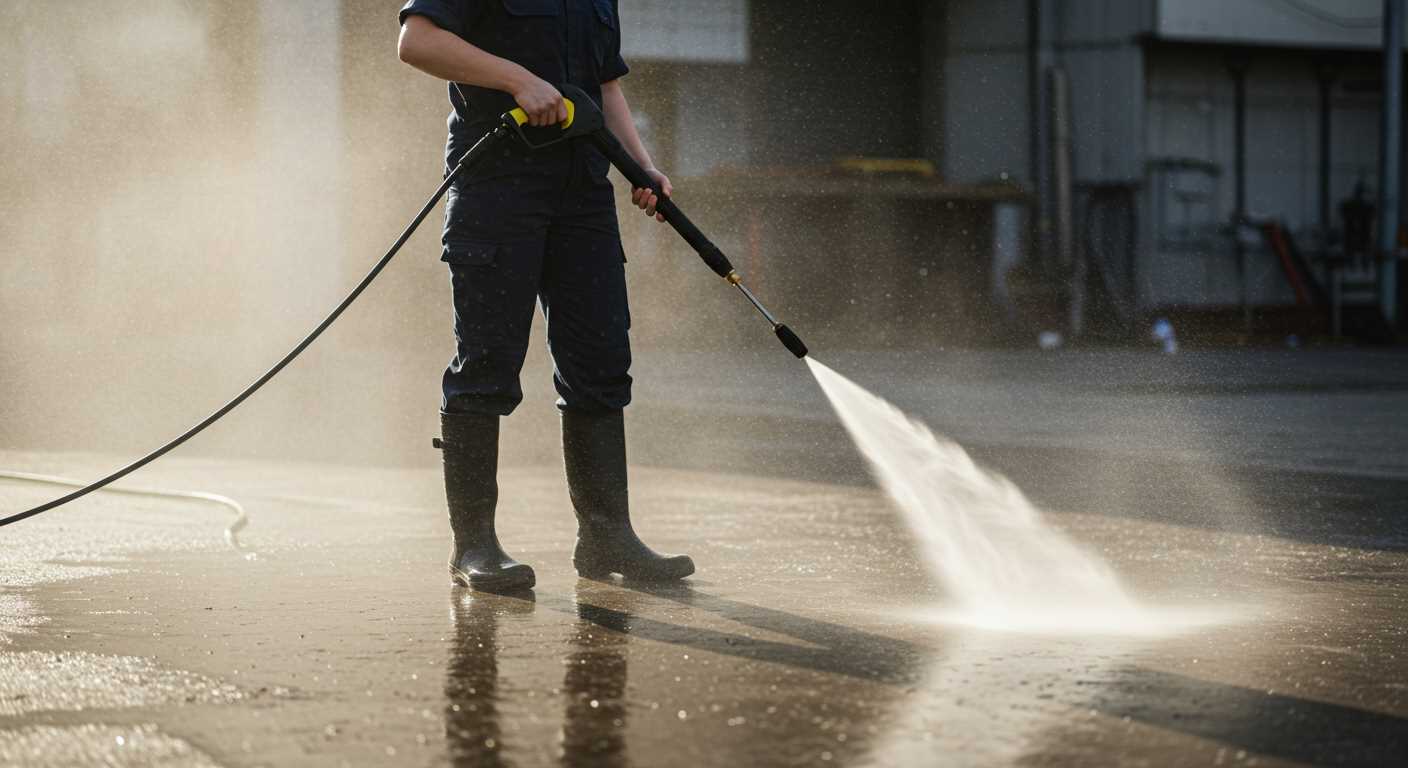
Install the Nozzle and Spray Gun
Begin by selecting the appropriate nozzle for your cleaning task. Different nozzles offer distinct spray patterns, from a wide spray for gentle cleaning to a concentrated jet for tougher grime. Attach the chosen nozzle to the end of the spray gun; ensure it clicks into place securely.
Next, take the spray gun and connect it to the high-pressure hose, if you haven’t done so already. Ensure the connection is tight to prevent any leaks. Once this is complete, test the spray gun by squeezing the trigger while pointing it away from yourself and others. This action will clear any air from the system and prepare it for use.
Adjusting the Spray Pattern
After the initial setup, it’s crucial to adjust the spray pattern according to your needs. Some models come with a rotating nozzle that allows you to switch between different spray widths effortlessly. If your model features this, make adjustments while the unit is running for optimal results.
Safety Measures
Always wear protective gear, including gloves and goggles, before operating the equipment. High-pressure streams can cause injuries, so keeping a safe distance and controlling the direction of the spray is paramount. Familiarise yourself with the trigger lock mechanism on the spray gun; this will prevent accidental activation when not in use.
Fill the Detergent Tank Properly
Ensure the detergent tank is clean before filling it. Residual substances can affect the cleaning solution’s performance. Use only manufacturer-recommended detergents; others might damage the unit or void the warranty.

Open the tank cap carefully. If there’s a filter inside, check it for clogs. A blocked filter can hinder the flow of detergent. Measure the correct amount of detergent according to the instructions on the label. Avoid overfilling, as this can lead to spills and affect the mixing with water.
After adding the detergent, securely close the tank cap to prevent leaks during operation. Make sure it clicks into place. If the cap is loose, it can come off under pressure, causing a mess and reducing efficiency.
Finally, before you start using the equipment, run a quick test to ensure that the detergent is being drawn into the system correctly. This step saves time and ensures optimal cleaning results, allowing you to focus on the task at hand without interruptions.
Perform a Pre-Assembly Check
Before diving into the setup process, carry out a thorough inspection of all components. This step is crucial to ensure everything is in optimal condition. Start by checking the user manual for a detailed parts list, then verify that all items are present. I once encountered a situation where a client was missing a crucial connector, which delayed the entire setup. Take a moment to lay out each piece and cross-reference them with the manual.
Next, inspect for any visible damage on the components. Look for cracks, dents, or signs of wear, particularly on hoses and fittings. I recall a time when a small crack in a hose led to significant water loss during use, causing frustration. If you spot any defects, contact the retailer for replacements before proceeding.

Also, check for any protective packaging that may have been left on components, particularly seals or caps. Removing these is vital for proper assembly. I once overlooked a cap on a detergent tank, leading to a messy spill. This simple check can save you from unnecessary hassle later on.
Finally, ensure your workspace is clear and organised. A cluttered area can lead to misplaced parts or accidents. Set up a dedicated zone with enough room to move around comfortably. This small preparation can make a significant difference in the overall experience. Trust me, your future self will thank you for it!
.jpg)


