
.jpg)


.jpg "How to attach a extension hose to karcher pressure washer")
Start by ensuring you have the right components. A compatible attachment is vital for a seamless fit. Check the specifications of your cleaning unit and the additional length you intend to use. This small detail can save you time and hassle.
Next, locate the connection point on your device. Typically, it’s situated at the front, near the spray gun area. Gently twist the existing connection to loosen it, being careful not to damage any seals. This is where I’ve seen many users make mistakes, applying too much force and inadvertently causing leaks.
Once the original pipe is disconnected, take your new length and align it properly with the connection point. Ensure that the threads are lined up to avoid cross-threading, which can lead to leaks. I’ve always found that a bit of patience here pays off in the long run.

After securing the new length, give it a gentle tug to check for stability. A tight fit is what you want, but don’t overdo it. Too much pressure can lead to wear and tear that could compromise the unit’s functionality. Regular maintenance checks will help you catch any issues early.
Finally, run a quick test before diving into your cleaning tasks. This way, you can confirm that everything is working smoothly and without leaks. Trust me, it’s always better to sort out any issues before you start tackling those tough stains!
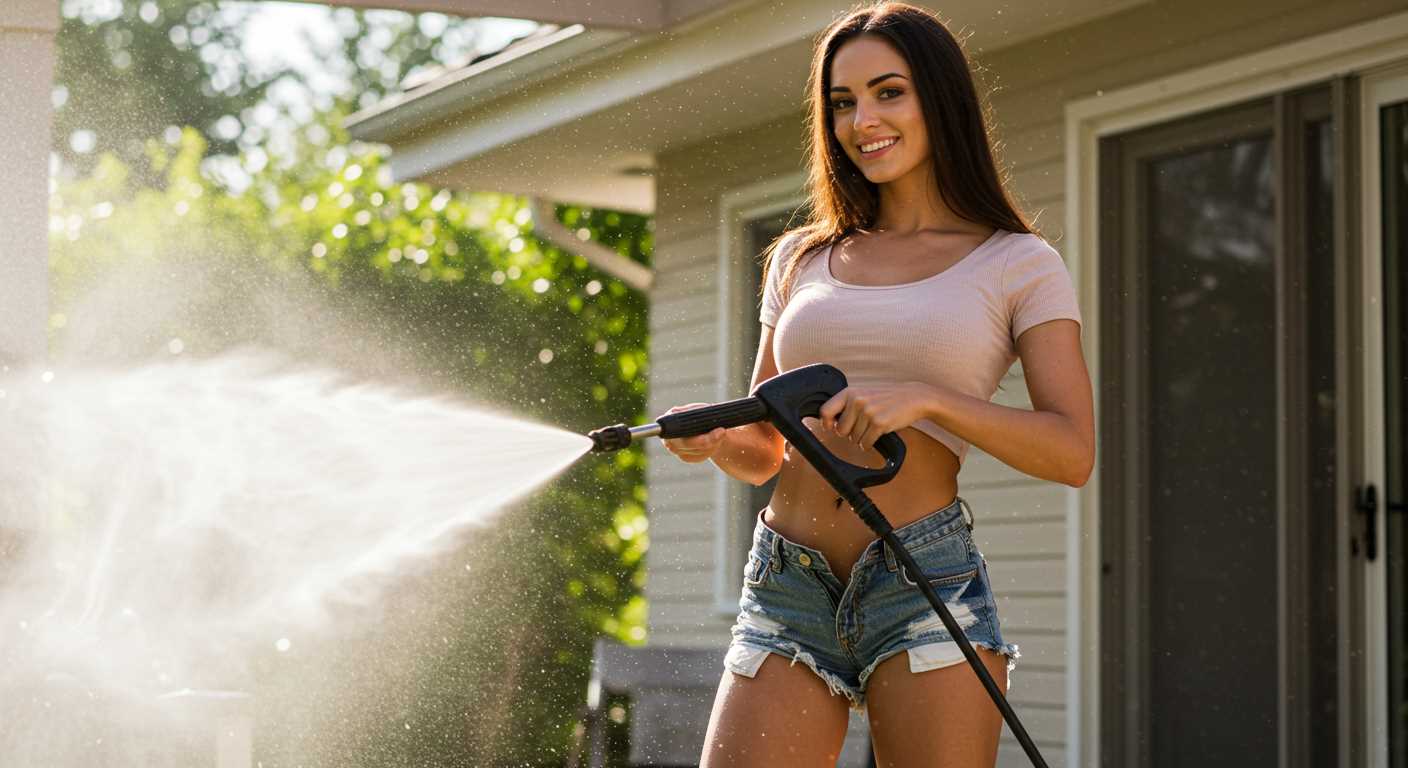
Attaching a Longer Tube to Your Cleaning Equipment
Begin with ensuring that your unit is turned off and disconnected from the power supply. This step is crucial for safety. Next, locate the quick-release connector on your device. Depending on the model, this may be at the end of the existing line or directly on the machine.
Once you find the connector, gently pull back the collar to release the existing line. It’s essential to handle this part carefully to avoid damaging the mechanism. After removing the original line, you can prepare your new, longer tube. Make sure the ends are clean and free from debris.
Insert the end of the new line into the connector until you hear a click, indicating it’s properly secured. To ensure a tight fit, pull gently on the line. If it feels loose, disconnect and reconnect it to check for any obstructions.
After the new line is in place, check all connections for any signs of leaks before powering on the device. A quick test run at low pressure can help identify any issues without wasting water or causing a mess.
In my experience, extending the reach of your equipment can significantly improve efficiency, especially in larger areas. I once worked on a project where the extra length made it possible to clean a large driveway without constantly moving the machine. Just remember, a longer line may require more careful handling to avoid kinks or damage during use.
Choosing the Right Extension Hose for Your Karcher Model
Begin with compatibility. Determine the model you own and consult the manufacturer’s specifications for recommendations on suitable lengths and diameters. A mismatched size can lead to performance issues or even damage.
Material matters. Opt for reinforced options that resist kinks and wear. I recall a time when I purchased a cheaper variant, only to find it fraying after a few uses. Investing in quality pays off in the long run.
Consider the length. Too short, and you’ll be limited in movement; too long, and you risk a drop in water pressure. My go-to has always been a moderate length that allows flexibility without compromising performance.
Look for additional features. Some models come with anti-twist technology, which can save you from the frustration of tangled lines during operation. I’ve had my share of battles with stubborn twists, and it’s a hassle I prefer to avoid.
Don’t forget about connectors. Ensure they fit securely with your equipment to prevent leaks. I’ve learned the hard way that a loose fit can lead to unexpected splashes and wasted water.
Lastly, read reviews and seek recommendations. Engaging with fellow users can provide insights that materials alone cannot. For instance, a friend once recommended a specific brand that turned out to be a game-changer for my cleaning tasks.
For those interested in practical applications, check out this guide on how to can deer meat with a pressure cooker. It’s always good to explore new uses for your gear beyond the usual cleaning tasks.
Preparing Your Equipment for Accessory Connection
Before you begin connecting any additional tubing to your cleaning unit, ensure the machine is completely powered off. Disconnect the plug from the electrical outlet and let the unit cool down if it has been in use recently. This not only guarantees your safety but also protects the components from any potential damage.
Inspecting the Components
Take a moment to examine the fittings on both the appliance and the new line. Look for wear and tear or any signs of damage. Clean the connectors with a damp cloth to remove debris, ensuring a snug fit during the connection process. A clean surface is crucial for preventing leaks and ensuring optimal performance.
Checking the Water Supply
Verify that your water source is ready for use. Ensure the water inlet is clear and that the supply is turned on. It’s wise to run a quick test to confirm there are no blockages. Having a steady stream of water is vital for the operation of your equipment, especially when using longer tubing.
Step-by-Step Guide to Connecting the Extension Hose

To enhance your cleaning efficiency, follow these precise steps for a seamless connection:
- Ensure both the sprayer and the long tubing are turned off. This prevents any accidental discharge while working.
- Locate the coupling point on the device. It’s typically situated near the water inlet or at the end of the existing tubing.
- Remove any cap or protective cover from the coupling. This prepares the area for the new connection.
- Align the fittings of the new tubing with the coupling point. Make certain they fit snugly to avoid leaks.
- Twist the connection clockwise until it feels secure. Ensure it is tight, but avoid over-tightening as this could damage the threads.
- Turn on the water supply and check for any leaks at the connection. If leaks are present, tighten the fittings slightly.
- Once confirmed, power on the equipment and test the setup by activating the spray. Adjust pressure settings as needed.
For those seeking options that balance performance with affordability, consider a reasonable pressure washer to optimize your cleaning tasks.
Ensuring a Secure Fit and Preventing Leaks
To guarantee a tight connection and avoid any leaks, always inspect the fittings before securing them. I’ve seen too many users skip this step, leading to frustrating water loss and messy clean-ups. Make sure the threads on both the connector and the machine are clean and free from debris. A quick wipe with a cloth can work wonders.
Utilising thread seal tape on the male threads can be a game changer. It creates an additional barrier against leaks. Just a couple of wraps around the threads before you connect everything can make a significant difference. Be cautious not to overdo it; too much tape can hinder a secure fit.
When securing the connection, hand-tightening is usually sufficient. I’ve witnessed many individuals using pliers or tools, which can lead to over-tightening and damage. If you find the fit is still loose, check for any visible wear on the rubber O-rings or gaskets. These components can wear down over time and might need replacement to maintain a proper seal.
Test the connection by running the unit at a low pressure first. This approach allows you to check for leaks without risking damage to the equipment. If you spot any water seeping from the joint, it’s best to disconnect, reassess, and make necessary adjustments before increasing the pressure. Trust me, catching a small leak early can save you from a much larger mess later on.
Maintenance Tips for Your Extension Hose and Pressure Washer
Regularly inspect for any signs of wear or damage before each use. Look for cracks, leaks, or kinks that could affect performance. I’ve seen hoses that appeared fine on the outside but had internal damage, leading to leaks during operation. A quick visual check can save you a lot of trouble down the line.
Clean your equipment after each session. Residue from soap, dirt, or debris can accumulate and cause blockages or degrade materials over time. A simple rinse with clean water will do wonders. I remember neglecting this once, and it resulted in poor performance the next time I needed it.

Store your gear properly. Avoid leaving it exposed to harsh weather conditions. I learned the hard way that UV rays can deteriorate plastic components, leading to premature failure. Keep everything in a cool, dry place, preferably coiled neatly to prevent kinks.
Maintain connections regularly. Ensure that all fittings and connectors are tight and free from debris. I’ve often found that a loose connection can lead to minor leaks, which, over time, can become significant issues. A quick periodic tightening can prevent a lot of headaches.
Consider using a lubricant on the threaded connections to ensure a smooth fit. I’ve had great success with silicone-based lubricants, which help prevent corrosion and make disassembly easier later on.
Lastly, invest in a quality storage solution for your accessories. I once had a tangled mess that took ages to sort out before I could start my task. A dedicated reel or holder keeps everything organised and readily accessible.

.jpg)


