
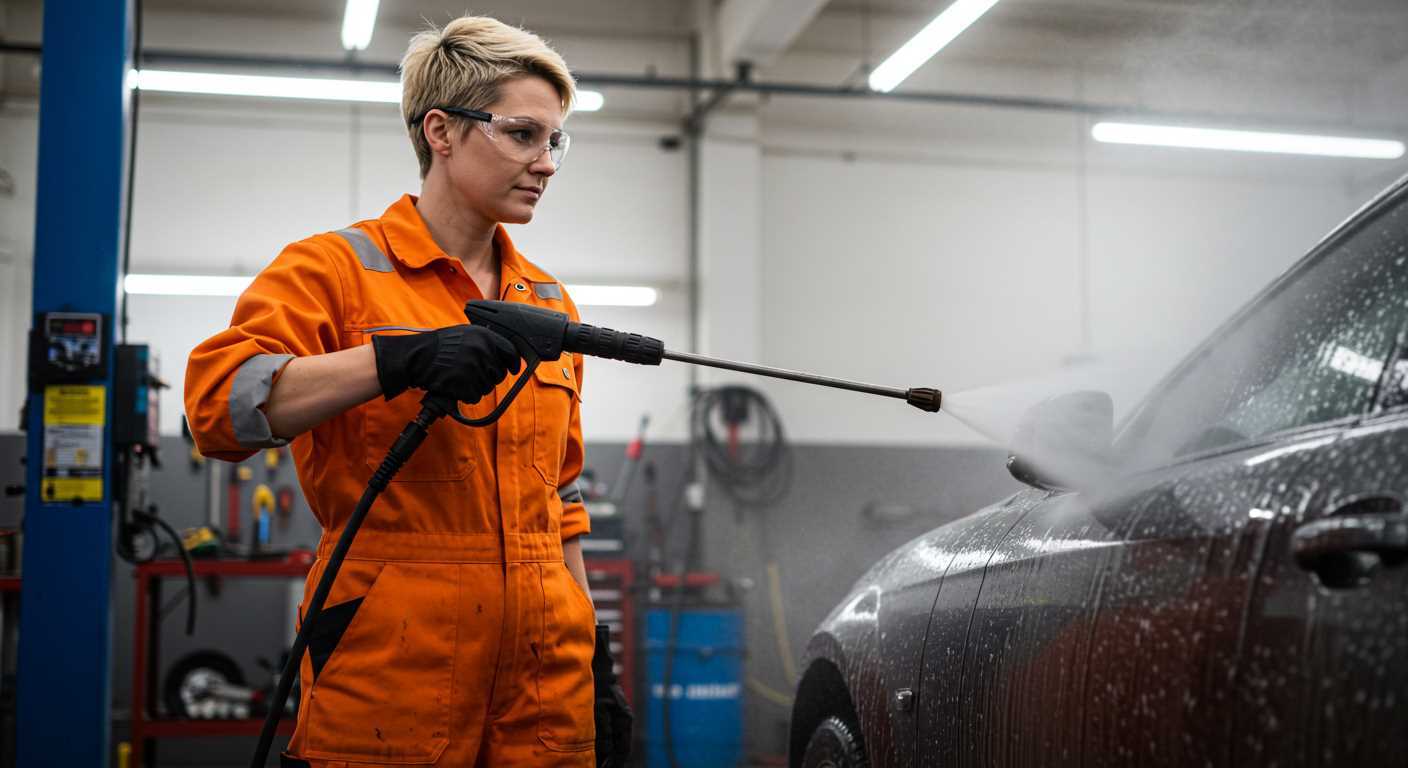


To seamlessly connect your garden line to a high-pressure cleaner, ensure you have a compatible connector. I’ve encountered various models over the years, and a reliable adapter is key. Start by checking the inlet on your cleaner; it typically features a threaded connection designed for standard garden fittings.
Once you have the right adapter, attach it firmly to the inlet. I’ve often seen users struggle with leaks due to improper tightening. A snug fit is crucial, but be cautious not to overtighten, as this may damage the threads. After securing the connection, take your garden line and connect it to the other end of the adapter. Make sure the connection is tight, as this prevents water from escaping during operation.

Before turning on the device, it’s wise to check for any kinks or obstructions in the line. I once had an unpleasant experience with a kink that restricted water flow, leading to suboptimal performance. Finally, with everything connected securely, turn on the water supply and check for any leaks before powering up the cleaner. This simple checklist can save you time and frustration.
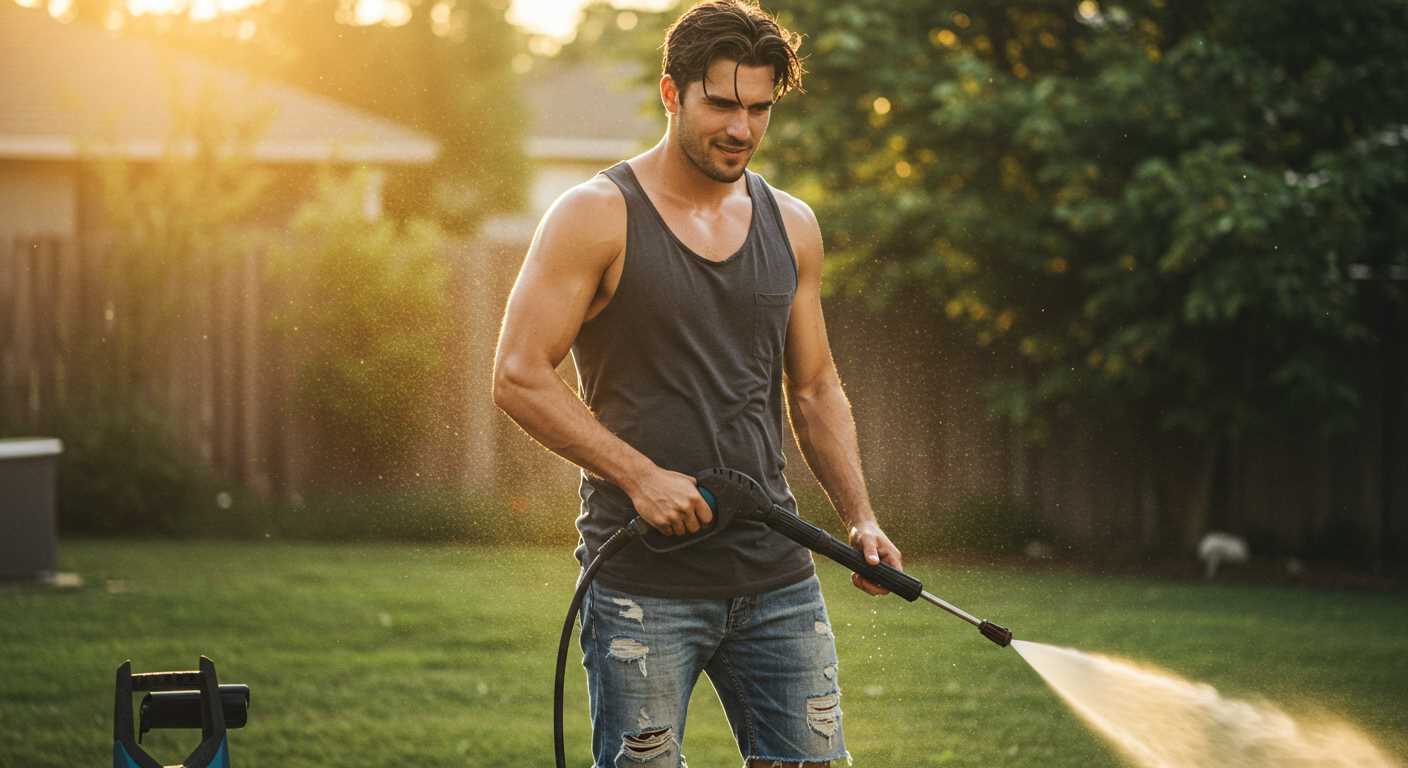
Attaching the Water Supply to Your Cleaning Device
First, ensure the water source is turned off before making any connections. Grab your garden connector and attach it securely to the inlet of your cleaning unit. It’s important to hand-tighten this connection to prevent leaks; over-tightening can cause damage.
Next, locate the other end of your connector that will link to the water supply. If you have a quick-release adapter, this step will be a breeze. Simply push the connector into the adapter until you hear a click. If your setup requires screwing, align the threads and tighten it by hand, ensuring a snug fit without excessive force.
After the connection is made, turn on the water supply to check for any leaks. If water seeps out, recheck your connections and adjust as necessary. It’s better to catch these issues now than during a cleaning session.
Once everything is secure, proceed to prime the system. This involves running the unit for a minute to allow water to flow through the system and remove any air pockets. You’ll notice the machine will start to sound different as it fills up – that’s a good sign!
Finally, always double-check your connections before starting any cleaning task. With practice, this process becomes quick and straightforward, allowing you to focus on tackling those tough cleaning jobs.
Identifying the Correct Hose Type for Your Karcher Model
The compatibility of your cleaning tool with the right flexible tubing is non-negotiable. Each model has specific requirements, and using an incorrect type can lead to inefficiencies or even damage. Begin by checking your user manual for the designated specifications. Karcher usually mentions the diameter and fittings required for each model.
Material and Length Considerations
Most Karcher devices function optimally with reinforced PVC or rubber variants. These materials provide durability and flexibility, which are crucial for high-pressure applications. As for length, assess your cleaning area. A longer line offers more reach but may reduce pressure; a shorter one maintains force but limits your range. Choose wisely based on your needs.
Fitting Types
Pay close attention to the connection fittings. Karcher’s quick-connect system is prevalent, but some older models may require different attachments. Always ensure the fittings match your device’s inlet. If uncertain, carrying the existing connector to a shop can help you find the perfect match.
By taking these steps, you can ensure that your equipment functions at its best and meets your cleaning demands efficiently.
Gathering Necessary Tools for the Attachment Process
Begin with a quality adjustable spanner or a set of pliers. These tools ensure a secure fit when connecting the tubing to the machine. I recall a time when I didn’t have the right tool handy, and it led to a frustrating experience with leaks. Having the right tools can save a lot of hassle.
Next, consider a flathead screwdriver. While it may not seem directly related, it can come in handy for securing clamps or making slight adjustments during the setup. I once faced a situation where a stubborn clamp wouldn’t budge, and a screwdriver made all the difference in loosening it up.
Have a bucket or container nearby to catch any excess water during the attachment. This tip came in handy during a particularly rainy day when I was setting up equipment, and I didn’t want to create a muddy mess in my workspace. Keeping things tidy is always a plus.
Lastly, a clean microfiber cloth is beneficial. After completing the connection, wiping down any wet surfaces prevents water spots and maintains the equipment’s condition. I’ve learned that taking a minute to clean up can prolong the lifespan of the tools and gear.
Gather these items before starting the connection process. It streamlines the work and makes the task much smoother. Trust me, being prepared makes all the difference in the world.
Preparing the Hose Pipe for Connection
Ensure your connecting tool is clean and free from debris. Any blockage can hinder performance, so take a moment to inspect the end of the connector.
- Check for any signs of wear or damage on the connector. A damaged component can lead to leaks.
- If dirt is present, clean it with a cloth or a brush to ensure a good seal during attachment.
Next, it’s essential to verify the length of the tubing. If it’s too short, you may face difficulties in reaching the areas you wish to clean. Conversely, excess length can lead to kinks and reduced water flow.
Before making the connection, consider the type of cleaning task at hand. For example, if you’re planning to use your equipment for clearing weeds, ensure you have the right pressure washer for removing weeds to achieve optimal results.
Finally, if you’re using any cleaning agents, verify that they are suitable for your equipment. Using the best chemical for pressure washing concrete can enhance your cleaning efficiency and protect your surfaces.
Locating the Hose Connection Point on the Pressure Washer
To find the connection point for your water supply on the cleaning unit, start by examining the front or side of the device. Most models feature a clearly labelled inlet, often marked with a blue or green symbol, indicating where to attach the water supply. If you’re having trouble, check for a removable cap or fitting that allows you to connect your water source securely.
Many units come with a quick-connect system, making the process straightforward. Ensure you align the connector properly and push it firmly until you hear a click. If your model has a threaded inlet, make sure you screw the connector tightly to prevent leaks.
| Model Type | Connection Location | Connection Type |
|---|---|---|
| Entry Level | Front | Quick Connect |
| Mid-Range | Side | Threaded |
| Professional | Rear | Quick Connect |
After locating the inlet, inspect it for any debris or damage. A clean connection ensures optimal performance. Once you’ve securely attached your supply line, check for leaks by briefly turning on the water, allowing you to confirm a proper fit before starting your cleaning tasks.
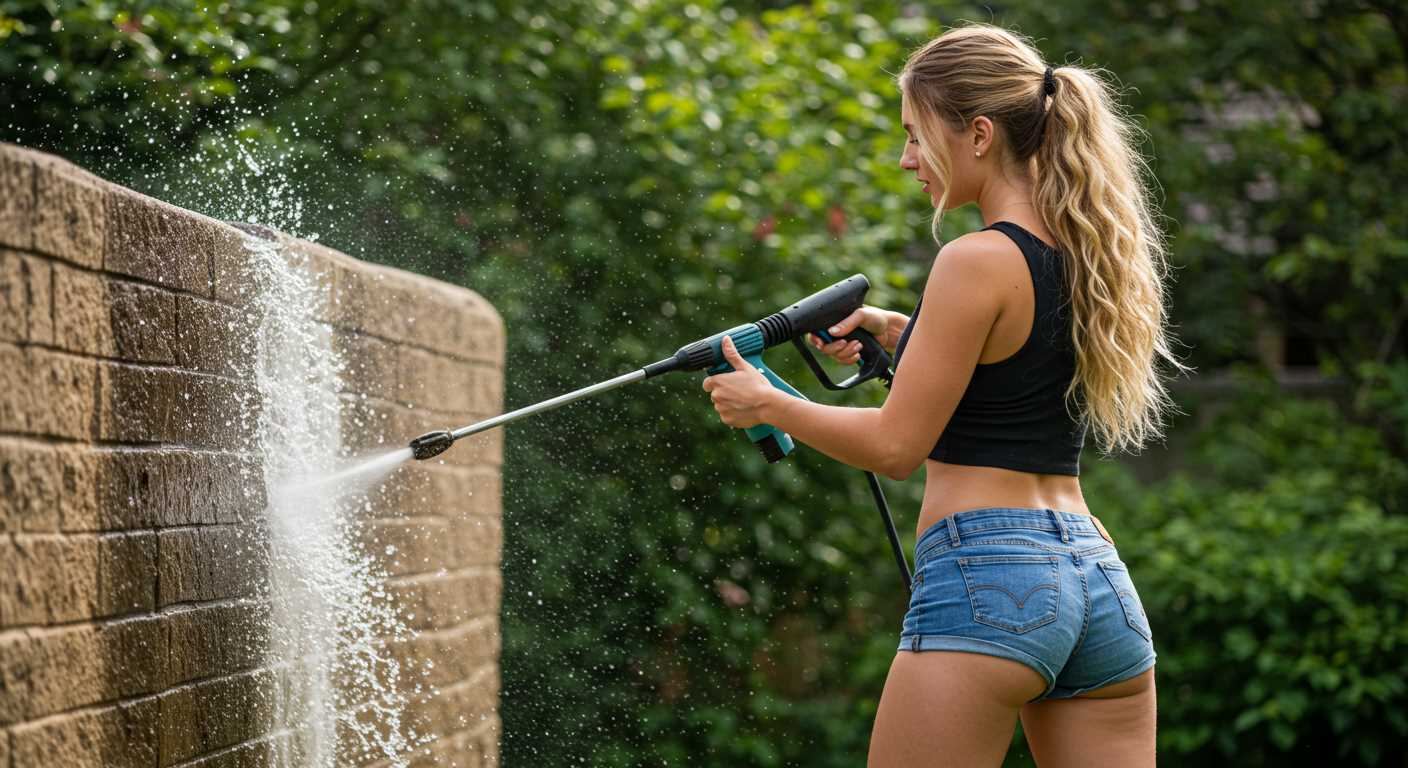
Securing the Hose Pipe to Avoid Leaks
Ensure a tight connection to prevent leaks by carefully aligning the fittings before securing them. Over the years, I’ve discovered that a slight misalignment can lead to frustrating water loss. I always make a habit of checking the threads for any debris or damage, as even a tiny imperfection can compromise the seal.
Using the Right Tools
Utilising the correct tools is vital. A pair of adjustable wrenches or pliers can help tighten the connection without damaging the fittings. I recommend a gentle yet firm grip; over-tightening can cause stress on the components, leading to future issues. Remember, it’s about achieving a snug fit, not brute force.
Regular Maintenance Checks
Periodically inspecting the connections for signs of wear or leaks is wise. I’ve seen many units suffer from slow leaks that go unnoticed until they cause significant damage. A quick visual check can save time and money down the line. If you spot any drips, don’t hesitate to disassemble the connection and reapply Teflon tape if necessary. This simple step can significantly enhance the seal.
Following these steps will ensure a reliable and leak-free connection, allowing you to focus on the task at hand without the worry of unexpected water loss. Trust me, a little diligence goes a long way in maintaining your equipment’s performance.
Checking for Proper Attachment Before Use
Always inspect the connection before engaging the machine. A quick visual check can save you from potential mishaps. Ensure that the connector is securely fitted to the outlet; any wobble means it’s not seated correctly. Over the years, I’ve seen various models, and a loose attachment is a common cause of leaks. If it feels loose, disconnect and reattach it, ensuring a firm fit.
Testing for Leaks
After securing the connection, turn on the water supply without starting the equipment. This step helps to check for leaks. Watch for any water escaping from the joint. If leaks occur, it might be due to debris in the connection or wear on the seals. Clean the connectors and inspect for damage. Replacing worn seals is often a quick fix that prevents larger issues later.
Final Functional Check
With everything connected properly, it’s wise to do a quick functionality test. Before operating at full power, run the unit briefly on a lower setting. This allows you to observe both the water flow and the connection integrity. If you notice irregularities or unusual sounds, reassess the attachment. Ensuring everything is in order at this stage makes for a smoother experience during your cleaning tasks.
Maintaining Your Hose for Longevity
To extend the lifespan of your water conduit, regular maintenance is essential. Here are some straightforward practices you can implement:
Regular Inspection
- Check for cracks or kinks periodically. These can lead to leaks and reduced water flow.
- Inspect connectors for any signs of wear or corrosion. Replacing damaged fittings can prevent future problems.
Proper Storage
- Always store in a cool, dry place away from direct sunlight. UV rays can degrade materials over time.
- Use a reel or holder to avoid tangling and unnecessary bending, which can weaken the structure.
After each use, ensure that any residual water is drained out. This helps prevent the build-up of mould and mildew, which can compromise the integrity of the material.
Cleaning Techniques
- Rinse the exterior regularly to remove dirt and debris. A simple garden spray can do wonders.
- For stubborn stains or build-up, a mild soap solution works well. Avoid harsh chemicals that could damage the surface.
Lastly, always use appropriate pressure settings during operation. Over-pressurising can cause unnecessary wear, leading to premature failure. With these practices, you can ensure your cleaning equipment remains in top condition for years to come.
Troubleshooting Common Connection Issues
If you encounter difficulties during the connection process, check the fitting closely for debris. I recall a time when a small piece of dirt prevented a proper seal, leading to frustrating leaks. A quick clean-up resolved the issue.
Next, ensure the threads on both the connector and the machine are undamaged. I once saw a friend struggle with a connector that had worn threads, which made a tight fit impossible. Replacing the faulty part can save a lot of time and hassle.
Sometimes, users overlook the importance of aligning the connector correctly. If it doesn’t seem to fit, try rotating it gently to find the right position. I learned this the hard way; forcing a connection can lead to damage or leaks.
Another common issue is using the wrong size connector. Verify that your attachment matches the specifications of your model. I made that mistake once and had to make an extra trip to the store for the correct size.
If water continues to escape after securing the connection, check the seal. A worn or damaged seal can compromise the entire setup. I always keep a few spare seals on hand, as they are inexpensive and can save a lot of frustration during a cleaning session.
Lastly, if the connection feels loose even after tightening, consider that the connector might be incompatible with your equipment. I once had to swap out several connectors before I found the one that worked perfectly. Patience in this process pays off in reliability.
FAQ:
How do I attach a hose pipe to my Kärcher pressure washer?
To attach a hose pipe to your Kärcher pressure washer, first ensure the pressure washer is turned off and unplugged for safety. Locate the water inlet on the pressure washer, which is usually at the back or side of the unit. Take the hose pipe and align it with the inlet. Most Kärcher models require you to twist the hose connector onto the inlet until it is securely fastened. Make sure the connection is tight to prevent any leaks. Once connected, you can turn on the water supply before starting the pressure washer.
What type of hose pipe is compatible with Kärcher pressure washers?
Kärcher pressure washers are typically compatible with standard garden hoses, provided they have the correct fittings. It is advisable to use a hose with a diameter of 1/2 inch or 3/4 inch for optimal water flow. Kärcher also offers specific hoses designed for their pressure washers, which may feature quick-connect fittings for easier attachment and detachment. Always check the specifications of your pressure washer model to ensure compatibility with the hose you choose.
Can I use a different hose with my Kärcher pressure washer?
Yes, you can use a different hose with your Kärcher pressure washer as long as it fits the water inlet and is suitable for high-pressure use. However, using a hose that is not designed for pressure washers may lead to reduced performance or potential damage. It is recommended to use hoses that can handle at least the same pressure rating as your pressure washer. Additionally, check for the right connectors to avoid leaks.
What should I do if my hose pipe keeps leaking after attaching it to the Kärcher pressure washer?
If your hose pipe is leaking after attachment, first check the connection between the hose and the pressure washer. Ensure that it is tightened properly. If the leak persists, inspect the hose for any visible damage or wear. It may be beneficial to replace the washer or O-ring inside the connector, as these parts can wear out over time and cause leaks. If the hose itself is damaged, consider replacing it with a new one to ensure a proper seal.
.jpg)


