
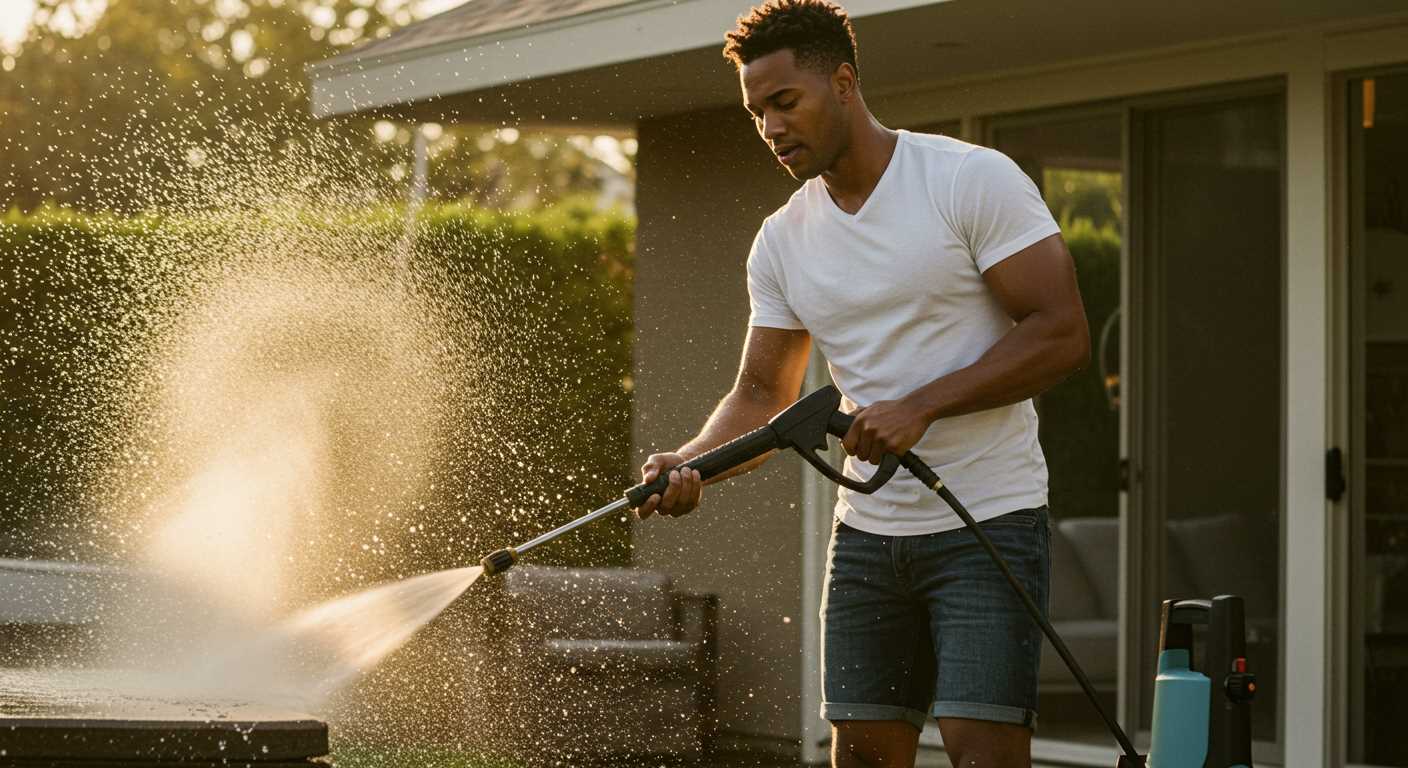


Begin by ensuring your equipment is well-prepared. A quality high-pressure machine can be your best ally in this task. I remember the first time I tackled a particularly grimy receptacle; I was amazed at how quickly and efficiently stubborn residues vanished under the intense stream of water. It’s all about having the right nozzle; I typically opt for a narrow jet for those hard-to-reach areas.
Before you start, don’t forget to wear appropriate gear. Waterproof gloves and goggles can save you from unexpected splashes. Once you’ve suited up, it’s time to position the container in an open area. If possible, elevate it slightly to avoid back strain and enhance accessibility. I learned this the hard way after a long session bending over a dirty surface!

Now, adjust your machine to a suitable pressure setting. Too high, and you risk damaging the container; too low, and you won’t achieve the desired results. I usually begin at a moderate pressure, gradually increasing it until I find the sweet spot. It’s all about balance. After all, you want to eliminate grime without harming the material.
Once you’ve found your groove, unleash the power of water. Start from the top and work your way down, allowing dirt to flow away rather than settle back onto previously cleaned areas. This method has always worked wonders for me, transforming even the most neglected containers into sparkling units. Finally, don’t forget to rinse thoroughly; standing water can lead to unpleasant odours, and we certainly want to avoid that!
Steps for a Thorough Clean of Your Bin Using a High-Pressure Sprayer
Begin by gathering your materials: a high-pressure sprayer, protective gear including gloves and goggles, and a suitable detergent. The detergent should be biodegradable and designed for outdoor use to ensure safety for the environment.
Preparation
- Remove the bin from its usual spot and empty any remaining contents.
- Rinse the interior with water to remove loose debris.
- Apply the biodegradable detergent inside, ensuring even coverage, and let it sit for a few minutes.
Washing Technique
- Set your sprayer to a wide-angle spray to avoid damaging the bin.
- Start at the top rim, working your way down to the base, ensuring you cover all surfaces.
- Pay special attention to corners and seams where grime tends to accumulate.
- Rinse thoroughly with clear water to remove all detergent residue.
- Check for any stubborn spots; repeat the spraying and rinsing if necessary.
After finishing, allow the bin to air dry completely before putting it back in place. For maintaining cleanliness, consider doing this every few months. If you’re also interested in maintaining other surfaces at home, check out this guide on how to clean laminate wood floors steam mop.
Choosing the Right Pressure Washer for the Job
For tackling stubborn grime, the selection of the right device is paramount. Based on my experiences, I highly recommend opting for a model with a minimum of 2,000 PSI. This power ensures effective removal of built-up filth without excessive effort.
Types to Consider

Electric units are ideal for lighter tasks and easier to manoeuvre. They’re quieter and typically require less maintenance. However, if you’re dealing with more severe build-up, a gas-powered variant is your best bet. These machines generally offer higher pressure and flow rates, which translates to greater cleaning capability.
Key Features
Pay attention to the nozzle selection. A rotating or turbo nozzle provides a concentrated spray that can break through tough residues. Additionally, adjustable pressure settings can be beneficial, allowing you to modify the intensity based on the surface you’re addressing. Lastly, consider the length of the hose and cord; longer lengths provide better reach and flexibility during operation.
Remember, investing time in selecting the correct equipment will save you effort in achieving optimal results. Happy washing!
Preparing Your Waste Container for High-Pressure Cleaning
Ensure the receptacle is empty before beginning. Remove all contents, including any liners or bags, to prevent debris from interfering with the washing process. It’s wise to take the bin outdoors to avoid splashes and mess inside your home.
Inspect for Damage
Check for cracks, holes, or any signs of wear. Address any structural issues before applying high-velocity water, as weak spots may worsen under pressure. If you notice any significant damage, consider replacing the unit entirely.
Gather Necessary Supplies
Collect items such as gloves, a sturdy brush, and a bucket for pre-cleaning tasks. A biodegradable detergent can enhance the outcome, especially for stubborn stains. Mix the cleaner in your bucket following the manufacturer’s instructions for optimal results.
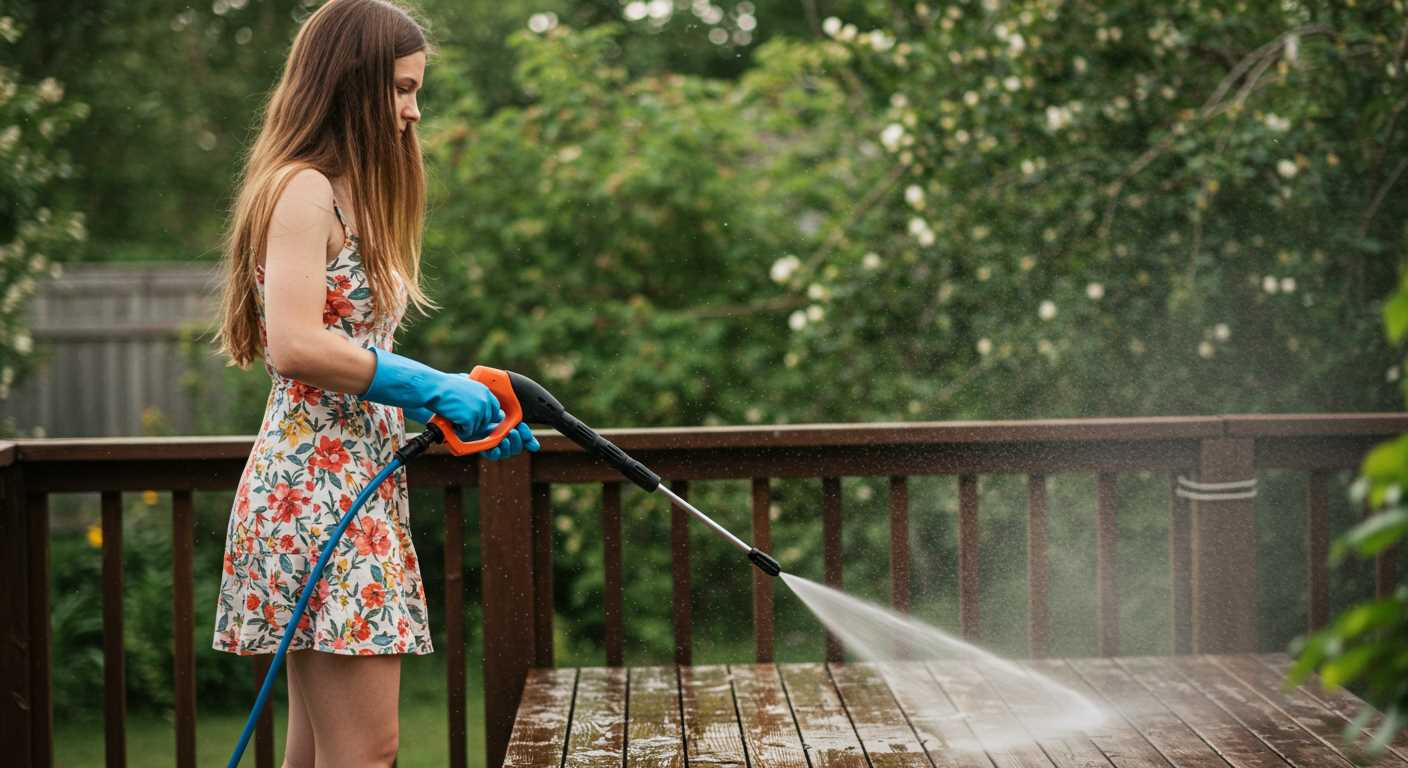
Safety Precautions Before Using a Pressure Washer
Always wear appropriate personal protective equipment (PPE). Use safety goggles to shield your eyes from debris and high-pressure water. Heavy-duty gloves can prevent cuts and abrasions, while waterproof boots protect your feet from slipping or getting soaked.
Inspect the equipment before use. Check for leaks, damaged hoses, or loose connections. Ensure that all safety features are functioning correctly. A malfunctioning device can lead to injuries or accidents.
Maintain a safe distance from the surface being treated. Stand at least two feet away to avoid injury from the intense force of the water. Adjust the nozzle to control the spray’s width and intensity, keeping it directed away from yourself and others.
Be cautious of electrical hazards. If your unit is electric, ensure that it is properly grounded and avoid operating it in wet conditions. Keep electrical connections dry and use an extension cord rated for outdoor use if necessary.
Avoid pressure washing in windy conditions. Wind can redirect the spray, potentially causing injury or damage. Choose a calm day for your task to ensure better control and safety.
Secure the area around your workspace. Remove any obstacles or debris that could cause tripping. Inform others nearby of your activity, particularly children or pets, to prevent accidents.
Always follow the manufacturer’s instructions and guidelines. Each model has specific recommendations for safe operation, and adhering to them helps ensure a successful experience.
Lastly, never point the nozzle at yourself or anyone else, even if the machine is turned off. Treat it with respect; the force generated can cause serious injury if misused.
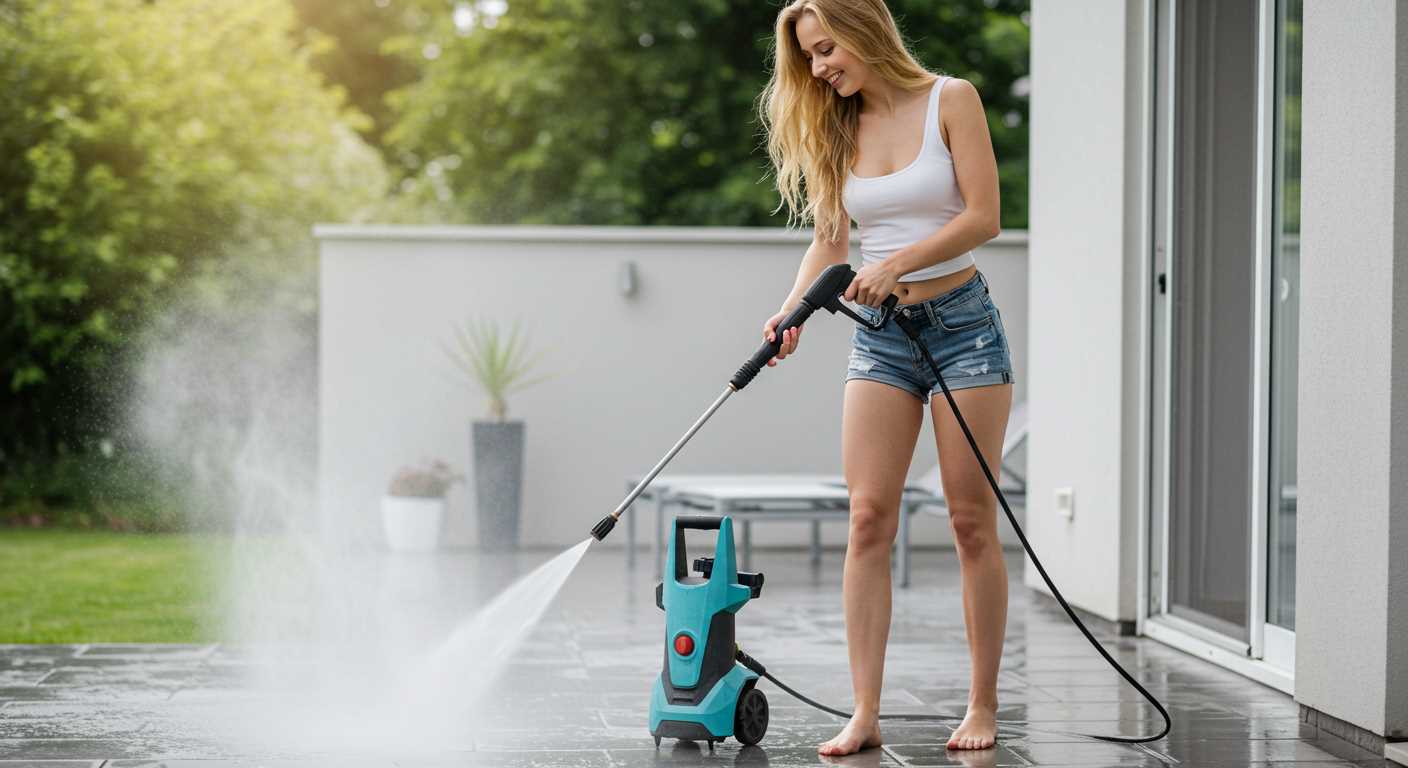
Setting Up Your Pressure Washer Correctly
Adjust the nozzle to the appropriate spray pattern before starting. For stubborn grime, a narrow spray is best, while a wider pattern works wonders for general rinsing. I recall a job where I initially used a broad spray, thinking it would be sufficient. It left some residue behind, requiring a second pass. A focused stream tackled the issue effectively.
Connect the garden hose securely to the inlet, ensuring there are no leaks. A tight fit prevents loss of water pressure. In my experience, a minor leak can make a significant difference in performance. Check the hose for any kinks or damage, as these can hinder water flow.
Fill the detergent tank, if your model has one. Use a suitable cleaning solution designed for outdoor surfaces. I once experimented with various products and found that those specifically formulated for heavy-duty tasks yield the best results. Always follow the manufacturer’s instructions for dilution ratios.
Set the pressure level according to the task at hand. For tough stains, a higher setting is necessary, but remember, too much force can damage certain materials. I’ve learned this the hard way when I accidentally stripped paint from a surface. Adjusting the pressure is a simple yet crucial step.
Perform a test run. Before tackling the main job, spray a small, inconspicuous area. This quick check helps assess both the pressure and the effectiveness of your detergent. I often do this to avoid any surprises later on.
Finally, ensure your workspace is clear of obstacles and that any electrical connections are safe from water exposure. A well-planned setup not only makes the task easier but also enhances safety. I’ve learned that even minor distractions can lead to accidents, so take the time to prepare properly.
Techniques for Cleaning Different Types of Trash Cans
Addressing various types of refuse containers requires tailored methods. For plastic bins, a fan nozzle works wonders, allowing for thorough coverage without damaging the surface. I recall a particularly stubborn case where residue clung to the inner walls of a plastic vessel. Switching to a 25-degree nozzle made all the difference, loosening the grime effectively.
Metal containers present a unique challenge due to their susceptibility to rust. I recommend using a lower pressure setting and maintaining a distance of at least two feet to prevent pitting. After a session, applying a rust-resistant spray can prolong the life of the container.
For organic compost bins, consider using biodegradable detergents. One time, I added a few drops of eco-friendly soap to the water tank. The combination of heat and soap worked exceptionally well, breaking down organic matter without leaving harsh chemicals behind.
When dealing with larger bins, like commercial ones, it’s beneficial to invest in a hand held pressure washer. This allows for greater manoeuvrability and precision. While cleaning a municipal bin, the portability and ease of use of a handheld model made it possible to reach all corners without hassle.
| Type of Container | Recommended Nozzle | Pressure Setting | Additional Tips |
|---|---|---|---|
| Plastic | Fan Nozzle | Medium | Avoid direct contact to prevent damage. |
| Metal | 25-Degree Nozzle | Low | Apply rust-resistant spray afterwards. |
| Organic Compost | Rotating Nozzle | Medium | Use biodegradable detergents for best results. |
| Commercial | Handheld Nozzle | Medium-High | Invest in a portable model for easier access. |
Adjust your approach based on the material and size of the container to ensure effective results. Personal experience has taught me that a well-planned strategy saves time and effort.
Using Detergents and Cleaners with Your Pressure Washer
When tackling stubborn grime, incorporating appropriate soaps and solutions can significantly enhance results. I’ve often found that a good detergent makes a world of difference. Opt for biodegradable cleaners that are safe for the environment and tough on dirt. They not only break down grease effectively but also rinse away without leaving residue, ensuring surfaces are left spotless.
Choosing the Right Product
Spend some time selecting the right cleaning agent. For instance, if you’re dealing with organic waste residue, a citrus-based cleaner works wonders. It cuts through the mess while leaving a pleasant scent. For plastic materials, a gentle all-purpose cleaner can be safe to use, as it won’t damage surfaces while still providing a thorough clean.
Application Techniques
Mix the detergent according to the manufacturer’s instructions. Attach the appropriate nozzle to your equipment, usually a low-pressure one for applying detergents. Start from the top, allowing the solution to dwell for the recommended time, letting it do its magic on the stains. Rinse thoroughly, ensuring all suds are washed away. This two-step process is often the key to achieving that pristine finish.
Post-Cleaning Maintenance for Your Trash Can
After tackling the grime and residue, focus on preserving the cleanliness achieved. One effective method is to apply a disinfectant spray inside the container. This not only helps in eliminating lingering bacteria but also creates a barrier against future build-up. Choose a product that’s safe for plastics to avoid damaging the material.
Once the disinfectant has dried, consider placing a liner in the receptacle. Liners simplify future clean-ups and reduce direct contact with waste. Opt for biodegradable options if environmental concerns are a priority. This small change can make a significant difference in upkeep.
Regular inspections are key. Check for cracks or damage that could lead to leaks or unpleasant odours. Address any issues immediately to prevent escalation. If you notice any stubborn stains or odours persisting despite your efforts, a dedicated odour neutraliser can be beneficial.
Store the receptacle in a shaded area, if possible. Exposure to direct sunlight can lead to fading and degradation over time. Additionally, consider using a lid that seals tightly to keep pests at bay and minimise odours escaping into your surroundings.
Lastly, develop a cleaning schedule. Routine maintenance every few weeks will keep your receptacle in top condition, making each deep clean less daunting. This habit will ensure that it remains a functional part of your home without becoming a source of frustration.
Environmental Considerations When Cleaning Waste Containers
Always think about the impact of your cleaning methods on the environment. Using a high-pressure device can save time, but it also requires attention to how water and detergents are managed during the process.
Water Usage
High-pressure units often consume a significant amount of water. To reduce wastage:
- Limit the duration of each cleaning session.
- Utilise a nozzle that offers better control over the water flow.
- Consider using a water recycling system if available.
Detergents and Chemical Products
Many cleaning agents can be harmful to local wildlife and ecosystems. Opt for biodegradable and environmentally safe products. Here are some tips for selecting the right cleaning agents:
- Check for certifications that confirm eco-friendliness.
- Avoid phosphates and harsh chemicals.
- Use only the amount necessary to achieve the desired results.
After washing, always ensure that runoff does not flow into storm drains or natural water bodies, as this can lead to pollution. Instead, contain the water runoff and dispose of it responsibly.
By making mindful choices during the cleaning process, you can maintain a clean environment while minimising your ecological footprint. Remember, responsible cleaning is just as important as the act itself.
.jpg)


