
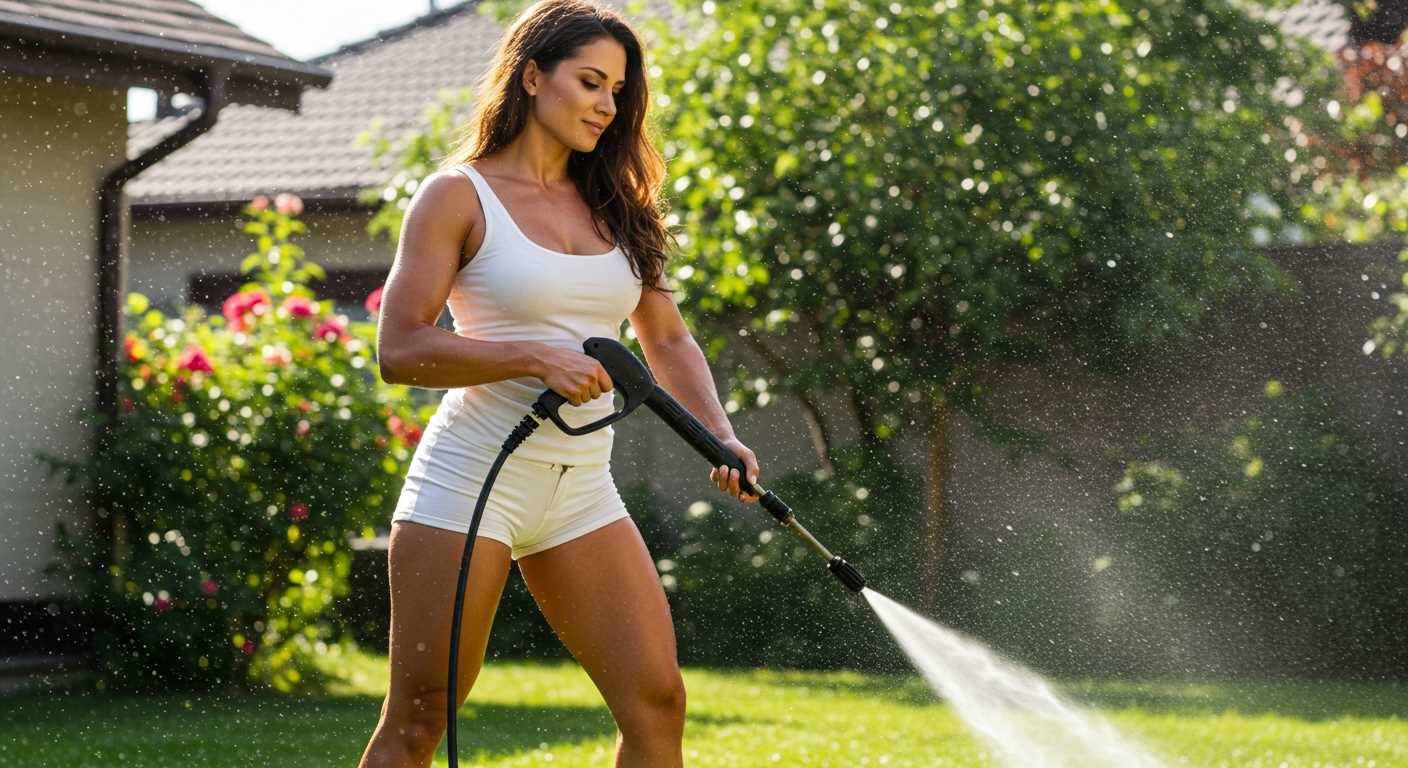


Ensure you have the right fittings before attempting any attachment. I’ve encountered numerous instances where mismatched connectors led to hassle and frustration. Always check your washer’s manual for specific requirements on hose specifications and connector types. This small step can save you significant time and effort.
Begin by positioning your cleaning unit on a stable surface. A solid foundation prevents unnecessary movement when engaging with the spray wand. I recall one particularly muddy day when an unstable setup caused a minor mishap, leading to an unexpected shower. It’s a lesson I won’t forget!
Next, take your water line and align it with the inlet port on your unit. Ensure the connection is snug but not overly tight, as this can damage the threads. I’ve seen many users overtightening, resulting in leaks or breaks. A gentle twist is usually sufficient for a secure fit.

Once attached, turn on your water source to check for any leaks. This quick inspection can save you from interruptions later. I’ve learned the hard way that an undetected drip can quickly escalate into a larger problem during operation, disrupting your cleaning tasks.
After confirming everything is secure, you’re ready to switch on the machine and start your cleaning. Enjoy the satisfaction of a job well done, free from the frustration of faulty connections!
Connecting the Water Supply to a High-Pressure Cleaner
Begin with ensuring the inlet of your cleaning device is free from debris. A clean entry point prevents blockages that could hinder performance. Grab the right attachment for your water source, typically a garden tap adapter, ensuring a snug fit.
Steps for Proper Attachment
- Turn off the water supply before attaching any fittings.
- Align the connector to the inlet of the machine.
- Twist or push the connector firmly until you hear a click, indicating a secure fit.
After securing the connector, turn on the water supply gradually. Check for leaks around the connection point. If you notice any dripping, tighten the connection slightly, but avoid overtightening, which could damage the threads.
Testing the Setup
- With the water on, power up your cleaning unit.
- Observe the flow of water from the nozzle for a few moments.
- If the spray is inconsistent, double-check all connections for tightness and alignment.
In my experience, many issues arise from improper attachment. Always verify that everything is secure before starting your cleaning tasks. A well-connected setup not only enhances cleaning efficiency but also prolongs the lifespan of your equipment.
Choosing the Right Hose for Your Pressure Washer
Opt for a high-quality, durable product that can withstand the demands of your cleaning tasks. I’ve tested various types over the years, and the right material makes a significant difference in performance and longevity.
Material Matters
- Rubber: Known for its flexibility and resistance to wear, rubber is a top choice. It handles high temperatures well and resists kinks.
- Polyurethane: Lightweight and easy to manoeuvre, polyurethane hoses are less prone to abrasion but may not offer the same durability as rubber.
- PVC: While often more affordable, PVC can struggle with extreme conditions and may not last as long as rubber or polyurethane.
Length and Diameter
- Length: Choose a length that suits your needs without being excessively long. A typical range is 25 to 50 feet. Longer hoses can result in pressure loss.
- Diameter: Standard diameters are 1/4 inch or 3/8 inch. A wider diameter allows for higher water flow, ideal for heavy-duty tasks.
Always ensure compatibility with your equipment model. For instance, if you own a specific brand, it’s wise to check for recommended specifications. A mismatch can lead to leaks or insufficient performance, which I’ve encountered more than once.
Lastly, if you have pets, like I do, think about safety. I stumbled upon an article discussing whether can an electric fence injure dog. It reminds us to be cautious with our surroundings, especially when using powerful tools. Protecting your furry friends while cleaning is just as important as selecting the right gear.
Inspecting Hose Fittings and Connections

Before starting any cleaning task, take a moment to examine the fittings and connections. A thorough inspection can prevent leaks and ensure optimal performance. Look for any signs of wear, such as cracks, bulges, or frayed edges. If you notice any damage, it’s best to replace that component immediately to avoid potential accidents.
Checking for Proper Seal
After ensuring the physical condition is sound, verify that all connections are sealed tightly. A simple twist can often do the trick, but if you encounter resistance, do not force it. Instead, inspect the threads for debris or damage. Sometimes, a small piece of dirt can cause a poor seal, leading to leaks during operation.
Using Thread Sealant
For threaded fittings, consider applying a thread sealant to enhance the seal. This can be particularly useful in older connections that may have worn over time. Just a light coating is sufficient; avoid over-applying, as this could interfere with the connection. Remember, a secure fit reduces the risk of leaks and enhances overall performance.
Connecting the Supply Line to the Water Source
First, ensure you have the right fittings for your water supply. Standard garden taps usually require a quick-release connector. I’ve found that investing in a quality brass fitting can save a lot of hassle later. The plastic ones may work initially, but they tend to crack or leak over time.
Preparation Steps
Before attaching anything, turn off the water supply. It’s a simple step, but I’ve made the mistake of forgetting this in the past, leading to an unexpected splash. Once that’s done, inspect the threads on your tap for any debris or damage. A clean surface ensures a tight seal.
Attaching the Line
Begin by screwing the fitting onto the tap. Hand-tightening usually does the trick, but if you notice any leaks, use a wrench for a firmer grip. Just be cautious not to overtighten, as this can strip the threads. I once encountered a stubborn fitting that required a bit of persuasion with a wrench, but it’s crucial to maintain the integrity of the connection.
After securing the fitting, turn on the water supply slowly to check for leaks. If everything is secure, you’re ready for the next steps in setting up your cleaning equipment. Regular maintenance of these connections is key; a quick inspection after each use can prevent larger issues down the line.
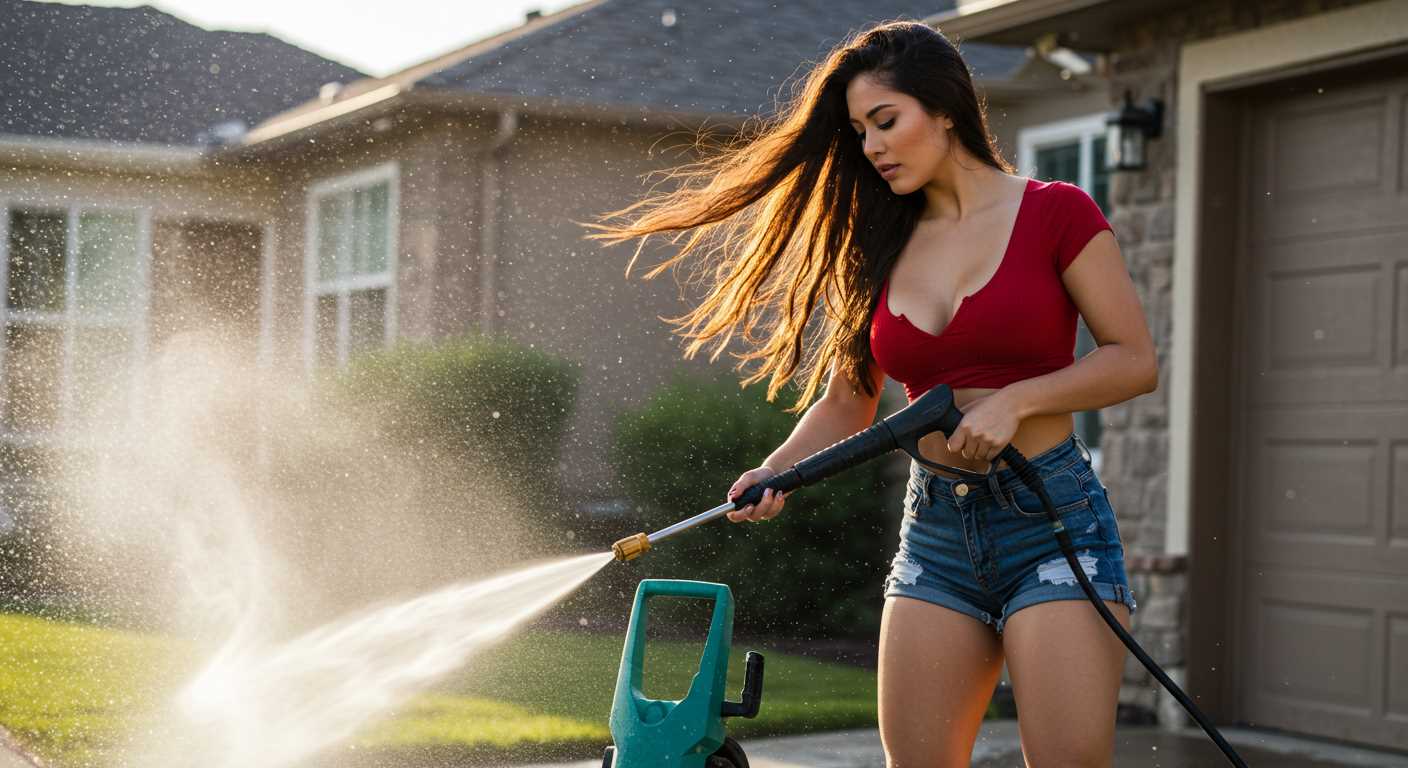
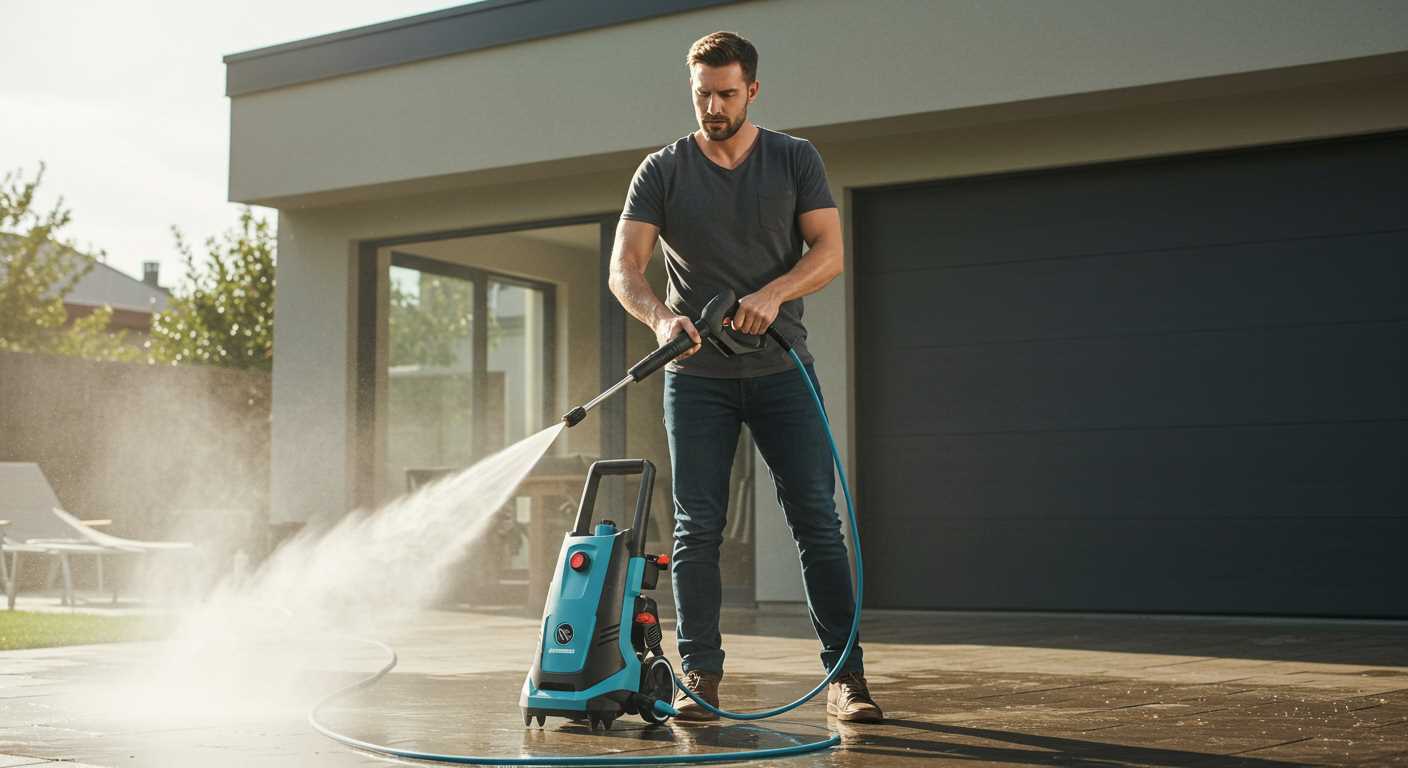
Attaching the Hose to the Pressure Washer
Ensure a tight fit by sliding the end of your line onto the connector of your cleaning device until it clicks or locks in place. This action prevents leaks during operation, which can compromise performance.
I’ve had instances where a loose attachment led to water spraying in unintended directions, creating a bit of a mess. To avoid that, after securing, give it a gentle tug to confirm it’s properly seated.
Check for any visible signs of wear on the fitting before attaching. I once overlooked a small crack and ended up with a bigger issue during a job. A simple inspection can save time and hassle.
If you’re using quick-connect fittings, ensure they are clean and free from debris. A quick rinse can help avoid any blockage, which I’ve found can sometimes occur after extended use.
When working outdoors, be mindful of environmental factors. If it’s particularly chilly, the water can freeze, impacting flexibility. I recommend warming up the line in a mild area before use in such conditions to maintain its integrity.
Once secured, run the unit briefly without any nozzle attached. This allows you to check for leaks and ensures everything is functioning as intended. It’s a step I wish I’d taken more seriously in the past, as it can save a lot of frustration later.
Securing Connections to Prevent Leaks
Always use the appropriate fittings designed for high-pressure systems. In my experience, mismatched connectors can lead to frustrating leaks. I recall a time when I assumed a universal fitting would suffice; it didn’t, and I ended up soaked. Investing in quality fittings specific to your equipment can save you time and hassle.
Tightening connections by hand is just the beginning. A wrench can provide the extra torque needed for a secure seal, but be cautious not to over-tighten, as this can damage threads. I learned this lesson after stripping a fitting; it was a costly mistake. When in doubt, refer to the manufacturer’s guidelines for torque specifications.
Using Thread Seal Tape
Applying thread seal tape can significantly reduce the risk of leaks. I always wrap it around the threads of the connectors before attaching them. A few layers are usually enough. One memorable project involved an old pressure cleaner that seemed to leak no matter what I did. After applying tape, my leaks disappeared. Remember, the tape should be applied in the direction of the thread to ensure a proper seal.
Regular Maintenance Checks
Inspecting connections regularly is vital. I make it a habit to check fittings before every use. Look for signs of wear, cracks, or corrosion. One time, I overlooked a small crack in a fitting, which led to a frustratingly messy job. If you notice any damage, replace the part immediately. Prevention is far easier than dealing with leaks mid-cleaning.
Testing the Water Flow Before Use
Before starting any cleaning task, always check the water supply. An inadequate flow can lead to performance issues or damage. I recall a time when I rushed into a project, only to find the water pressure insufficient, resulting in a frustrating delay. Simply turn on the tap and observe the flow. A steady stream without interruptions indicates a good supply.
Utilise a bucket to measure the flow rate. Time how long it takes to fill a standard 10-litre container. Ideally, you want at least 5 litres per minute for optimal performance. If your measurement falls short, consider checking for any blockages or restrictions in the supply line.
Inspect the water source. Ensure the faucet is fully open and that the connection is tight. If you’re using a garden tap, the pressure should be ample. I once encountered a scenario where a loose connection was to blame for inadequate flow, leading to a frustrating day of cleaning.
Always verify the temperature too. Cold water is preferable, as hot water can damage certain components of the equipment. If you’re unsure, a quick check with a thermometer can save you from potential mishaps.
Lastly, be mindful of the surrounding environment. Ensure that the area is clear of debris or obstacles that may obstruct the water supply. I learned this lesson the hard way when a pile of leaves blocked the drainage, causing a backup and making the task much more complicated than necessary.
Understanding Hose Length and Pressure Ratings
Choosing the right length and pressure rating for your tubing is critical. A longer length may reduce water flow, impacting cleaning efficiency. Always opt for a length that allows you to reach your cleaning area without unnecessary slack. For instance, if you’re working on a large patio, a 30-metre line will give you the flexibility needed without sacrificing performance.
Pressure Ratings
Each line comes with a pressure rating measured in PSI (pounds per square inch). Selecting an option with a rating that matches or exceeds your device’s output ensures optimal performance. For example, if your unit operates at 1500 PSI, using a 2000 PSI line will work perfectly, providing that extra durability. It’s worth noting that lower-rated options can lead to bursting under high pressure, leading to safety hazards and costly repairs.
| Hose Length | Recommended PSI |
|---|---|
| 10 metres | Up to 2000 PSI |
| 20 metres | Up to 3000 PSI |
| 30 metres | Up to 4000 PSI |
For those looking to maximise their cleaning capability, consider investing in a Karcher pressure washer for decking. Their compatibility with various lengths and pressure ratings makes them a versatile choice for most residential tasks.
Maintaining Your Hose for Longevity
Regular cleaning is crucial. After each use, ensure you rinse off any dirt or debris from the exterior. This simple step prevents buildup that can lead to premature wear.
Storage matters. Always coil your tubing properly, avoiding kinks and sharp bends. I’ve seen many cases where improper storage resulted in leaks and weak spots. Using a reel or holder can keep everything neat and extend the lifespan significantly.
Inspecting for damage should become part of your routine. Look for cracks, abrasions, or any signs of wear before each use. I learned the hard way that a small crack can quickly turn into a major leak, disrupting your work and causing unnecessary frustration.
Don’t forget about fittings and connectors. Ensure they’re clean and free of debris. A quick wipe with a cloth can save you from hassle later on. I once had a frustrating experience with a stubborn connection, all because I overlooked a bit of dirt.
Use appropriate chemicals for cleaning. Avoid harsh substances that can degrade materials. I’ve always opted for mild detergents, which have worked wonders without causing damage.
Finally, consider seasonal factors. If you’re storing equipment for winter, drain all water and store in a dry place to prevent freezing. I’ve seen hoses burst due to neglecting this simple step. Protect your investment by taking these precautions.
FAQ:
What types of hoses can be used with a pressure washer?
Pressure washers typically use high-pressure hoses that are designed to withstand the force of the water being expelled. Common types include rubber hoses, which are durable and flexible, and PVC hoses, which are lighter and easier to store. It’s important to choose a hose that matches the pressure rating of your washer to ensure safety and effectiveness.
How do I properly connect the hose to my pressure washer?
To connect the hose, first ensure the pressure washer is turned off and disconnected from the power source. Locate the water inlet on the washer, then take one end of the hose and securely attach it to this inlet, ensuring it fits snugly. The other end of the hose should be attached to your water supply, typically a garden tap. Make sure both connections are tight to prevent leaks.
What should I do if my hose is leaking after connecting it to the pressure washer?
If you notice a leak, first turn off the pressure washer and disconnect the hose. Check the connection points for any signs of wear or damage. Ensure that the hose is properly connected and that any washers or seals are in good condition. If the hose itself is damaged, it may need to be replaced to prevent further leaks.
Can I use an extension hose with my pressure washer?
Yes, you can use an extension hose, but it is important to select one that is compatible with your pressure washer. The extension should be rated for high pressure and have the same diameter as your original hose. Additionally, using a longer hose may slightly reduce the pressure, so be mindful of the hose length when connecting.
How often should I check my pressure washer hose for wear and tear?
It’s advisable to inspect your pressure washer hose regularly, preferably before each use. Look for signs of cracks, abrasions, or bulging. If you notice any damage, it’s best to replace the hose to avoid potential accidents or performance issues during operation. Regular maintenance can help prolong the life of your equipment.
.jpg)


