


Begin by selecting an appropriate nozzle to maximise water force. A narrow, concentrated jet will provide superior performance in breaking up soil or debris. In my experience, a 15-degree or 25-degree nozzle works wonders for this task, allowing you to penetrate the ground efficiently.
Next, ensure you have a reliable source of water. It may sound basic, but I’ve encountered many situations where a low water supply hindered progress. A steady stream is crucial; otherwise, the tool will operate below its potential and lead to frustration.
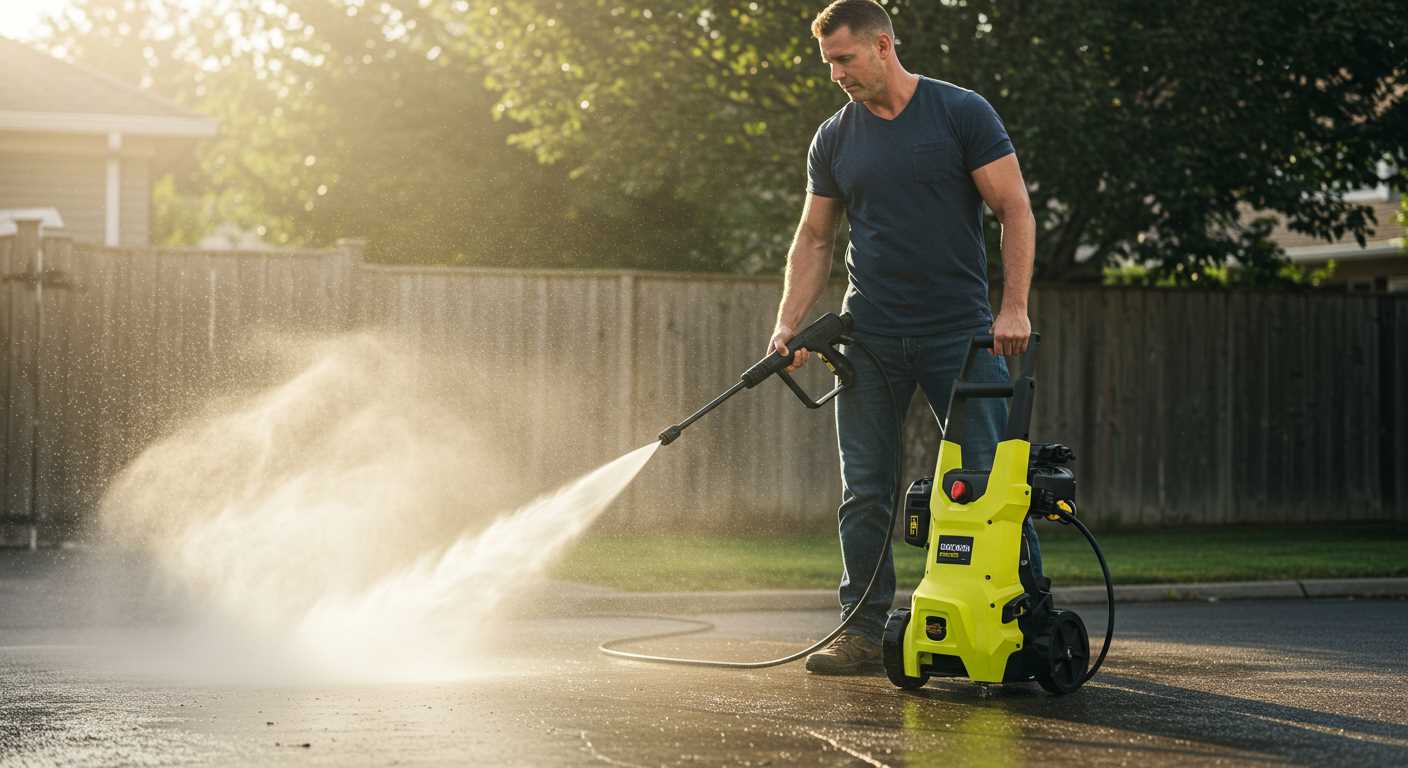
Position yourself at a safe distance from the surface you’re targeting. I often find that standing about two feet away yields the best results without risking damage to the equipment or the surrounding area. Adjust your stance as necessary to avoid kickback while maintaining control.
As you proceed, keep the nozzle in constant motion. A common mistake is to focus too long on one area. This can lead to unwanted erosion or damage to the surface. Instead, move the wand in a sweeping motion, allowing the water to displace soil evenly and effectively.
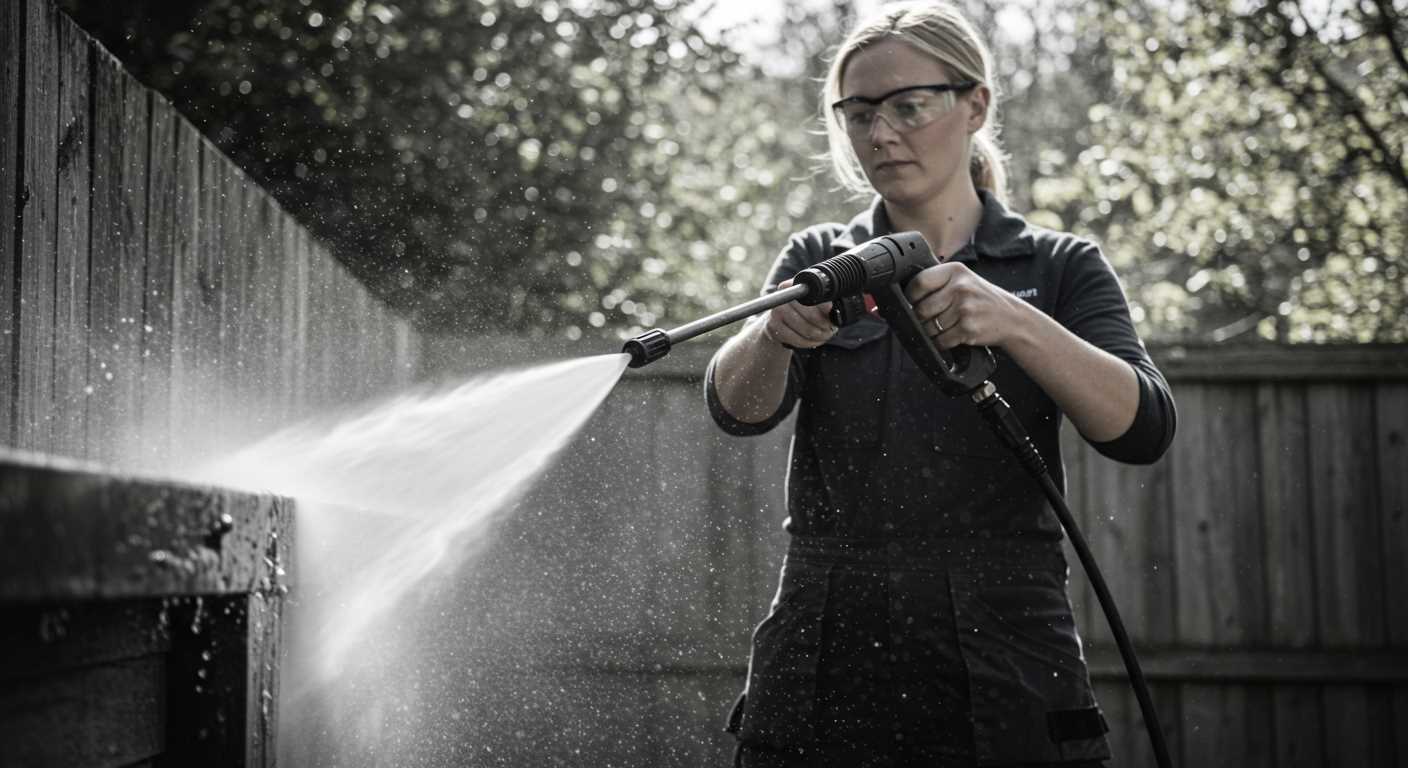
Finally, always wear protective gear. Goggles and sturdy footwear are a must. I learned this the hard way during a particularly messy project when debris flew unexpectedly. Safety should never be an afterthought.
Utilising a High-Pressure Cleaner for Excavation
Begin by selecting the appropriate nozzle. A narrow fan or rotary attachment works best for soil displacement. The right angle and distance from the surface can significantly impact the results.

Preparation Steps
- Clear the area of debris and obstacles to ensure a clean work environment.
- Mark the boundaries of the area you wish to excavate. This aids in avoiding unintended damage to surrounding plants or structures.
- Check for underground utilities. Use a locator service if necessary to prevent accidents.
Technique for Soil Removal
- Stand approximately 12 to 18 inches away from the soil to begin. Adjust as needed based on the material consistency.
- Angle the nozzle towards the ground at about 30 degrees. This allows the force to penetrate the surface effectively.
- Start at one edge and move systematically across the area. Overlap each pass slightly to ensure thorough removal.
- For compacted soil, apply water to soften it before attempting to remove it. This can make the process easier and more efficient.
- Regularly check the progress. Adjust your technique based on the type of soil and any rocks or roots encountered.
After the task is complete, clean the equipment thoroughly. Soil and debris can clog nozzles and damage components. A little maintenance goes a long way in prolonging the lifespan of your device.
Choosing the Right Pressure Washer for Digging
Opting for a model with at least 3000 PSI is a solid starting point. This level of force can effectively remove stubborn soil and debris from various surfaces. I recall a project where I tackled a stubborn patch of clay. A unit in this range made quick work of it, saving me hours of back-breaking effort.
Water flow rate is another critical factor. A minimum of 2.5 GPM ensures a steady stream, which helps to agitate the material you’re working on. I once used a machine with a lower flow rate, and it just didn’t provide the necessary pressure to clear away the loose dirt efficiently.
Consider the nozzle options available. A rotating nozzle can create a more concentrated jet, ideal for breaking up tough ground. I often switch between nozzles depending on the task at hand. The versatility of a unit that allows for easy nozzle changes can be a game changer.
Durability matters, especially if you plan to use the equipment frequently. Look for models with sturdy frames and reliable components. I’ve had my fair share of machines that succumbed to wear and tear after a single season. Investing in a robust model can save you from future headaches.
Portability is essential too. If you need to move around a lot, opt for a lightweight design or one with good wheels. I once worked with a cumbersome unit that was a nightmare to transport across a yard. A well-designed machine can make the entire process smoother.
Lastly, consider the source of power. Electric units are quieter and easier to maintain, while gas models tend to offer more power and mobility. I’ve used both types, and they each have their pros and cons based on the specific task. Take into account your unique needs before making a decision.
Preparing the Area for Pressure Washing
Before you start using your high-powered cleaner, clear the designated space thoroughly. Remove any objects that could get damaged or obstruct the flow of water. I once lost a prized garden gnome due to neglecting this step. It’s not just about saving your belongings; it’s essential for a smooth operation.
Next, examine the surface where you’ll apply the water jet. Check for loose debris, mud, or anything else that might interfere with the job. I remember a time when I didn’t clear away some gravel, and it got blasted everywhere, causing more mess than I started with. A clean area leads to better results.
Consider covering nearby plants and delicate surfaces. I often use tarps or plastic sheeting to protect flowers or furniture. It’s a simple measure that can save you from a lot of regret later. Also, ensure the surrounding area is free from electrical hazards. Water and electricity don’t mix well, as I’ve learned the hard way on more than one occasion.
Here’s a quick checklist to follow:
| Task | Description |
|---|---|
| Clear the Area | Remove any items that could obstruct the process or get damaged. |
| Inspect the Surface | Look for loose debris or mud that may cause issues. |
| Protect Surroundings | Use tarps or plastic sheeting to shield plants and delicate surfaces. |
| Check for Hazards | Ensure the area is free from electrical risks. |
Once these preparations are complete, you’re ready to tackle the task ahead. Each step may seem minor, but trust me, they contribute significantly to a successful clean-up. I’ve seen too many people overlook these details, resulting in unwanted complications. Take your time to prepare, and you’ll be pleased with the outcome.
Understanding Pressure Washer Nozzles for Digging
Selecting the right nozzle is key to achieving optimal results. In my years of experience, I’ve found that using the correct orifice size significantly impacts the effectiveness when loosening soil or debris. For intense tasks, a narrow nozzle, typically a zero-degree option, directs the water jet into a concentrated stream. This precision allows for breaking up tough materials efficiently.
Nozzle Types and Their Uses
Different nozzles serve varied purposes, and knowing their applications can save time and effort. The 15-degree nozzle, for instance, is excellent for removing stubborn dirt or grime. It strikes a balance between power and coverage, making it suitable for lighter substrate removal. In contrast, the wider 40-degree nozzle provides a gentler spray, ideal for rinsing and clearing away loose particles after the heavy lifting is done. I’ve often switched between these options during a single project to maximise results.
Adjusting Pressure Settings
Adjusting the pressure settings on the unit can also enhance performance. A higher setting can quickly break up compacted earth, while a lower pressure helps avoid damaging softer materials. During a recent project, I experimented with varying pressures and found that starting high and then dialing back provided a controlled approach to handling different soil types. This flexibility is invaluable in achieving the desired outcome without unnecessary strain on the equipment.
Setting Up Your Pressure Washer Safely
Always begin by ensuring a stable and dry environment. I recall a day when I rushed into a task and neglected to check the ground beneath me. The slippery surface caused an incident that could have been avoided. Make sure the area is clear of debris and obstacles to prevent accidents.
Next, inspect all components thoroughly. I often find that users overlook the hoses and connections. A damaged hose can burst under high pressure, leading to injury. Replace any worn or frayed parts before starting your equipment.
Electrical Safety Measures

For electric models, ensure the power source is suitable. I’ve experienced situations where voltage drops caused machines to malfunction. Use a GFCI outlet to protect against electrical shocks, especially if you’re working outdoors. Avoid using extension cords unless they are rated for your machine’s power requirements.
Personal Protective Equipment
Wearing the right gear is non-negotiable. I always don my safety goggles and rubber gloves before beginning any task. High-pressure streams can cause serious injury, and I’ve seen enough mishaps to recommend a sturdy pair of boots as well. They protect against falling objects and provide grip on uneven surfaces.
Techniques for Using a Pressure Washer as a Digging Tool
Utilising high-pressure equipment for excavation can yield impressive results, provided you apply the right methods. Begin by selecting the narrowest nozzle available, such as a zero-degree or 15-degree option. This concentrates the force of the water into a small area, making it easier to dislodge compacted soil or debris.
Angle and Distance
Adjusting the angle of the stream is key. Aim the nozzle slightly downward and maintain a distance of about 12 to 18 inches from the target surface. This positioning maximises the impact of the water jet while reducing the risk of overshooting or scattering soil unnecessarily. If you notice the soil isn’t yielding, decrease the distance gradually until you find the sweet spot for effective removal.
Layered Approach
Working in layers is beneficial. Start at the surface and gradually move deeper, applying consistent pressure. If the soil is particularly stubborn, consider soaking it beforehand with water to soften it. This can make the subsequent application of the water jet more effective, allowing for easier removal of the loosened material. Patience is crucial; it may take a few passes to achieve the desired depth.
Identifying Different Soil Types and Their Response
Recognising soil types is vital for achieving desired results during excavation. Sandy soil drains quickly and requires less force to shift, making it relatively easy to move. However, the high drainage can cause issues if the area is too dry. Clay soil, on the other hand, is dense and sticky when wet, often necessitating higher pressure and more time for effective removal. It tends to compact easily, so be prepared for a more strenuous task.
Loamy and Rocky Soils
Loamy soil strikes a balance between sand and clay, offering decent drainage while maintaining moisture. This type can respond well to high-velocity jets, allowing for efficient removal without too much effort. Rocky soil adds another layer of complexity; it’s essential to assess the size and type of rocks present. Smaller stones may be manageable, but larger boulders will require specific strategies or tools to tackle effectively.
Organic-rich Soils
Soils rich in organic material can be tricky. They often hold water, making them heavy and challenging to displace. This type of ground may require adjustments in nozzle selection and pressure settings to avoid excessive splashback and ensure effective removal. Always check for roots and other organic matter, as these can complicate the process and may necessitate additional tools for extraction.
In my experience, understanding the soil composition not only enhances efficiency but also minimises potential damage to the surrounding area. Taking a moment to assess the ground can save significant time and effort down the line.
Maintaining Control While Digging with Water Pressure
To achieve precision and safety during excavation using high-intensity water streams, it’s crucial to maintain a firm grip on the equipment while being mindful of the surroundings. Here’s how to ensure stability and control:
- Footing: Stand firmly on stable ground. Uneven or slippery surfaces can lead to loss of balance. Consider wearing anti-slip footwear for better grip.
- Posture: Keep your body aligned with the direction of the nozzle. Bend your knees slightly and maintain a low centre of gravity to enhance stability.
- Grip: Hold the handle with both hands. This not only provides better control but also reduces fatigue during extended use.
- Distance: Maintain an appropriate distance from the surface being treated. Too close can cause loss of control, while too far may reduce effectiveness.
In my experience, adjusting the angle of the nozzle can significantly impact both control and efficiency. Tilting it slightly allows for better targeting of soil without excessive kickback. Always practice on a small area first to gauge the reaction of the equipment and surroundings.
Be aware of debris and water flow. Water can make surfaces slippery, and loose soil can shift unexpectedly. Having a clear plan for water drainage or any potential hazards in the area can prevent accidents.
For those interested in using their equipment for tasks like cleaning the drain with a pressure washer, similar principles apply. Always ensure that you are in control, especially when working in confined spaces where movement may be restricted.
Finally, regularly check your equipment. Any malfunction can lead to an unexpected loss of control. Ensure hoses are securely connected and the machine is in good working order. A well-maintained tool is key to safe and effective work.
Cleaning Up After Using a Pressure Washer for Digging
After utilising a high-powered cleaning tool to shift soil, tidying up is crucial. First, ensure that the area is free from any debris, such as rocks or large clumps of dirt that may have been loosened during the process. A thorough inspection of the site is essential; this will help identify any spots that might require additional attention.
Rinsing the Surroundings
Once the immediate area is cleared, I recommend rinsing off any residual mud or sediment that may have splattered onto nearby surfaces. Using a garden hose with a spray nozzle can effectively clean off these areas without causing further disruption. Pay special attention to pathways or driveways, as excess soil can create a messy appearance.
Drying and Assessing the Area
After rinsing, allow the ground to dry. This step is vital to evaluate the stability of the disturbed soil. If any areas appear uneven or unstable, additional compacting may be necessary. A tamper can help settle the soil back into place. This process not only restores the surface but also prevents future erosion or sinking.
Common Mistakes to Avoid When Using a High-Pressure Cleaner for Excavation
One frequent oversight is not adjusting the nozzle correctly. Using a narrow jet for softer soil can lead to unnecessary erosion and damage. Instead, opt for a wider spray for delicate surfaces to maintain control and avoid unwanted disturbances.
Another pitfall is neglecting to assess the surrounding area before starting. I once encountered buried cables while clearing a path, resulting in a costly repair. Always scan for utilities or other obstructions that could cause harm or complications.
Rushing the process often leads to uneven results. I learned this the hard way; it took me hours to correct the mistakes from my haste. Take your time to ensure that each section is treated adequately, allowing the water to penetrate effectively.
Failing to maintain a safe distance can be detrimental. Standing too close can cause injury from debris or unexpected water pressure. I always recommend keeping a safe distance and using protective gear to shield against flying particles.
Ignoring the type of soil being worked on can lead to inefficiencies. For instance, sandy soil responds differently than clay. Understanding these variances can save time and effort. I’ve spent ample time experimenting with different techniques based on soil composition.
Lastly, skipping clean-up can create a mess that complicates future projects. After wrapping up, ensure to clear the area of any mud or debris. A simple rinse can prevent future issues. It’s a lesson I learned after encountering stubborn stains from previous jobs.
For those curious about the intersection of technology and equipment, you might find this link to be informative: are digital cameras and scanners input or output devices.
.jpg)


