


First things first, gather the necessary components: a compatible sensor, the right connectors, and a few tools. My experience has taught me that having everything on hand before starting saves time and hassle later. I once found myself halfway through an installation only to realise I was missing a crucial connector, and it was a frustrating setback.
Begin by disconnecting the power supply to avoid any mishaps. Safety cannot be overstated here. I remember a colleague who made the mistake of skipping this step, and it resulted in a rather shocking experience. Once you’ve ensured that everything is powered down, locate the existing wiring near the motor. This is where the sensor will interface with the system.
Carefully strip the insulation from the wires without damaging them. I’ve seen many people rush this step, leading to poor connections. A clean strip ensures a better fit and reduces the chance of future issues. Connect the sensor according to the manufacturer’s instructions, paying attention to the polarity; it’s easy to overlook this detail, but it’s vital for proper functionality.
After securing the connections, reassemble the unit and reconnect the power supply. Test the setup by running the device to ensure everything operates smoothly. I’ve often found it helpful to run the unit at various settings to confirm that the sensor responds correctly under different conditions. Patience is key–take your time, and don’t hesitate to double-check your work.
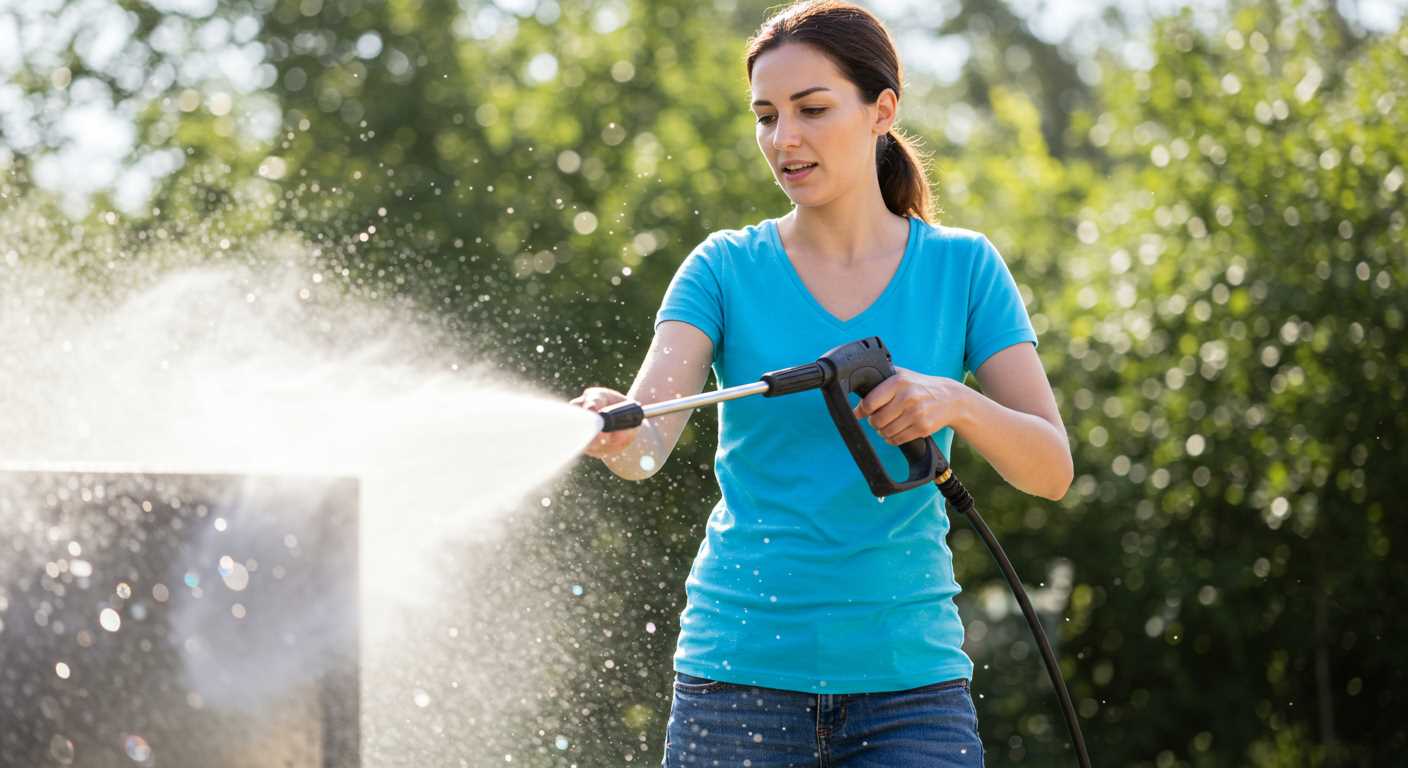
Selecting the Right Auto Switch for Your Pressure Cleaning Equipment
Choose a model that matches your unit’s specifications, particularly the voltage and amperage. When I was working with various brands, I found that many enthusiasts overlooked these details, resulting in compatibility issues or equipment damage.
Look for a device that includes adjustable pressure settings. This feature allows you to customise the performance based on specific tasks, whether it’s delicate surfaces or stubborn grime. One time, I used a unit with this capability and it saved me from damaging a client’s patio while still delivering the necessary power.
Consider the material of the components. Opt for switches made from durable materials like brass or high-quality plastics. I once used a cheaper, plastic model that cracked under pressure, leading to a frustrating repair process. Investing in robust materials pays off in the long run.
Check for an integrated thermal overload protection feature. It prevents overheating during extended use, which is crucial for maintaining the longevity of both the switch and the entire cleaning apparatus. I had an incident where neglecting this led to a breakdown mid-job, costing me time and money.
Lastly, read user reviews and experiences. They often highlight potential issues you might not consider. While working on installations, I discovered that feedback from fellow users can guide you to reliable options, saving you from possible headaches down the road.
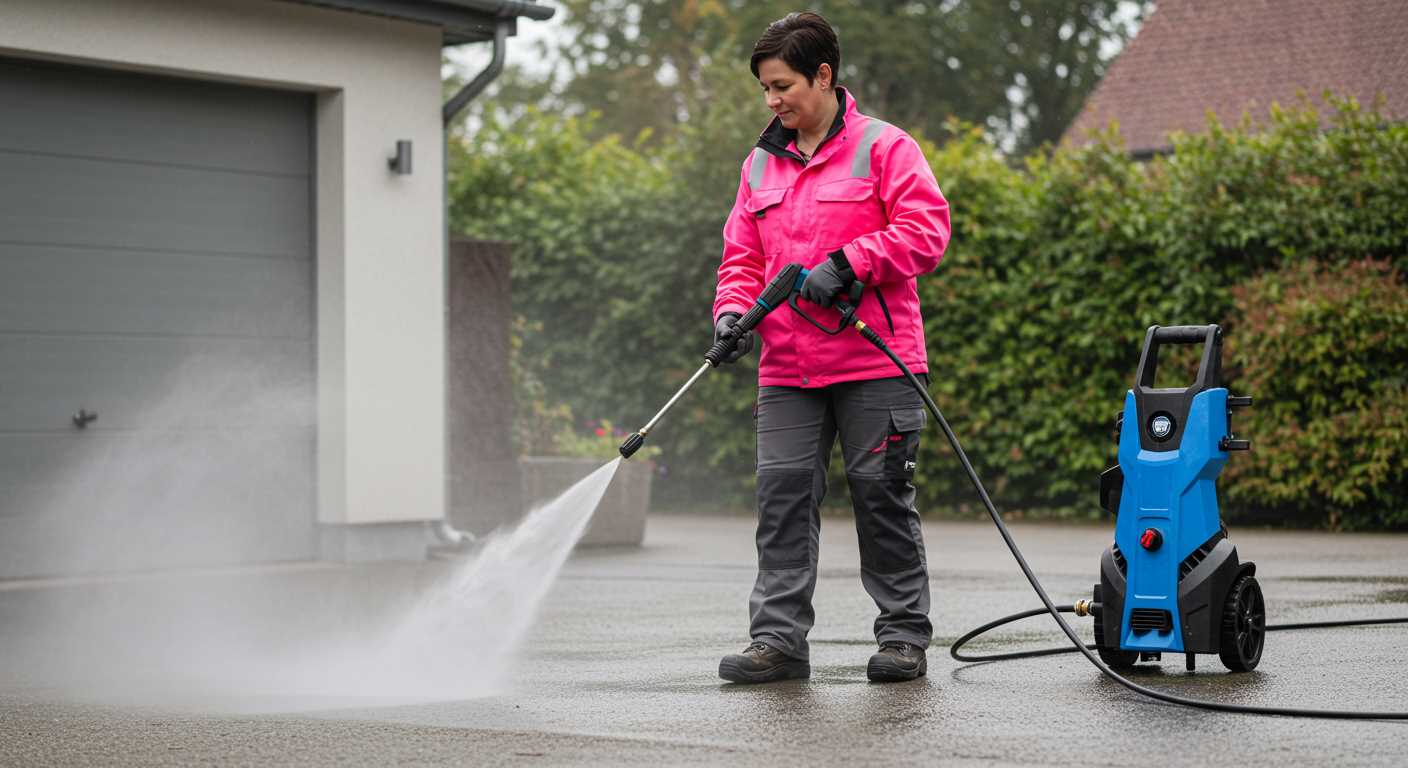
Preparing your cleaning device for installation
Before making any modifications, ensure the unit is turned off and unplugged. This step is vital for safety. Inspect the hose connections and the unit’s body for any wear or damage. If you spot any issues, address them prior to proceeding with the installation to avoid complications later.
Gather all necessary tools and components beforehand. A screwdriver, adjustable wrench, and the new component should be on hand. This preparation will streamline the process and keep everything organised. I recall a time when I had to pause mid-installation due to a missing tool, causing unnecessary frustration.
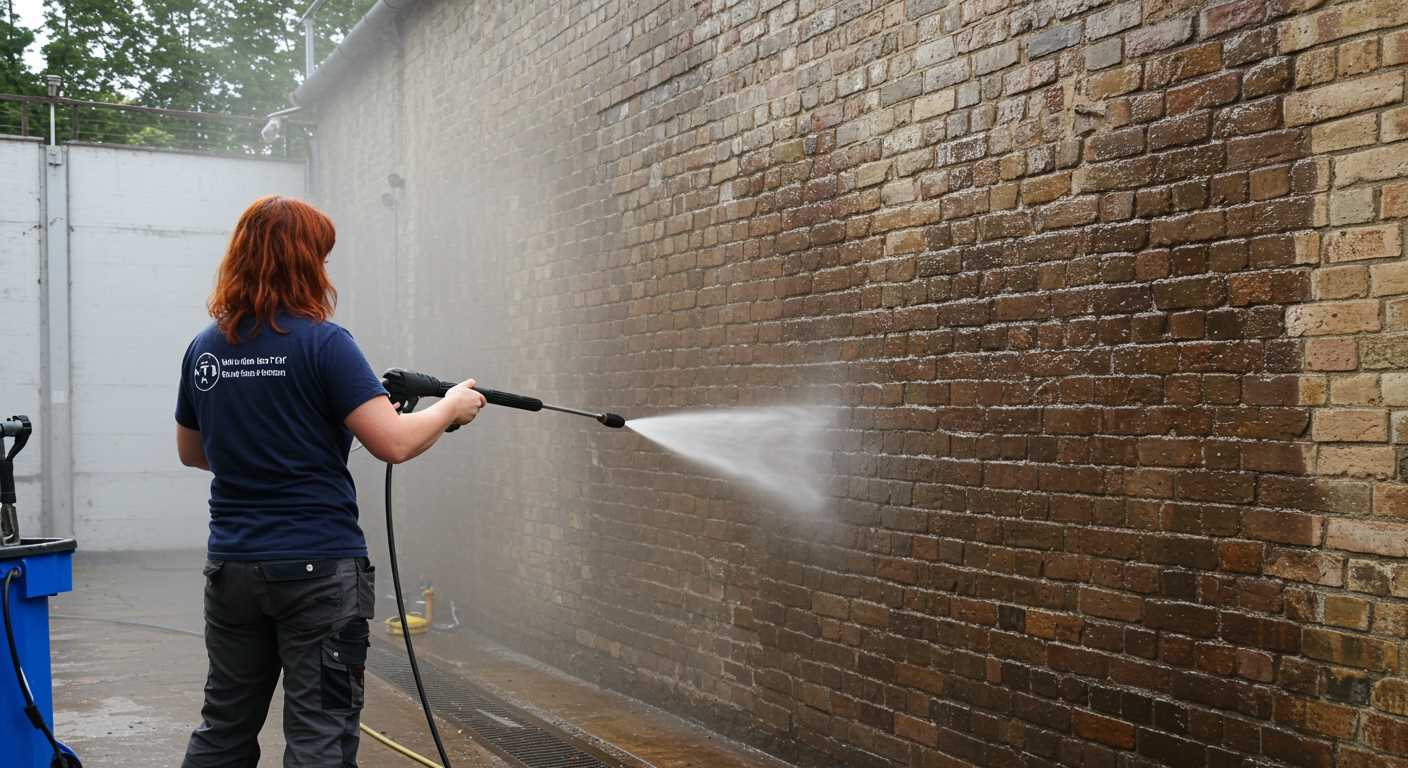
Thorough cleaning
Clean any dirt or debris from the exterior and connections of the device. A clean surface helps ensure a tight seal when you’re reassembling everything. I’ve encountered leaks before simply because I overlooked this step. A bit of extra time spent cleaning can save you a lot of hassle down the line.
Manual review
Consult the manufacturer’s manual for specific installation instructions and safety guidelines. Each model may have unique requirements, and familiarising yourself with these can prevent errors. I once assumed all units were similar, which led to a frustrating experience. Having the manual handy provides clarity and confidence throughout the process.
Once everything is prepped, you’ll be ready to tackle the installation smoothly. And if you happen to be curious about kitchen timing, check out this link on how long to steam a christmas pudding in pressure cooker.
Wiring the auto switch to the pressure washer
Begin by ensuring that the power source is disconnected. Safety can’t be overstated. I’ve seen too many mishaps in my years, and a simple oversight can lead to hazardous situations.
Identify the wiring schematic for your specific model. Most devices come with a manual that includes a wiring diagram. If not, searching online can yield helpful resources. When I wired my first unit, I learned the hard way that following the correct diagram saves time and frustration.
Next, strip the ends of your wires to expose enough copper for a solid connection. I typically recommend stripping about half an inch. Use wire connectors or terminal blocks to secure the connections. This method is far more reliable than twisting wires together, which can lead to disconnections over time.
Connect the wires from the new component to the power supply leads of the cleaning device. Usually, this involves connecting one wire to the live (brown) and another to the neutral (blue). If your new component has a ground wire (green/yellow), ensure it’s securely attached to the device’s grounding point. I once neglected this step, and the result was a shocking experience–literally.
After connecting the wires, double-check all connections for tightness and correct placement. Loose connections can result in reduced performance or even equipment failure. I’ve had to troubleshoot several situations where intermittent issues arose due to overlooked connections.
Once everything is wired, reassemble any covers or panels that were removed. Ensure that all parts are secured properly. I often remind myself that a well-assembled unit not only looks better but also functions more reliably.
Finally, reconnect the power source and test the setup. Monitor for any unusual sounds or behaviour. If everything runs smoothly, congratulations! If something seems off, revisit your connections and ensure everything is in its proper place. I’ve learned that a few minutes spent double-checking can save hours of headaches later on.
Testing the Auto Switch Functionality After Installation
After installation, it’s crucial to verify the functionality of the newly added component. Here’s a straightforward approach to ensure everything operates smoothly.
Visual Inspection
- Check all connections for firmness and security.
- Look for any signs of wear or damage on wiring.
- Ensure there are no leaks around the area where the component is fitted.
Functional Testing
- Start the motor of your cleaning unit and observe the current draw on the gauge. It should remain stable.
- Activate the trigger on the gun. The motor should engage and respond immediately.
- Release the trigger. The motor should stop promptly, indicating proper operation.
- Repeat the last two steps multiple times to confirm consistent performance.
If the motor fails to start or stop as expected, double-check all connections and settings. If issues persist, it may be necessary to consult the manufacturer’s manual for troubleshooting guidance. In my experience, most problems arise from loose connections or faulty components. Always ensure that the power supply is stable before conducting these tests.
Once you confirm that everything functions correctly, you can feel confident in the reliability of your setup. Having gone through various installations, I can assure you that taking the time to perform these checks saves headaches down the line.
Maintaining the auto switch for long-term performance
Regular maintenance is key to ensuring longevity and reliability of your newly installed component. Start by cleaning the area around the device to prevent any debris from interfering with its operation. A simple wipe-down with a damp cloth can remove dirt and grime that may accumulate over time.
Periodic Inspections
Every few months, inspect the connections for signs of wear or corrosion. Loose connections can lead to malfunction, so ensure everything is secure. If you notice any frayed wires or other damage, replace them immediately to prevent further issues. During these inspections, test the functionality to confirm it operates as expected.
Lubrication and Care

Occasionally, apply a small amount of lubricant to moving parts, if applicable. This helps reduce friction and extends the lifespan of mechanical components. Additionally, consider using a car wash and wax for pressure washer to keep your equipment in top condition. A good wax not only protects the surface but also makes cleaning easier, reducing the need for harsh chemicals that could damage your setup.
.jpg)


