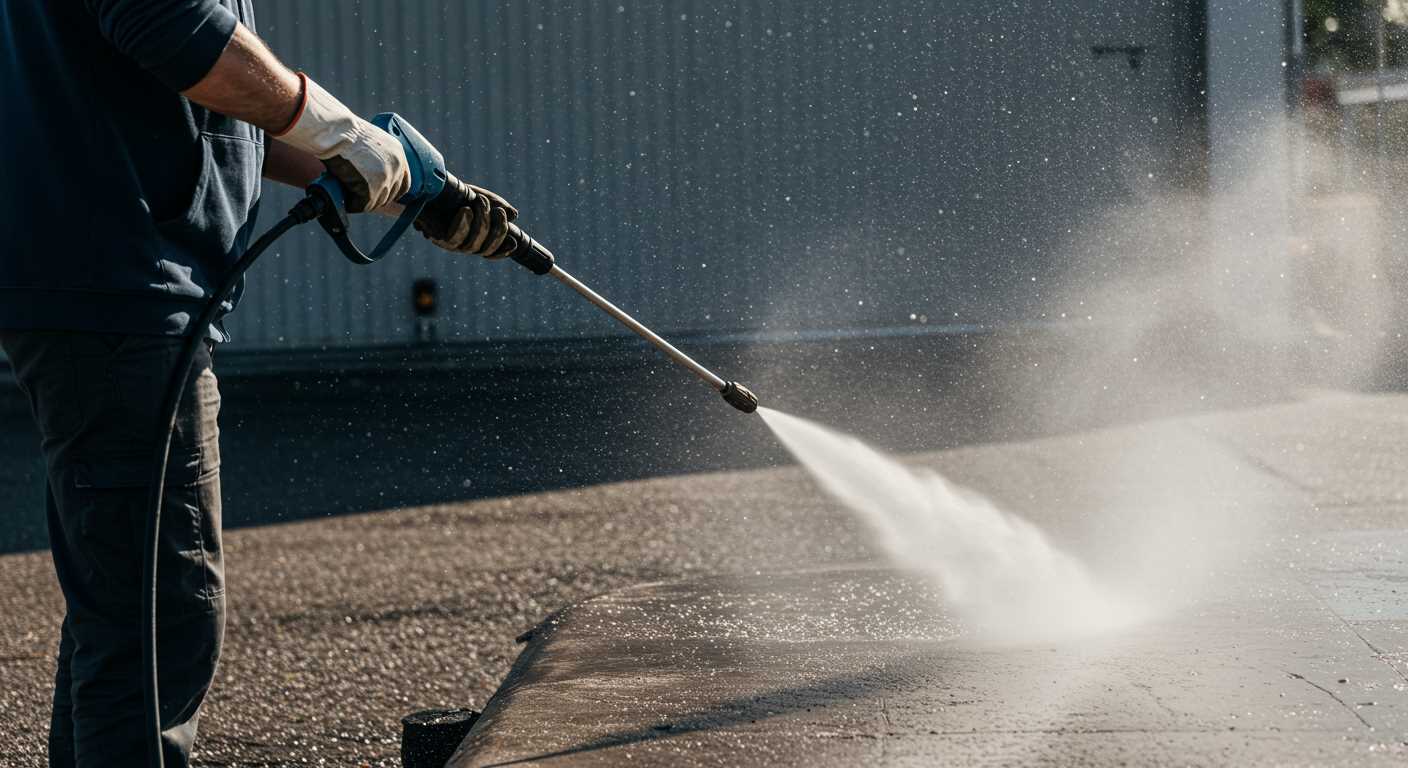
To detach the fitting of your high-pressure cleaner’s tubing, locate the quick-release mechanism or the threaded section carefully. A good grip is key, so make sure to wear gloves for protection. If it’s a threaded connection, turning counter-clockwise will usually loosen it, while a quick-release typically requires you to press a button or lever to disengage.
In my experience, using a pair of pliers can help if the connection is stubborn. But be cautious–applying too much force can damage the fitting. If you notice any leaks or wear on the threads, consider replacing the component to avoid future complications. I’ve seen firsthand how a small crack can escalate into a larger issue, leading to more significant repairs down the line.

Once disconnected, inspect both the fitting and the end of the tubing for debris or damage. Cleaning these parts can prevent blockages and ensure smooth operation when reconnecting. It’s a simple task that can save you from frustration during your next cleaning job. Trust me; a few moments spent on maintenance pays off in efficiency and longevity of your equipment.
Removing Your High-Pressure Cleaning Equipment Connector

First, ensure the machine is turned off and disconnected from any power source. This step is crucial for safety. Grasp the connector firmly, then twist it counterclockwise. If it feels stuck, applying a bit of lubricant around the threads can help ease the process. A penetrating oil works wonders in loosening stubborn parts.
For those fittings with a lock mechanism, locate the release button or lever. Press or pull it while twisting the connector to disengage it. If your model features a quick-release system, simply push the collar inward while pulling the connector apart. Remember to check for any signs of wear or damage on the threads after detaching the component; replacing worn parts is key to maintaining optimal performance.
If you encounter excessive resistance, a pair of channel-lock pliers can provide the grip needed, but take care not to apply too much force, as this can cause damage. If corrosion is present, soaking the connector in a vinegar solution for a few hours can help dissolve the rust.
After successful disconnection, clean the threads of any debris before storing the parts. This practice not only prolongs the life of the components but also ensures a smooth connection the next time you set up your equipment.
Identifying the Type of Hose Connector
To effectively detach the fitting on your cleaning machine, start by determining the type of attachment you are dealing with. There are several common designs: threaded, quick-connect, and bayonet-style. Each requires a different approach.
Threaded Connectors
If the connector features visible threads, it can typically be unscrewed by turning it counterclockwise. A simple twist should suffice, but ensure you grip it firmly to prevent slipping. Sometimes, a little lubricant can ease the process if it feels stuck. I recall a time when I dealt with a stubborn threaded connection; a few drops of penetrating oil made all the difference.
Quick-Connect and Bayonet-Style Connectors
For quick-connect types, look for a collar that you can pull back or push forward to release the attachment. It’s straightforward, but be cautious not to apply excessive force. In my experience, bayonet designs require a twist-and-pull action. Align the arrows on the connector and give it a gentle twist to unlock. I once had a friend who struggled with this type, thinking brute strength was the answer, but finesse won the day.
Understanding these different types can save you time and frustration. Once identified, the right technique will ensure a smoother disconnection. If you’re in the market for a new unit, consider checking out the best cordless pressure washers, as they often feature user-friendly connections that simplify maintenance.
Gathering the Necessary Tools for Removal
Start with a set of adjustable wrenches or pliers; these will help you grip and turn fittings effectively. I recall a time when I attempted to detach a stubborn attachment without the right tools, and it turned into a frustrating ordeal. A good pair of adjustable wrenches can make all the difference.
Next, consider a flathead screwdriver or a similar tool to help pry open any stubborn connections. In my experience, some fittings can get a bit corroded, making them harder to loosen. A gentle nudge from a flathead can help break any rust or grime that’s holding it in place.
Don’t forget about safety gear. A pair of gloves will protect your hands from sharp edges or debris while you work. I once underestimated the importance of protection and ended up with a small cut that took longer to heal than it should have.
A bucket or towel is handy for catching any excess water that might spill out during the process. I learned this the hard way when I found myself soaked after neglecting to prepare for a little mess. Keeping your workspace tidy will save you from unnecessary clean-up later.
If you have access to a penetrating oil, it’s worth applying it to the fittings beforehand. I’ve had great success with this approach, especially on older models. Letting it sit for a few minutes can ease the tension and facilitate a smoother disconnection.
Lastly, a flashlight or work lamp can illuminate those hard-to-reach areas, ensuring you see what you’re doing. I can’t tell you how many times I’ve struggled in the dark, only to find the process much easier with adequate lighting. Proper preparation with the right tools transforms a potentially challenging task into a manageable one.
Steps to Safely Disconnect the Hose
Ensure the equipment is powered off and disconnected from any electrical source before proceeding. This prevents accidental activation while you work.
1. Relieve Water Pressure
Before starting, it’s crucial to relieve any residual pressure in the system. Follow these steps:
- Point the nozzle away from you and others.
- Trigger the gun to release water until it flows steadily without surges.
- Secure the trigger lock to prevent accidental discharge.
2. Inspect the Connection
Examine the attachment point carefully. Different models may have unique mechanisms:
- If it features a quick-release, simply press the release button and pull.
- For screw-type connections, turn counter-clockwise until loose.
- Check for any obstructions or debris that may hinder disconnection.
3. Use the Right Technique
Employ the appropriate technique based on the connection type:
- For threaded fittings, grasp the body firmly and twist the fitting using a wrench if needed, applying consistent pressure.
- For snap-type connectors, push the button or latch and gently pull the hose straight out.
- Always handle with care to avoid damage to the fittings or the surrounding components.
4. Clean the Threads
Once disconnected, clean any debris from the threads of the fitting. This helps maintain a good seal for future use:
- Use a cloth to wipe down the area.
- Inspect for wear or damage that could affect the connection later.
After completing these steps, store the components properly to prevent any potential damage during future use. Keeping everything in good condition will ensure the longevity of the equipment.
Dealing with Stubborn Connectors and Corrosion
Corroded fittings can turn a simple task into a frustrating ordeal. In my years of experience, I’ve encountered countless stubborn connections that appeared impossible to budge. When faced with this issue, the first step is to assess the corrosion type. If you see rust, it’s often a sign that moisture has infiltrated the joint, creating a bond that’s difficult to loosen.
Utilising penetrating oil can be a game changer. Apply a generous amount to the affected area and allow it to soak for at least 15 minutes. This allows the solution to seep into the threads, breaking down rust and grime. If the corrosion is particularly severe, consider using heat. A heat gun can expand the metal, making it easier to separate. Just be cautious–excessive heat can damage plastic or rubber components nearby.
| Corrosion Type | Recommended Action |
|---|---|
| Rust | Apply penetrating oil and wait. Use heat if necessary. |
| Lime Build-Up | Soak in vinegar to dissolve mineral deposits. |
| Plastic Adhesion | Use a plastic-safe lubricant and gently wiggle while pulling. |
For stubborn plastic fittings, avoid using excessive force, which may cause cracking. Instead, gently wiggle the connection while applying a lubricant. If it’s still resistant, using a vice grip with a soft cloth can provide the necessary leverage without damaging the component.
Lastly, always inspect the components after separation. If corrosion is extensive, replacing the fittings may be prudent to ensure future ease of use. Prevention starts with regular maintenance and cleaning, which I found to be the best way to avoid these situations altogether.
Inspecting the Connector for Damage After Removal
Once you’ve successfully detached the fitting, it’s crucial to inspect it closely for any signs of wear or damage. Look for cracks, dents, or excessive corrosion. These imperfections can lead to leaks or failure during future use.
Take a moment to examine the sealing rings or O-rings. If they appear flattened, cracked, or discoloured, replacing them is advisable. Worn seals are a common cause of leaks, and a small investment in new rings can save you from larger headaches down the line.
Don’t forget to check the threads on both the connector and the connected part. Cross-threading can occur if the parts were forced together, leading to potential issues. If the threads are stripped or damaged, it might be time to replace the entire unit.
After your visual inspection, give the connector a gentle squeeze. If it feels unusually loose or has play, it may not secure properly when reattached. In such cases, consider sourcing a replacement to ensure safety and efficiency during operation.
Finally, clean the connector thoroughly before reinstallation. Remove any debris or old lubricant using a soft cloth. A clean surface promotes a better seal and extends the life of the equipment.
Reconnecting or Replacing the Hose Connector
After successfully detaching the fitting, the next step involves proper reattachment or substitution. Always ensure that the threads are clean and free from debris. If you’re installing a new connector, lubricate the threads lightly with plumber’s tape or a suitable sealant to prevent leaks.

Steps for Reattachment
Align the fitting with the corresponding port and gently twist it into place. Avoid using excessive force, as this can strip the threads. Once secure, tighten it by hand until snug, then give it a slight turn with a wrench for a firm fit without overdoing it. After reconnecting, test for leaks by running the equipment briefly while monitoring the joint.
When to Consider Replacement
If the connector shows signs of wear or damage, replacing it is wise. A compromised fitting can lead to pressure loss or leaks, impacting performance. Consider upgrading to a commercial pressure washer gun if you’re looking for enhanced durability and efficiency. Always select a connector that matches your system specifications for optimal results.


.jpg)