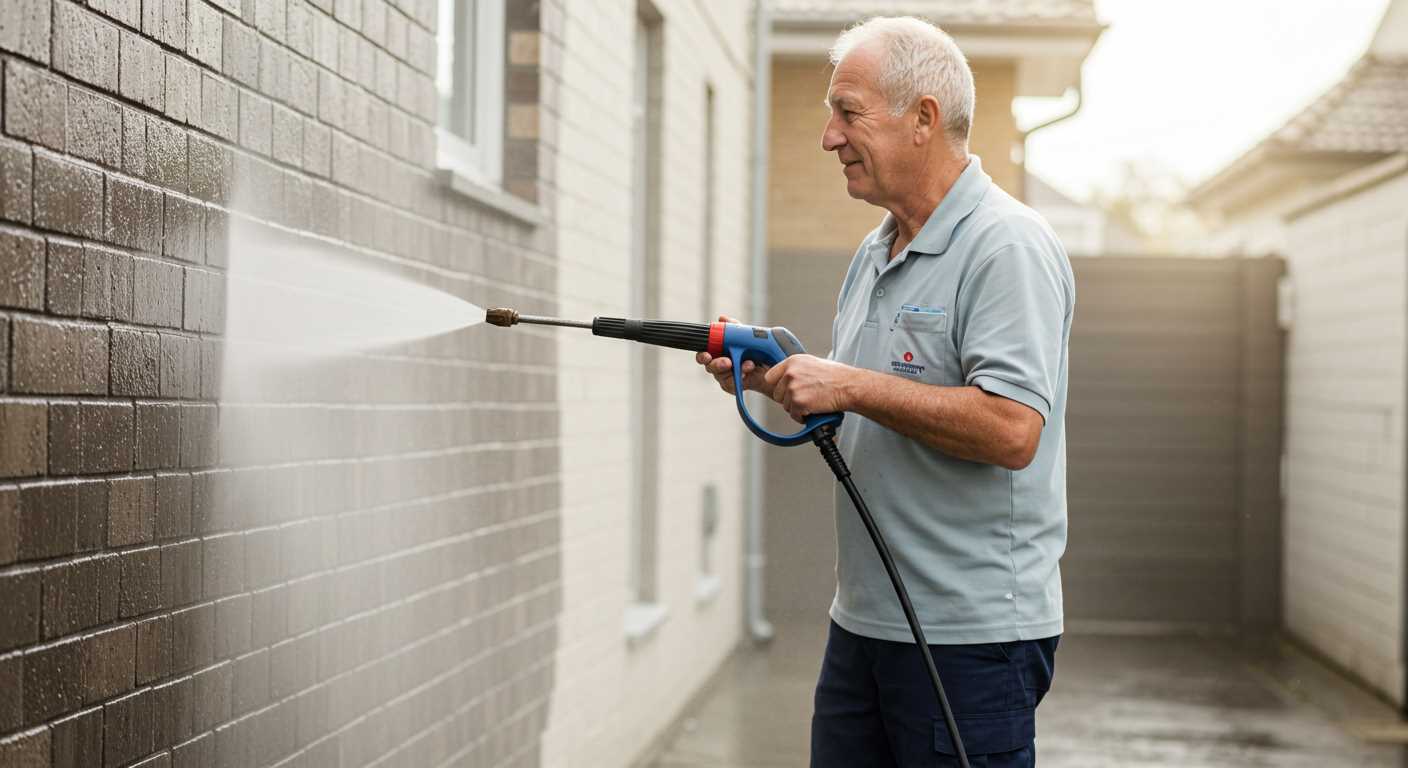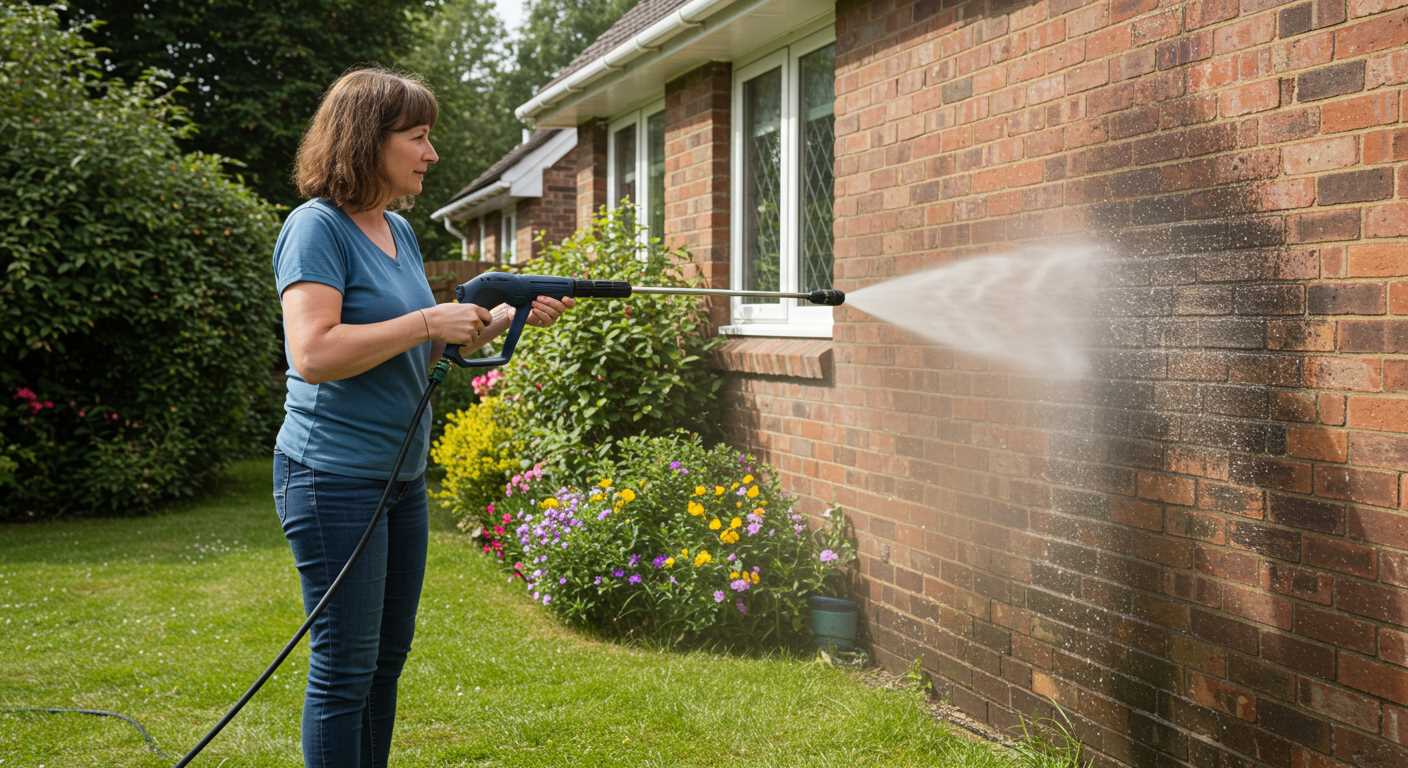


Addressing issues with the unloader mechanism can significantly enhance the performance of your cleaning apparatus. In my experience, a common culprit for reduced efficiency is the unloader’s malfunction. Start by disconnecting the machine from the power source and relieving any residual pressure. This ensures your safety while working on the internal components.
Next, locate the unloader assembly, typically found near the pump. Inspect the unit for signs of wear, corrosion, or debris. A thorough cleaning may resolve minor blockages that disrupt its function. If you notice any damaged seals or springs, replacing them is crucial for restoring optimal performance.
After reassembling the components, adjust the pressure settings according to the manufacturer’s specifications. This step is often overlooked but is vital for achieving the desired output. Test the equipment to confirm that it operates smoothly without any leaks or unusual noises. Drawing from my years in the industry, I can assure you that regular maintenance of this part not only prolongs the life of your machine but also ensures effective cleaning results.
Repairing the Unloader Mechanism
Begin with isolating the unit from the power source. This ensures safety while working. Once disconnected, locate the assembly that controls the pressure flow. You’ll typically find it near the pump outlet. Remove any protective covers to access the components.
Inspect for Damage
Examine the assembly for signs of wear or damage. Pay close attention to the spring and diaphragm. If the spring appears compressed or the diaphragm is cracked, these parts need replacement. It’s always wise to have spare parts on hand, as these components can wear out quickly with frequent use.
Cleaning and Reassembly
Clean the internal channels with a suitable solvent to remove any debris or buildup. Use a soft brush if necessary. After everything is clean, reassemble the components in the reverse order. Ensure all connections are tight but avoid over-tightening, which can lead to further issues. Once everything is back in place, reconnect to the power source and test for functionality.
Identifying Signs of a Faulty Unloader Mechanism
Pay close attention to the following indicators that suggest a malfunction in the bypass mechanism:
- Pressure Fluctuations: If you notice inconsistent pressure while operating the device, it could indicate a faulty mechanism. A steady flow is crucial for optimal performance.
- Bypass Mode Activation: Continuous operation in bypass mode, where water circulates back to the pump without being expelled, often signifies a malfunction. This can lead to overheating and potential damage.
- Leakage: Look for signs of water leaking from the bypass area. Even a small drip can indicate a worn or damaged component.
- No Pressure Build-Up: If the unit fails to generate adequate pressure during use, this could be a clear sign of trouble. Listen for unusual sounds from the pump that might accompany this issue.
- Increased Vibration: Unusual vibrations during operation may point to internal issues within the system, potentially linked to the mechanism.
Common Causes of Malfunction
Understanding the potential causes can help in diagnosing the issue more effectively:
- Debris Buildup: Dirt and grime can obstruct the mechanism, leading to performance issues. Regular cleaning and maintenance are essential.
- Worn Components: Over time, seals and springs can wear out. Regular inspection can prevent major failures.
- Incorrect Settings: Ensure that all settings are correctly adjusted. Incorrect configurations can lead to operational problems.
Personal Observations
In my experience, detecting these signs early can save both time and money. One time, a client ignored the vibrations and ended up needing a complete system replacement. Regular maintenance checks can catch these issues before they escalate. If something feels off, trust your instincts and investigate further.
Tools Required for Unloader Valve Repair
Gathering the right tools is critical to ensure a smooth process when dealing with the component in question. Based on my experience, here’s a list of essentials you’ll need:
Basic Hand Tools
A set of adjustable wrenches is indispensable. They allow you to grip various sizes of fittings securely. Additionally, having a flathead screwdriver and a Phillips screwdriver will come in handy for loosening screws and securing connections. Don’t forget a pair of pliers for grasping and manipulating smaller components.
Specialised Equipment
Investing in a torque wrench can make a significant difference. This tool ensures that you apply the correct amount of force when reassembling parts, preventing damage. A multimeter is also useful for checking electrical components if your setup includes any electronic features. Lastly, a cleaning brush will help remove any debris or buildup around the area, ensuring everything is clear before you start working.
Step-by-Step Disassembly of the Pressure Cleaning Machine
Begin by disconnecting the power source and water supply to avoid any accidents. Secure the unit on a stable surface, preferably on a workbench, to facilitate the disassembly process.
Remove the outer casing screws using a suitable screwdriver. Keep these screws in a small container to prevent loss. Once the screws are out, gently lift the casing off to expose the internal components.
Next, locate the assembly that houses the component in question. Carefully disconnect any hoses or fittings attached to it. Use a wrench to loosen any threaded connections, ensuring to hold the assembly firmly to avoid damage.
With the assembly free, inspect for any additional clips or fasteners that may be securing it in place. Carefully unclip or unscrew them as needed. If there are any electrical connections, document their positions with a photo or note to aid reassembly later.
Once all connections are removed, gently lift the assembly out. This is a critical step, so take your time to avoid breaking any components. If you encounter resistance, double-check that all fasteners have been removed.
Now, focus on separating the specific component by examining how it is attached. It may involve additional screws or clips. Again, remove these carefully. If you notice any built-up debris or corrosion, clean it off with a suitable cleaning agent.
As you disassemble, keep track of the order of parts. It’s helpful to lay them out in the same sequence they were removed. This will save time and confusion when reassembling.
Once everything is apart, inspect each part for wear or damage. Take notes or photos if necessary to assist with any replacements needed. This thorough approach ensures that the next steps towards enhancement will be effective.
Inspecting the Unloader Components
Begin with a visual assessment of the assembly. Look for any visible cracks, wear, or corrosion on the housing and components. A damaged exterior can indicate internal issues and must be addressed immediately.
Internal Examination
After disassembly, inspect the spring and diaphragm closely. The spring should be intact and flexible; any signs of sagging or breakage are telltale signs of fatigue. The diaphragm must be free of tears or warping, as these defects can lead to pressure fluctuations. A quick check against a pressure washer pump type guide can ensure compatibility if replacements are needed.
Seals and O-Rings
Pay special attention to seals and O-rings. These components can degrade over time, leading to leaks and inefficiency. A thorough cleaning can sometimes restore functionality, but replacement is often the best course of action. When selecting new seals, consider materials resistant to detergents and high temperatures. If you happen to have an aquarium, the best algae scrubber for aquarium can serve as a good source for durable materials.
By ensuring each component is in optimal condition, you set the foundation for reliable performance in your cleaning tasks.
Cleaning the Unloader Valve for Optimal Performance
Begin by isolating the unit from the power source and water supply. A clear, clean valve maintains pressure and improves the equipment’s longevity. Regular maintenance prevents build-up and ensures smooth operation.
To clean the components, gather a bucket, water, and a mild detergent. Submerge the valve parts in the solution and allow them to soak for approximately 15-20 minutes. This process softens any grime and debris, making removal easier.
Using a soft-bristle brush, gently scrub the surfaces to remove any persistent deposits. Pay close attention to any crevices where dirt tends to accumulate. Rinse the parts thoroughly under warm water to eliminate any soap residue.
After rinsing, dry the components with a clean cloth or let them air dry completely. It’s vital to ensure that no moisture remains before reassembly, as trapped water can cause rust and malfunction.
Once dry, inspect the parts for any signs of wear or damage. If everything looks good, apply a light coat of silicone grease to the o-rings and seals to enhance their flexibility and ensure a tight fit upon reassembly.
| Step | Action |
|---|---|
| 1 | Disconnect power and water supply. |
| 2 | Soak components in a mild detergent solution. |
| 3 | Scrub with a soft-bristle brush. |
| 4 | Rinse thoroughly under warm water. |
| 5 | Dry completely with a clean cloth. |
| 6 | Inspect for wear and apply silicone grease. |
Following these steps enhances functionality and extends the life of your equipment. Regular cleaning ensures reliable performance and reduces the risk of unexpected failures during operation.
Replacing Damaged Parts of the Unloader Valve
First, identify the specific components that require replacement. Commonly damaged parts include the spring, O-rings, and the entire assembly if severely worn. When I faced a similar issue, I kept a close eye on each part’s integrity before deciding what needed swapping out.
- Spring: Check for deformation or breakage. A weak or broken spring can result in inadequate pressure regulation.
- O-rings: Inspect these for cracks or wear. A compromised O-ring can lead to leaks, affecting performance.
- Entire Assembly: If multiple parts show signs of wear, replacing the complete assembly may be more effective.
Next, gather replacement parts that match the specifications of your model. I always recommend sourcing components from the manufacturer or reputable suppliers to ensure compatibility and longevity.
During installation, follow these steps:
- Remove the damaged part carefully. Use appropriate tools to avoid damaging surrounding components.
- Clean the area where the new part will be installed. Contaminants can interfere with the new part’s performance.
- Install the new component, ensuring it sits correctly in its designated place.
- Test the assembly before reassembling the unit fully. This step ensures the replacement works as intended.
After installation, monitor the performance closely. I learned that minor adjustments might be necessary to achieve optimal operation. If issues persist, it may indicate further underlying problems that need addressing.
Reassembling the Pressure Cleaner After Fixing
After addressing the malfunctioning component, ensuring proper reassembly is crucial for optimal performance. Begin by gathering all components and tools used during disassembly. Lay them out in the order they were removed to avoid confusion.
Start with the main body. Ensure that all seals and gaskets are clean and free from debris. Apply a light coating of lubricant to these areas to facilitate a snug fit and prevent leaks. Carefully position the main housing, aligning any tabs or grooves to ensure a secure connection.
Next, reinsert the repaired component. If springs or small parts were removed, check their condition and position before securing anything. It’s easy to overlook a spring that may have shifted, which could lead to further issues later.
As you secure screws or bolts, tighten them in a crisscross pattern if applicable. This technique balances the pressure applied, reducing the risk of misalignment. Use a torque wrench if specifications are provided in the manual to avoid overtightening.
Reconnect any hoses or electrical connections. Ensure that every connection is firm and that no wires are pinched or exposed. Double-check the assembly against the manual’s diagrams to confirm that every component is in its designated place.
Once the unit is fully assembled, conduct a visual inspection. Look for any tools or parts left behind. After confirming everything is in order, reattach any covers and prepare for the initial test run.
Before starting the machine, fill it with the appropriate fluid as specified. Once you’re ready, power it on and monitor for any irregular sounds or leaks. If it operates smoothly, you’ve successfully reassembled your equipment. If issues arise, revisit your steps to ensure everything is correctly positioned.
Testing the Equipment Post-Repair
After completing the fix, it’s time to assess the functionality of the unit. Begin by ensuring all connections are secure. A simple wobble test on the hoses and fittings can reveal if anything is loose or improperly seated. Next, fill the tank with clean water, ensuring no contaminants have entered during the disassembly process.
Initial Power-Up
With everything in place, turn on the machine without any attachments. Listen for unusual sounds–grinding or excessive rattling can indicate internal issues. Check for leaks around the reconnect points. If everything seems quiet, proceed by activating the trigger on the gun. Observe the water flow; it should be steady and consistent without excessive pulsing.
Performance Evaluation
Attach a nozzle and run a short test on a flat surface. The spray pattern should be even, and the pressure should feel robust. If the output appears weak or inconsistent, re-evaluate the recent work. Assess the output for at least five minutes to ensure the system operates at optimal levels. Any signs of fluctuation might warrant further investigation into the components you’ve addressed.


.jpg)


