


For optimal results, connect your foam attachment directly to the high-pressure cleaning unit. This approach ensures a robust lather that clings to surfaces, allowing the cleaning solution to penetrate grime effectively. A snug fit between the nozzle and your cleaning machine is critical–if it’s loose, you’ll lose pressure and, consequently, cleaning power.
Next, select the right cleaning solution. I’ve experimented with various brands over the years and found that a concentrated, pH-balanced formula works wonders. Dilute it according to the manufacturer’s instructions for best results. The ratio of water to cleaner can significantly impact the foam’s thickness and adherence to surfaces.
Once you’ve mixed your solution, fill the container of your foam attachment. Secure it tightly and adjust the nozzle to achieve the desired spray pattern. I prefer a wider fan for larger areas and a tighter jet for stubborn spots. Remember to test the spray on a small, inconspicuous section first to avoid any damage.

Before you begin, make sure the area is clear of obstacles and that you’re wearing appropriate protective gear. I once made the mistake of not wearing goggles while cleaning a car, and a stray particle flew into my eye. Trust me, it’s not an experience you want to repeat.
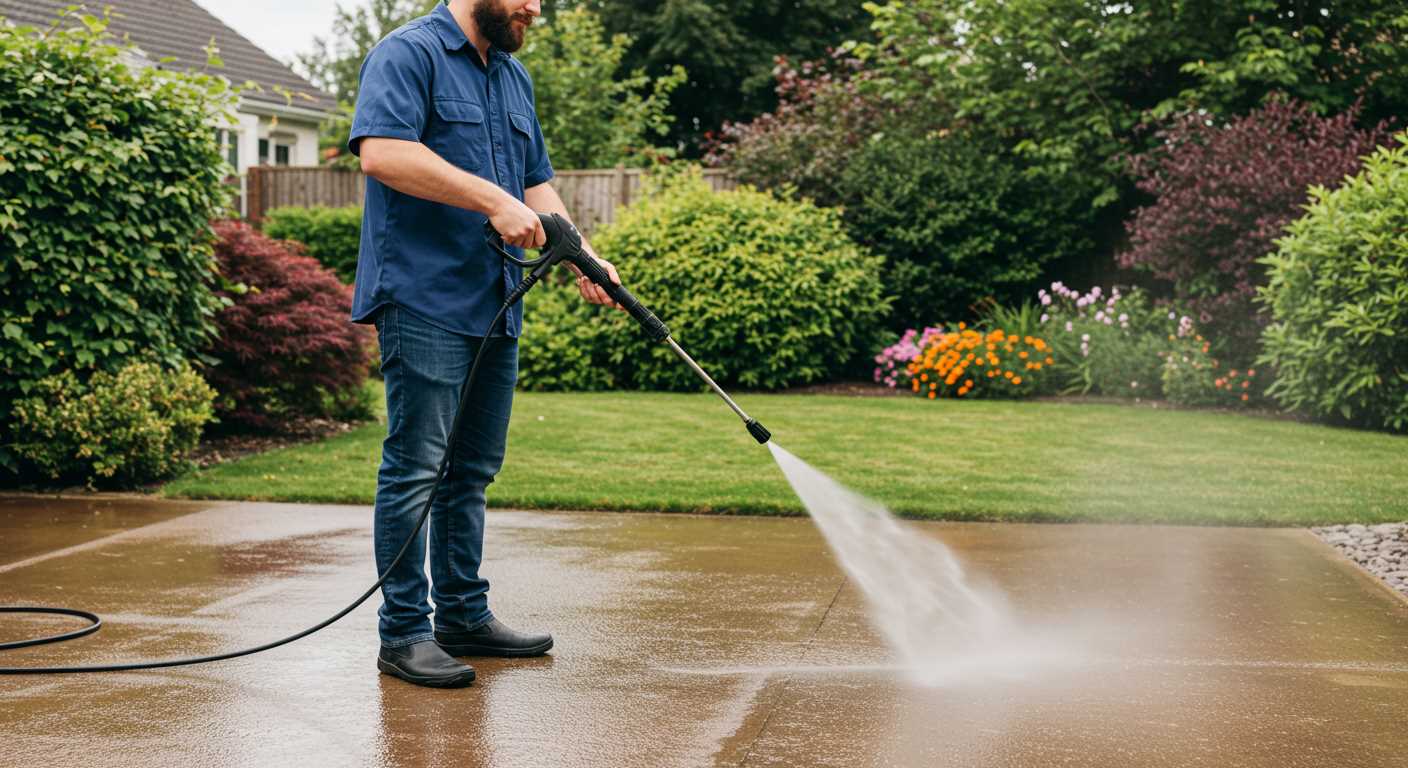
With everything in place, you’re ready to start cleaning. Keep a consistent distance from the surface–around 18 to 24 inches works best to maintain pressure while preventing overspray. As you apply the foam, watch how it adheres and starts to break down dirt and grease. This method is not only satisfying but also highly effective.
Setting Up Your Cleaning Attachment on a High-Pressure Unit
Begin with ensuring the correct nozzle size matches your high-powered machine’s specifications. A mismatch can hinder performance or damage the equipment.
Next, connect the attachment to the lance. Tighten it securely; I’ve seen too many people overlook this step, leading to leaks and inconsistent foam application.
Fill the container with a suitable cleaning solution. It’s crucial to use products specifically designed for high-velocity applications. I once used a generic soap and ended up with a mess instead of the anticipated results. Make sure to follow the dilution ratios indicated by the manufacturer.
Once filled, attach the container back to your lance. Ensure it’s locked in place. I had a situation where I didn’t check this properly, and it came loose mid-cleaning, causing a slippery situation.
Before you start spraying, adjust the flow settings on your device. Too high a setting can lead to waste and uneven distribution of the cleaning agent. I usually begin with a lower setting and gradually increase it until I find the sweet spot.
Finally, test the attachment on a small, inconspicuous area first. This step helps you gauge the effectiveness and ensure you’re not damaging any surfaces. I’ve learned this the hard way, so trust me on this one.
Choosing the Right Foam Cannon for Your Pressure Washer
When selecting a foam sprayer for your cleaning machine, compatibility is key. The connection type must match the nozzle size of your device to ensure a proper fit and optimal performance. I’ve seen many enthusiasts frustrated because they didn’t check this detail before making a purchase. Always verify the specifications of your equipment before buying.
Factors to Consider

Not all sprayers are created equal. Here are some crucial elements to keep in mind:
| Feature | Importance |
|---|---|
| Adjustable Nozzle | Allows for varying foam thickness and coverage. |
| Build Quality | A durable construction ensures longevity and reliability. |
| Tank Capacity | A larger tank means less frequent refills during use. |
| Brand Reputation | Established brands often have proven performance and support. |
Recommended Options
In my experience, a few brands consistently deliver quality and performance. For a reliable choice, consider the best car wash pressure washer nozzle foam cannon gun sprayer. It has gained a positive reputation among users for its efficiency and ease of use. Remember, investing in a quality product pays off in the long run, turning mundane cleaning tasks into enjoyable experiences.
Understanding Compatibility with Foam Accessories
When selecting a cleaning attachment for your high-pressure cleaner, ensure that the connection type matches your machine’s specifications. Most models have either a quick-connect fitting or a screw-on nozzle. Familiarity with these connections will save you time and frustration.
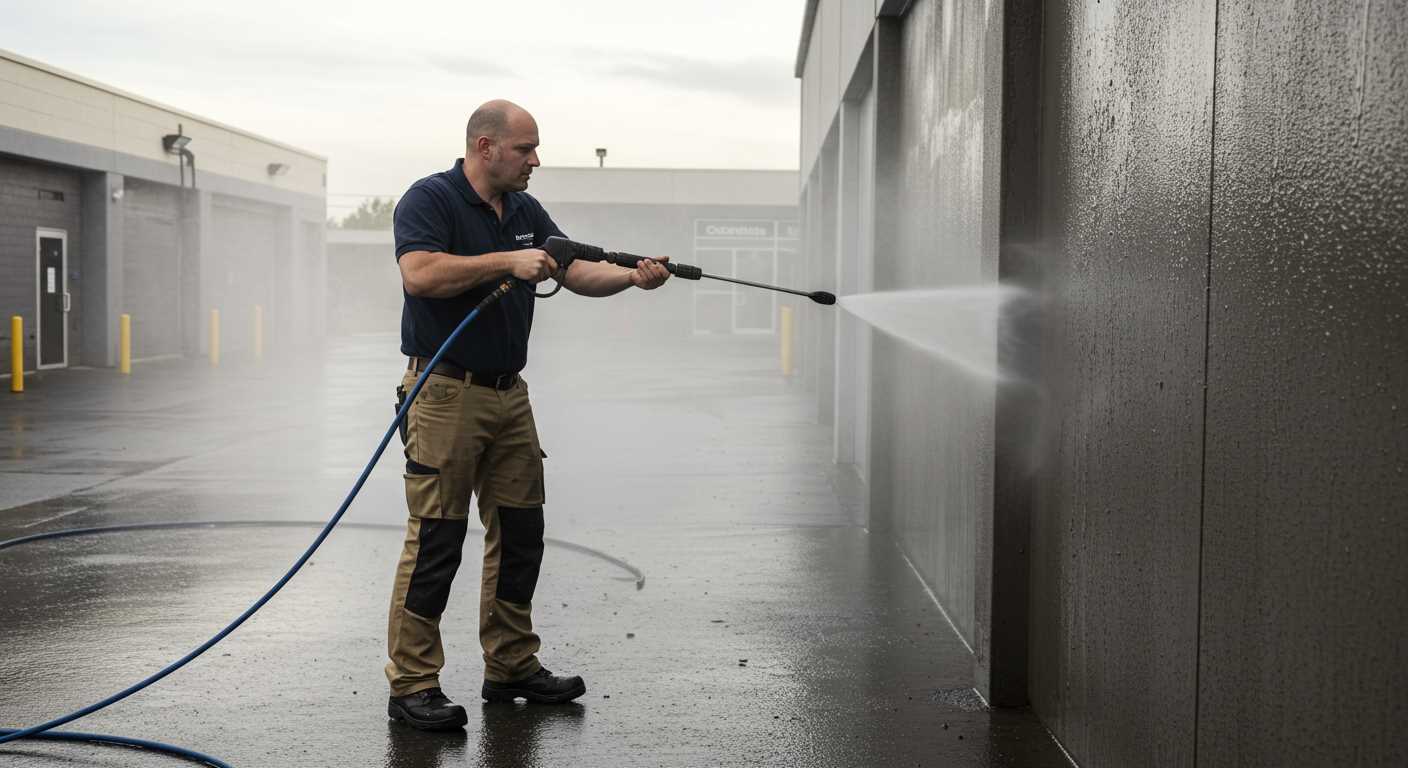
Pay attention to the flow rate and pressure ratings of both the cleaner and the accessory. For instance, if your unit operates at 2000 PSI but the accessory is rated for 1500 PSI, you risk damaging the attachment or compromising its performance. Always check the manufacturer’s guidelines for compatibility.
Consider the detergent system in your equipment. Many units have built-in soap dispensers that work well with specific cleaning solutions. If your cleaning device lacks this feature, ensure that the accessory you choose can handle the type of detergent you plan to use.
In my experience, I once paired a high-flow attachment with a lower-rated machine. The result was less foam and poor coverage, leading to a more laborious cleaning task. This taught me the importance of matching specifications carefully.
Lastly, consult user reviews or forums specific to your model. Insights from fellow users can highlight any compatibility issues or successful pairings, which can be invaluable when making your choice. Gathering this information can streamline your experience and enhance your cleaning efficiency.
Gathering Necessary Tools and Cleaning Solutions
Before you begin the cleaning process, it’s crucial to assemble the right tools and cleaning agents. Here’s a list of what you’ll need:
- High-Quality Cleaning Agent: Select a detergent specifically formulated for use with your equipment. Avoid regular soaps, as they can damage the machine. Look for biodegradable options that are safe for the environment.
- Measuring Container: A measuring cup or container ensures you mix the cleaning solution accurately. Following the manufacturer’s recommendations for dilution is key to achieving the best results.
- Bucket: A sturdy bucket is handy for mixing the cleaning solution and rinsing tools between uses. This will help prevent contamination of your cleaning agents.
- Garden Hose: A standard garden hose can assist in filling your container or rinsing off surfaces before applying the cleaning solution.
- Microfiber Cloths: These are perfect for wipe-downs post-cleaning. They are gentle on surfaces and help to avoid scratches.
- Protective Gear: Safety goggles and gloves will protect you from splashes, especially when handling concentrated cleaning solutions.
When it comes to choosing the right cleaning agent, consider the surface you’ll be treating. For vehicles, a dedicated car wash soap works wonders. For patios or driveways, a heavy-duty cleaner might be necessary. Always check for compatibility with your equipment.
In my experience, using the correct tools and solutions not only enhances the cleaning performance but also extends the life of your equipment. I once neglected to use a suitable detergent and ended up with residue that required additional scrubbing, which wasted both time and effort. Learn from my mistake–invest in quality from the start.
Lastly, don’t forget to read the instructions on both your cleaning agents and your appliance. Every make and model has specific requirements that will help you achieve optimal results without damaging your gear.
Properly Attaching the Foam Cannon to Your Pressure Washer
Ensure the connection is secure by aligning the attachment point on the cleaning device with the connector of the foam sprayer. Gently push the sprayer into place until you hear a click, indicating a firm fit. Check that the locking mechanism is engaged to prevent any accidental disconnections during use.
Verifying Compatibility
Before proceeding, double-check that the fittings of both tools match. Some models may require adaptors, which can be easily sourced. I once made the mistake of assuming compatibility, only to find myself with a leaky connection. It’s a simple yet critical step that can save you time and frustration.

Final Checks
After attachment, inspect for any signs of damage or wear on both the sprayer and the connector. A well-maintained system ensures optimal performance. If you’re unsure about the right equipment, consider exploring options like a pressure washer for paths tailored for specific tasks. This knowledge can enhance your cleaning experience significantly.
Adjusting Foam Cannon Settings for Optimal Performance
For the best results, start with the dilution ratio of your cleaning solution. A common mix is one part detergent to four parts water, but this can vary based on the product. Always refer to the manufacturer’s guidelines for specific ratios. I once used a high-concentration cleaner for a heavy-duty job, and it made a significant difference in cleaning power. Adjusting this ratio can help you find the perfect balance for various tasks.
Setting the Nozzle
The nozzle plays a pivotal role in how the suds are dispensed. Most units come with adjustable nozzles or interchangeable tips. For wide coverage, opt for a larger spray pattern, while a narrower stream will provide more focused cleaning. I remember a time when I tackled a particularly dirty vehicle; switching to a narrower tip allowed me to effectively target stubborn grime.
Regulating Water Pressure
Pressure settings should align with the type of surface you’re cleaning. For delicate surfaces like painted cars, lower pressure is advisable to avoid damage. Conversely, tougher surfaces such as concrete can handle higher settings. I learned the hard way that too high a pressure on a wooden deck led to splintering. Always test on a small area first to gauge the appropriate level.
Adjusting the air intake can also enhance foam quality. The right mix of air and solution creates a thicker lather, which clings better to surfaces. Experimenting with this setting helped me achieve a much denser foam when cleaning my outdoor furniture last summer.

Finally, don’t overlook temperature. Warmer water improves the chemical reaction, leading to better foam generation. For example, using hot water with a degreaser on my garage floor resulted in a much cleaner surface than cold water alone.
Testing the Foam Cannon with Different Nozzle Sizes
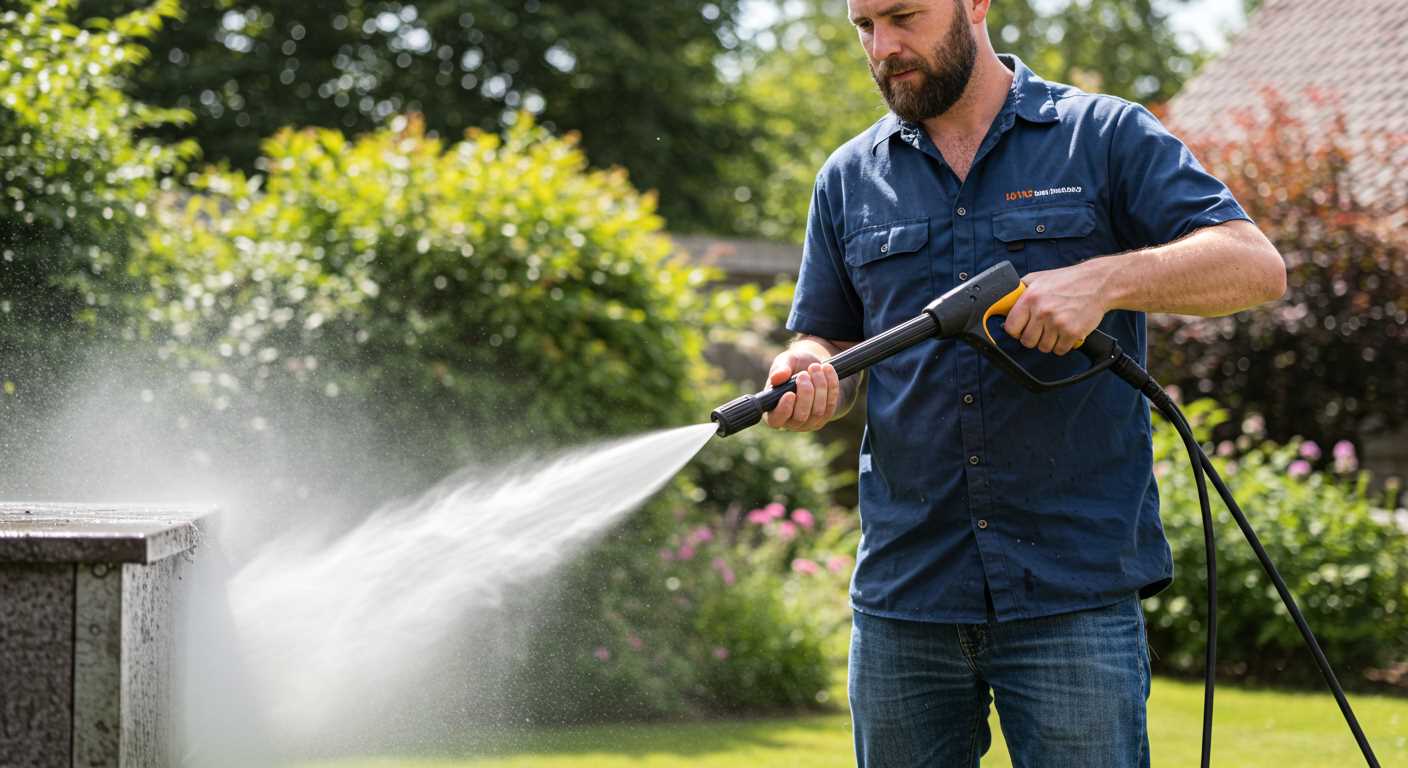
Start your exploration by experimenting with various nozzle sizes to determine which one delivers the desired thickness and coverage of cleaning solution. I recall a time when I had to tackle a particularly stubborn layer of dirt on my vehicle. Switching from a 1.1 mm nozzle to a 1.25 mm made a noticeable difference in the foam’s consistency and cling. The thicker foam from the larger nozzle adhered better to the surface, allowing the detergent to break down grime more effectively.
Each nozzle size has its unique impact. For lighter tasks, such as washing a motorcycle or bicycle, the smaller nozzles often suffice. However, when dealing with larger vehicles or heavily soiled surfaces, don’t hesitate to opt for the larger sizes. My experience shows that the 1.4 mm nozzle excels in creating a dense foam that clings longer, providing ample time for the cleaner to work its magic.
While testing, pay attention to the pressure setting as well. A lower setting combined with a larger nozzle can produce a thick foam that envelops the surface without splattering, which is ideal for delicate finishes. Conversely, for more substantial cleaning jobs, using a higher pressure with a larger nozzle can significantly shorten the cleaning time. I often adjust the pressure based on the nozzle size to achieve the best results.
Don’t overlook the importance of the cleaning solution’s viscosity either. Thicker soaps require larger nozzles to maintain a proper flow. In my experience, a trial-and-error approach is the best way to find the perfect combination. After testing various setups, I settled on a 1.25 mm nozzle with a specially formulated high-viscosity detergent for my truck. The results were impressive–thick, clingy foam that effectively lifted dirt and grime.
Finally, document your findings. Keeping track of which nozzle works best for specific tasks not only saves time but also enhances the overall cleaning process. The right combination can turn an arduous chore into a quick and satisfying task. From my years of testing, I can confidently say that experimenting with different sizes will lead you to the optimal setup for your cleaning needs.
Cleaning and Maintaining Your Foam Cannon After Use
After using your sudsing tool, thorough cleaning is essential for longevity and performance. Here’s how to do it right.
Immediate Rinse
- Immediately detach the accessory from your machine.
- Rinse it with clean water to remove any soap residue. This prevents clogging and buildup.
Disassemble and Clean
- Take apart the unit according to the manufacturer’s instructions.
- Use a soft brush or cloth to clean the filter and nozzle. A toothbrush can work wonders in tight spots.
- Check for any soap residue in the internal components; if found, soak them in warm water before scrubbing.
- Rinse all parts thoroughly until the water runs clear.
Drying and Storage
- Allow all components to air dry completely before reassembly. Moisture can lead to rust or mildew.
- Store the tool in a cool, dry place, away from direct sunlight. This prevents material degradation.
- Keep it in its original packaging or a dedicated storage container to avoid accidental damage.
Regular maintenance not only enhances the lifespan of your accessory but also ensures optimal performance for your next cleaning session. From my experience, taking these steps consistently makes a noticeable difference in the quality of results you achieve each time.
.jpg)


