


Ensure that the machine is on a flat surface and plugged into a suitable power outlet. It’s essential to check the power cord for any signs of wear before connecting. I’ve witnessed too many instances where a frayed cord led to frustrating disruptions. Safety first!
Next, attach the water supply hose securely to the inlet. I often recommend using a garden hose with a diameter of at least ¾ inch to prevent any flow issues. When I first started using these machines, I made the mistake of using a smaller hose, which resulted in weak output.
Once the water supply is connected, turn on the water before energising the unit. This step prevents damage to the pump, which I’ve unfortunately learned from experience. Then, proceed to switch on the power. Keep an eye on the pressure gauge, as it should indicate the right level before you begin.
Finally, select the appropriate nozzle for your task. I’ve found that using the wrong attachment can lead to either inadequate cleaning or potential damage to surfaces. Remember, the right tool for the right job makes all the difference in achieving optimal results.
Selecting the Right Electric Pressure Washer for Your Needs
Look for a model that matches your typical cleaning tasks. If you’re mainly dealing with light jobs like washing cars or patio furniture, a unit with a pressure rating of around 1200 to 1600 PSI will suffice. For tougher jobs, such as cleaning driveways or siding, consider a stronger model, ideally between 2000 to 3000 PSI.
Key Features to Consider
- Flow Rate: Measured in gallons per minute (GPM), a higher flow rate means more water is delivered, which can enhance cleaning efficiency. Look for a model with at least 1.2 GPM for light tasks and 1.5 GPM for heavy-duty work.
- Nozzle Options: Different nozzles create varying spray patterns. A model with adjustable nozzles will give you versatility for different surfaces.
- Weight and Portability: If you need to move it around frequently, opt for a lighter machine with wheels for easy transport.
- Power Cord Length: A longer cord provides more flexibility during use, especially if your cleaning area is far from an outlet.
- Hose Length: A longer hose can save you from constantly moving the unit, allowing you to reach further without repositioning.
Assess Your Cleaning Needs
- Surface Type: Hard surfaces like concrete require more power compared to softer materials like wood or fabric.
- Frequency of Use: If you plan to use the equipment frequently, invest in a more robust model that can handle regular use.
- Accessories: Consider whether you need additional accessories such as foam cannons or surface cleaners for enhanced cleaning.
During my years in the industry, I’ve seen many consumers overlook these details. Choosing the right model can save you time, money, and frustration in the long run. Don’t rush the decision; assess your specific needs carefully before making a purchase.
Understanding the Components of a Pressure Cleaning Device
Familiarity with the parts of your cleaning machine can significantly enhance your experience and maintenance efforts. Key components include the motor, pump, and nozzle, each playing a vital role in the performance of the unit.
Motor
The motor acts as the heart of the device. It’s responsible for powering the pump. Brushless motors offer longevity and reduced maintenance, while brushed motors are more common in budget models. I’ve noticed that devices equipped with brushless motors tend to deliver more consistent performance over time. When selecting a cleaner, consider the wattage of the motor; higher wattage usually translates to greater power and efficiency.
Pump
The pump generates the high-pressure water flow. There are two main types: axial and triplex pumps. Axial pumps are typically found in entry-level models, offering a good balance of cost and performance. Triplex pumps, on the other hand, are more durable and suited for heavy-duty tasks. I once tested a triplex model that handled tough grime effortlessly, proving its worth for professional-grade jobs.
| Component | Function | Recommendation |
|---|---|---|
| Motor | Powers the pump | Choose a brushless motor for durability |
| Pump | Generates high-pressure water flow | Opt for triplex pumps for heavy-duty tasks |
| Nozzle | Controls spray pattern and pressure | Interchangeable nozzles provide versatility |
Nozzles are another key element, as they determine the spray pattern and pressure. Various types such as adjustable, turbo, and fan nozzles are available. I often switch between them depending on the task – a fan nozzle for wider coverage and a turbo nozzle for tougher stains can make all the difference.
Familiarity with these components not only aids in choosing the right model but also in troubleshooting and maintenance. Remember, keeping your equipment in top condition will extend its life and improve its performance.
Preparing your workspace for safe operation
Clear the area around your equipment. Ensure that the surface is stable and free from debris or obstacles that might cause slips or falls. I recall a time when I almost tripped over a hose while demonstrating a unit–definitely not a pleasant experience. It’s crucial to have a designated zone for your cleaning apparatus, especially if you’re working on larger projects.
Inspect for any hazards in the vicinity. Look for overhead power lines or low-hanging branches that could interfere with operation. During one of my assessments, I encountered a situation where a colleague ignored this and ended up with a damaged machine and a very close call. Always scan your surroundings before you begin.
Ensure proper drainage in your workspace. Water accumulation can lead to slippery conditions, which are dangerous. I’ve seen it happen too often where a small puddle turned into a big issue. Use mats or absorbent materials if needed to manage runoff effectively.
Check the electrical outlets and cords. They should be in good condition, without frayed wires or exposed plugs. I once had a scare with an old extension cord that sparked unexpectedly. Using heavy-duty, outdoor-rated cords can prevent such incidents and ensure everything runs smoothly.
Keep fire safety equipment nearby. Having a fire extinguisher on hand can save you from a potential disaster. I’ve had experiences where quick access to an extinguisher made all the difference in avoiding a major incident. Make sure it’s rated for electrical fires, just in case.
Consider the placement of your water source. Ensure it’s easily accessible to avoid unnecessary stretching or tugging on hoses. I learned the hard way that a tangled hose can lead to accidents during use, so lay it out neatly before beginning your task.
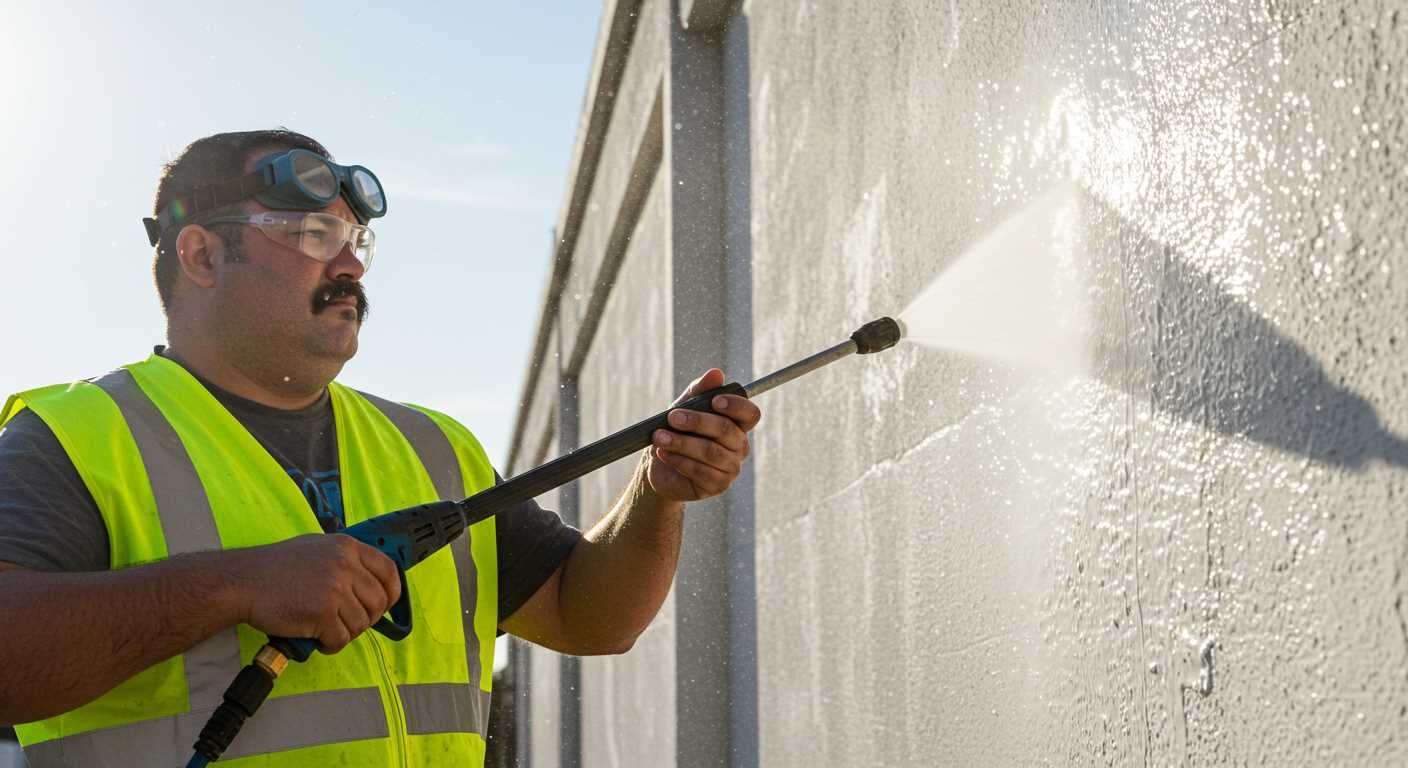
Finally, wear appropriate personal protective equipment (PPE). Gloves, goggles, and non-slip footwear are essential. I’ve had my share of close calls while neglecting PPE, and it’s not worth the risk. Protect yourself with the right gear before engaging with your equipment.
For those interested in visual documentation of your work, remember that a digital camera uses pixels for capturing high-quality images, which can be useful for before-and-after shots of your cleaning projects.
Connecting the Water Supply Correctly
Always ensure a reliable water source is connected before powering up your cleaning equipment. Using a standard garden hose is typically sufficient, but check the diameter; a 3/4-inch hose optimises flow and pressure. Make certain the hose is free of kinks or damage to avoid any interruptions during operation.
Attachment Procedure
First, attach the hose to the water inlet of your device. Tighten it securely by hand, ensuring no leaks will occur during use. If your model has a filter, don’t forget to clean it prior to connecting the supply. This step protects the internal components from debris, which can lead to malfunctions.
Testing Water Flow

Before engaging the motor, turn on the water supply and check for leaks at the connections. It’s wise to let the water run for a moment to purge any air from the line. A steady stream indicates proper connection and readiness for work. If there are any unexpected issues, address them immediately to prevent damage.
Setting up the power source for your pressure cleaning machine
To ensure smooth operation, connect your appliance to a suitable power supply. Here are the steps to follow:
1. Check voltage requirements
- Consult the manufacturer’s specifications for the correct voltage.
- Most models require a 120V or 240V outlet; ensure your location matches this requirement.
2. Use the right extension cord
- Choose a heavy-duty extension lead, rated for the power your device consumes.
- A 14-gauge cord is typically suitable for most units; avoid using a thinner cord to prevent overheating.
- Keep the cord length short; ideally, it should be no longer than 50 feet to maintain efficiency.
Always inspect the extension cord for damage before use. If the insulation is cracked or frayed, replace it immediately to avoid hazards.
3. Avoid overloading circuits
- Ensure the outlet you use can handle the load. Avoid plugging multiple devices into the same circuit to prevent tripping breakers.
- If using a generator, ensure it has sufficient wattage to support your equipment.
My experience has taught me that a stable power source is crucial. I once encountered a situation where an inadequate extension cord caused my unit to underperform, leading to frustration and wasted time. Always prioritise your power setup for optimal results.
Choosing the appropriate nozzle for your cleaning task
For a specific cleaning job, selecting the right nozzle can make a significant difference in efficiency and results. I’ve often seen individuals struggle because they chose a nozzle that didn’t suit their task. A wider spray pattern is ideal for gentle cleaning, while a narrow jet is perfect for stubborn stains.
For example, when tackling a patio, a 25-degree nozzle is typically effective. It provides a good balance of pressure and coverage. I recall a time when I used a 15-degree nozzle on my driveway; the concentrated stream removed years of grime in a matter of minutes. Conversely, using a zero-degree nozzle can be risky on delicate surfaces, as it can cause damage.
Additionally, consider the material of the surface being cleaned. Softwood decks require a gentler approach, so a wider nozzle helps prevent splintering. In contrast, concrete can handle a more aggressive spray, allowing for a deeper clean. I remember cleaning my garden furniture with a 40-degree nozzle; it was perfect for removing dirt without risking the finish.
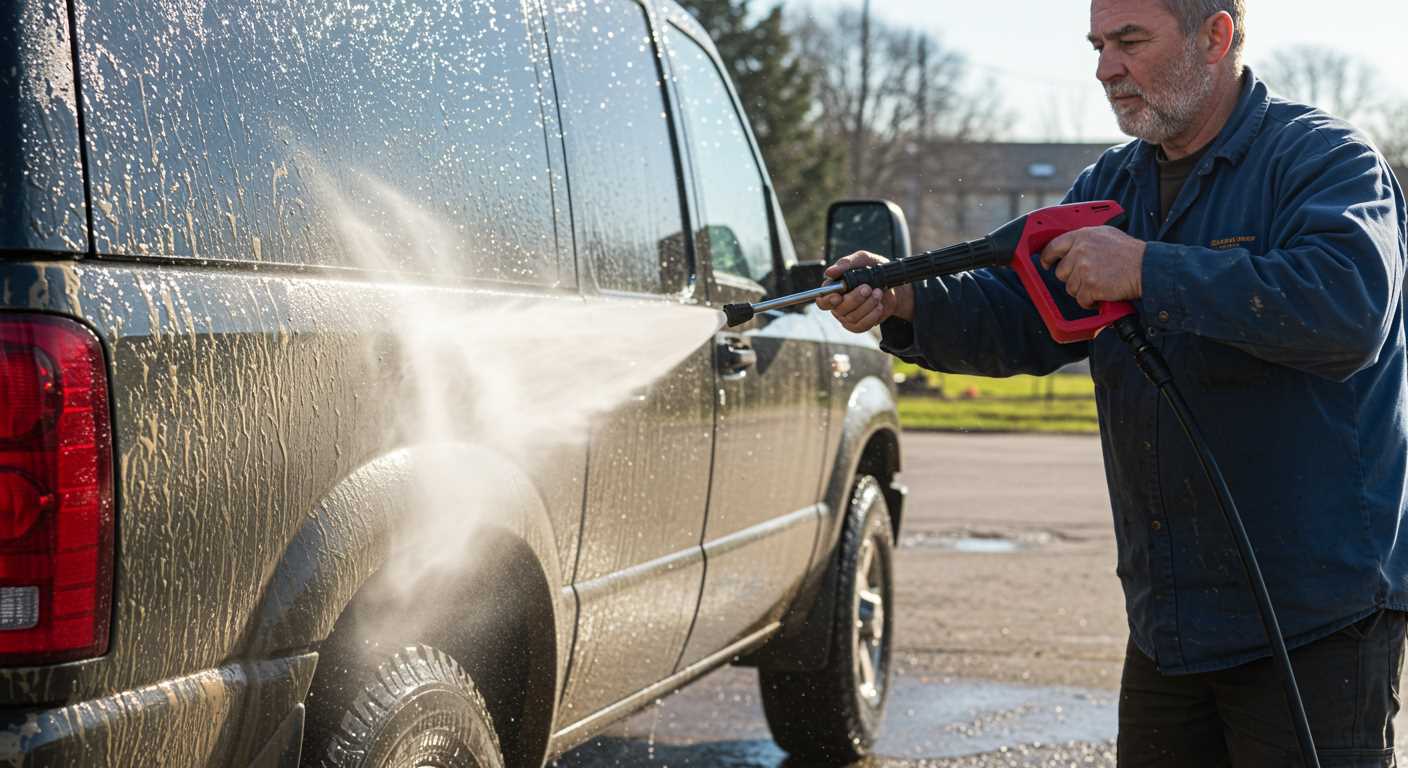
When working with vehicles, a foam cannon attachment can be incredibly useful. It allows you to apply soap evenly before rinsing off. I’ve found that combining a foam cannon with a 25-degree nozzle provides a thorough clean without the risk of scratches.
Lastly, always test the nozzle on a small, inconspicuous area first. This step can save you from potential damage and ensure that your chosen nozzle performs as expected. In my experience, taking a moment to assess the nozzle before diving into the cleaning task has saved me time and headaches.
Starting the Pressure Cleaning System Safely
Before energising the unit, ensure you’re wearing the right safety gear: goggles, gloves, and non-slip footwear. I once overlooked this and got a nasty splash in the eye–never made that mistake again!
Check the power cord for any signs of wear or damage. In my experience, a frayed cord can lead to unexpected shocks. It’s also wise to use an outdoor-rated extension cord if needed, ensuring it’s rated for the amperage of your machine.
Verify Water Supply
Always confirm that the water supply is properly connected and the tap is fully open before powering on. I recall a time when I got ready to clean, only to find out the water was turned off, leading to an overheated motor. Avoid this by testing the flow first.
Conduct a Pre-Start Inspection
Inspect the inlet filter and nozzle for clogs. I once had a client who faced a blockage, causing a drop in pressure; it turned out a small stone was stuck in the filter. A quick check can save time and frustration. Lastly, ensure the trigger lock is engaged until you’re ready to use the equipment–this small step can prevent accidental activation.
Maintaining Your High-Pressure Cleaner for Longevity
Regular upkeep is key to prolonging the life of your high-powered cleaning device. After each use, I always rinse the nozzle and spray wand with clean water to prevent any residual detergent from clogging them. This small step saves significant hassle later on and maintains optimal performance.
Storage Tips
When it comes to storage, I recommend keeping the unit in a dry, sheltered area away from extreme temperatures. If you live in colder climates, consider draining any remaining water and storing it indoors during winter months. This prevents internal damage from freezing and ensures it’s ready when you need it.
Routine Checks
Make it a habit to inspect the power cord and connections for any signs of wear or fraying. If you notice any damage, replace it immediately to avoid safety hazards. Additionally, check the water intake filter regularly. A clean filter ensures proper water flow and enhances efficiency. If you’re using a car pressure washer and foam, the foam cannon should also be rinsed after use to maintain its functionality.
Lastly, refer to the manufacturer’s manual for specific maintenance guidelines. Following their recommendations will keep your device running smoothly for years to come.
FAQ:
What steps should I follow to start my electric pressure washer?
To start your electric pressure washer, first ensure that it is placed on a flat, stable surface. Connect the high-pressure hose to the machine and the spray gun. Attach the water supply hose to the water inlet, making sure it is securely fastened. Turn on the water supply to avoid damaging the pump. Plug the washer into a suitable electrical outlet. Finally, press the power button and pull the trigger on the spray gun to release any air in the system before you begin washing.
What should I check before starting my electric pressure washer?
Before starting your electric pressure washer, inspect the power cord for any signs of damage. Check that the water supply hose is connected and that there are no leaks. Ensure the spray nozzle is clean and properly attached. It’s also wise to verify that the washer is on a stable surface and that the area is clear of any obstacles or debris. Lastly, make sure you are wearing appropriate safety gear, including goggles and gloves.
Can I use my electric pressure washer without water?
No, you should never operate your electric pressure washer without water. Running the machine without water can lead to damage to the pump and other internal components. Always ensure that the water supply is turned on and connected before starting the pressure washer. If you need to stop the washer for any reason, release the trigger to prevent overheating.
What type of detergent can I use with my electric pressure washer?
When using an electric pressure washer, it’s important to use detergents specifically designed for pressure washers. These detergents are typically low-foaming and biodegradable. You can find them at home improvement stores or online. Avoid using household cleaners or other soaps, as they may damage the machine or leave residue on surfaces. Always consult your pressure washer’s manual for recommendations on compatible detergents.
How do I maintain my electric pressure washer for longevity?
To maintain your electric pressure washer, start by regularly cleaning the filter and spray nozzle to prevent clogs. After each use, drain the water from the pump and hoses to avoid freezing or damage. Store the washer in a dry place, away from extreme temperatures. Periodically check the power cord and hoses for wear and tear. Following the manufacturer’s maintenance recommendations in the user manual will also help ensure the longevity of your machine.
What are the initial steps to take before starting an electric pressure washer?
Before starting your electric pressure washer, it’s important to prepare properly. First, ensure that the washer is positioned on a flat surface, away from any obstacles. Next, check that the power cord is in good condition and plugged into a suitable electrical outlet. Make sure to fill the detergent tank with the appropriate cleaning solution if you’re using one. Additionally, inspect the hose and nozzle for any damage that could affect performance. Following these steps will help ensure a smooth operation.
How do I actually start the electric pressure washer once everything is set up?
To start your electric pressure washer, first make sure you have completed all the preparatory steps. Locate the power switch, which is usually found on the front or side of the machine. Turn the switch to the ‘on’ position. After that, squeeze the trigger on the spray gun to release any trapped air and build up pressure. If you have a detergent setting, adjust the nozzle accordingly. Once you see a steady stream of water, you are ready to begin washing. Always remember to keep a safe distance from the surface you are cleaning to avoid damage.
.jpg)


