


To achieve optimal performance with your cleaning device, begin by ensuring that the water supply is stable and free from debris. A clean and consistent flow is crucial for maintaining pressure and preventing damage. I recall a time when I neglected this step, resulting in a frustrating experience with inconsistent spray patterns. Lesson learned: always check your water source first.
Next, select the appropriate nozzle for the task at hand. Different nozzles serve various purposes, from wide spray for gentle cleaning to narrow jets for tackling tough grime. During my years as a consultant, I often encountered individuals using the wrong nozzle, leading to subpar results and unnecessary effort. Trust me; using the right attachment can make a world of difference.
When it comes to detergents, opt for a suitable solution specifically designed for your equipment. I’ve seen many people make the mistake of using household cleaners that can harm the machine and lead to ineffective cleaning. Always refer to the manufacturer’s guidelines for recommendations on compatible cleaning agents.
Lastly, don’t rush the process. Taking your time will not only yield better results but also extend the life of your device. I have often completed tasks in half the time just to realise that the end result wasn’t up to par. Patience pays off in high-pressure cleaning.
Setting Up Your Argos Pressure Washer MRK9
Begin by placing the unit on a stable, flat surface to ensure safety during operation. It’s crucial to check that the area is clear of any obstacles and that there’s easy access to a water source.

- Connect the Water Supply: Attach the garden hose to the inlet on the machine. Ensure it’s tightly secured to prevent leaks.
- Check the Hose: Inspect the high-pressure hose for any damage or kinks. A damaged hose can lead to reduced performance or create safety hazards.
- Attach the Spray Gun: Firmly connect the spray gun to the high-pressure hose. Make sure it clicks into place securely.
Before starting, ensure that the nozzle is appropriate for your task. Different tasks require different nozzles for optimal performance.
- Choose the Nozzle: For gentle cleaning, use a wider fan nozzle. For tougher stains, opt for a narrower, more concentrated nozzle.
Next, fill the detergent tank if you plan to apply soap. Always use a detergent specifically designed for this type of equipment.
- Fill the Tank: Pour the cleaning solution into the designated tank, following the manufacturer’s guidelines regarding dilution and capacity.
After everything is connected and ready, plug the machine into a power source. Make sure the power cord is in good condition and away from water.
- Turn on the water supply and let it run for a few seconds to purge air from the system.
- Switch on the power and press the trigger on the spray gun to start the flow of water.
Always remember to keep a safe distance from surfaces to avoid damage, especially with higher pressure settings. Once you finish, turn off the machine and disconnect the hoses, allowing any residual water to drain.
Regular maintenance, such as cleaning filters and checking connections, will prolong the life of your equipment and maintain performance.
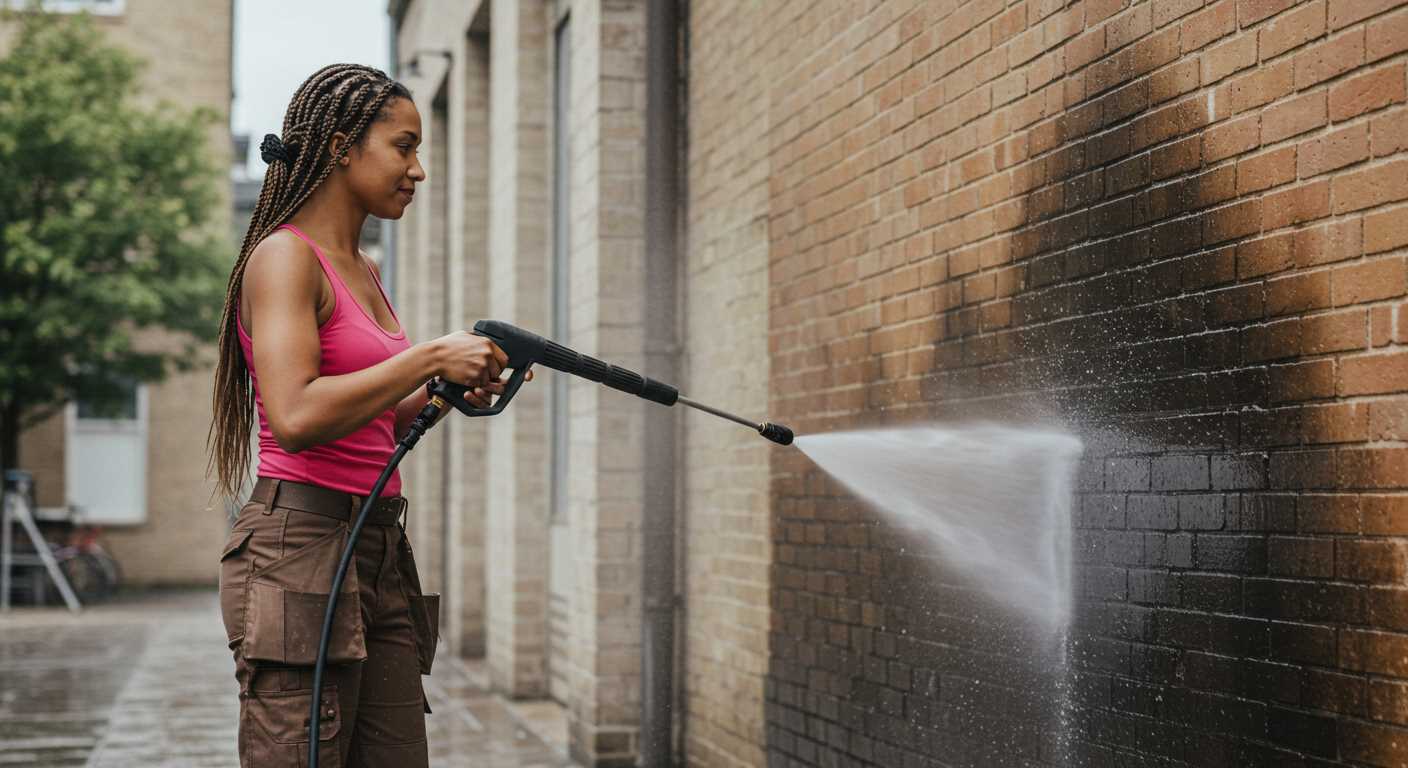
Choosing the Right Nozzle for Different Cleaning Tasks
For optimal results, selecting the appropriate nozzle is key. The four primary types are fan, rotary, turbo, and soap nozzles, each designed for specific tasks. Let me share some insights from my time working with various models.
Fan Nozzles
Fan nozzles come in various degrees, typically ranging from 0° to 40°. A 0° nozzle delivers a concentrated stream, perfect for stubborn stains on hard surfaces like concrete. However, I learned the hard way that using it on softer materials can cause damage. For wider areas, a 25° or 40° nozzle is ideal. I remember cleaning my patio with a 25° nozzle; it efficiently removed dirt without risking surface damage.
Rotary and Turbo Nozzles
Rotary nozzles are great for heavy-duty tasks. They spin the water in a circular motion, increasing cleaning power. I once tackled a heavily stained driveway with one, and it made a daunting task much easier. Turbo nozzles combine the benefits of fan and rotary types, offering versatility. I often switch to a turbo nozzle for larger surfaces, as it covers ground quickly while maintaining high pressure.
Lastly, don’t overlook soap nozzles when applying detergent. They create a wider spray pattern, ensuring even coverage. I always remember to switch back to a fan nozzle for rinsing, as it effectively removes soap residue. By understanding the specific applications of each nozzle, you can enhance your cleaning efficiency and achieve remarkable results.
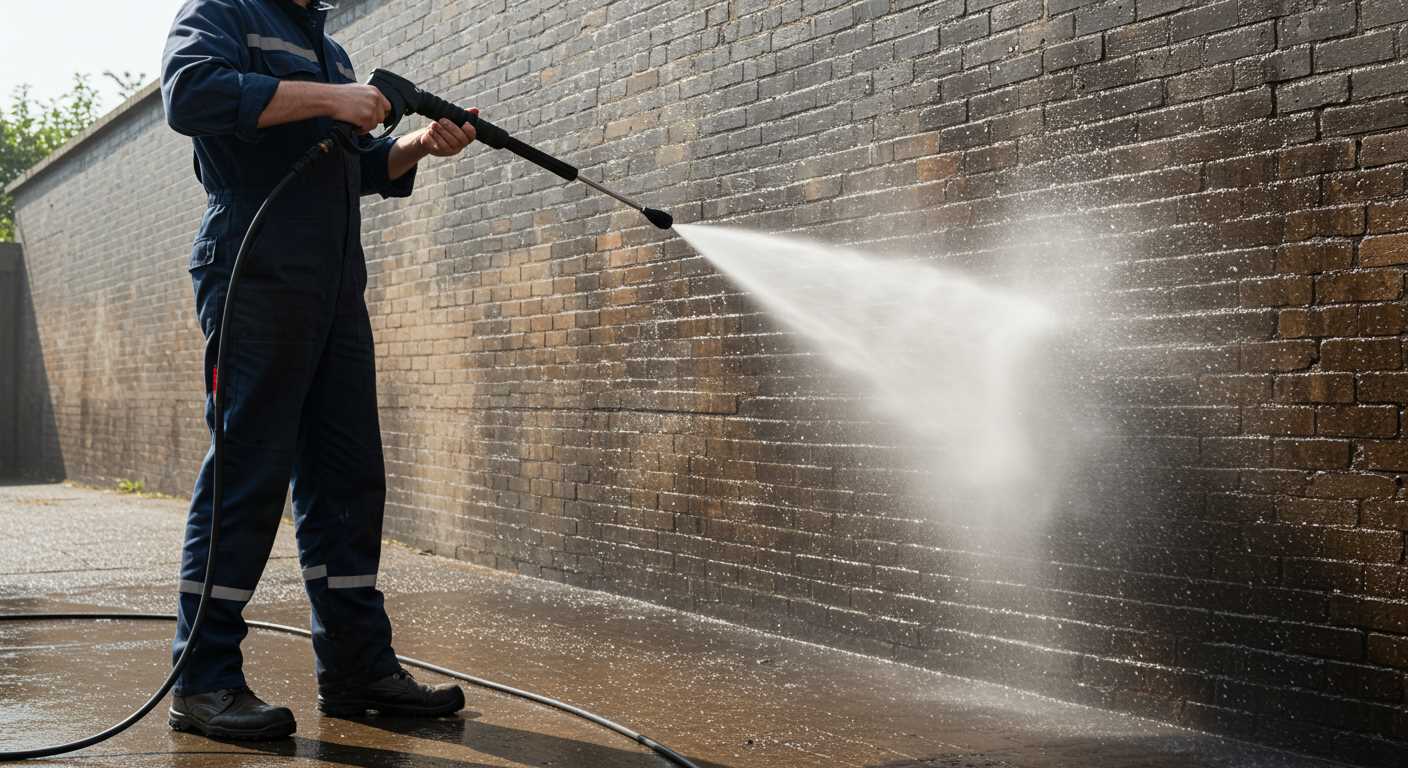
Connecting and Using the Hose Properly
Begin by securely attaching the hose to the water inlet on the unit. Ensure that the connection is tight to prevent leaks during operation. I often find that a little twist helps achieve a snug fit.
Next, connect the other end of the hose to your water source. If using a tap, ensure that it’s fully open. I’ve encountered issues with inadequate water supply, so checking the flow is wise. A garden hose with a diameter of at least 12mm is ideal for optimal performance.
Before starting the cleaning machine, check for any kinks or twists in the hose. A straight, unobstructed path allows for maximum water flow. While working on a large patio, I learned that managing the hose properly can significantly reduce frustration and improve efficiency.
With everything connected, turn on the unit and allow it to build pressure. This ensures that water is flowing correctly before you get to your cleaning tasks. I remember the first time I rushed this step; it resulted in a less effective clean and a muddy mess on my drive.
For those particularly stubborn stains, consider the angle and distance from the surface. Keeping the nozzle at a consistent distance will help maintain pressure while avoiding damage to delicate surfaces. I once had a mishap with getting too close to a wooden deck, which led to some unintended etching.
After your cleaning session, remember to disconnect the hose carefully. Start by turning off the water supply and then release the pressure by squeezing the trigger on the gun. This step is often overlooked, but it prevents water from spraying unexpectedly and causing a mess.
Should you require additional cleaning solutions or attachments, exploring options like a Karcher pressure washer for CR and patio can be beneficial. Their versatility can enhance your cleaning experience and tackle a wider range of tasks effectively.
Maintenance Tips for Longevity of Your Cleaning Equipment
Regularly inspect and clean the filter to prevent blockages. A clean filter ensures optimal water flow and reduces strain on the motor. I remember the time I overlooked this task and ended up with reduced performance. Just a quick rinse under running water did wonders.
Storing the Equipment
After each session, ensure the unit is stored in a cool, dry place. Exposure to extreme temperatures or moisture can lead to damage. I once had a colleague who left theirs outside, and the freezing temperatures caused significant issues with the internal components. A simple garage or shed can make all the difference.
Check the Hoses
Inspect the hoses for any signs of wear or leaks. Replace any damaged sections promptly to avoid losing pressure during operation. I’ve seen too many units fail because a small crack in the hose was ignored. A good quality hose often lasts longer and ensures consistent performance.
Always use the recommended detergent and avoid harsh chemicals that can corrode the internals. I learned this the hard way; a strong chemical once caused a seal to deteriorate, leading to costly repairs. Stick to what’s suggested in the manual for the best results.
Lastly, perform periodic checks on the motor and connections. A loose wire can lead to performance issues. After a routine inspection, I found a loose connection that had been causing intermittent failures. A quick tighten saved me from future headaches.
Common Troubleshooting Steps During Operation
If the equipment fails to start, check the power source first. Ensure the plug is securely connected to the outlet and that the outlet is functioning. I once encountered a similar issue at a friend’s place; a simple reset of the circuit breaker resolved it.
Water Supply Issues

When experiencing low water pressure or no water flow, inspect the hose for kinks or blockages. A clean filter is also vital; debris can easily accumulate and restrict water flow. I remember a day when I was cleaning my patio, and I found that a small pebble lodged in the inlet filter was the culprit. Once cleared, everything worked smoothly again.
Inconsistent Performance
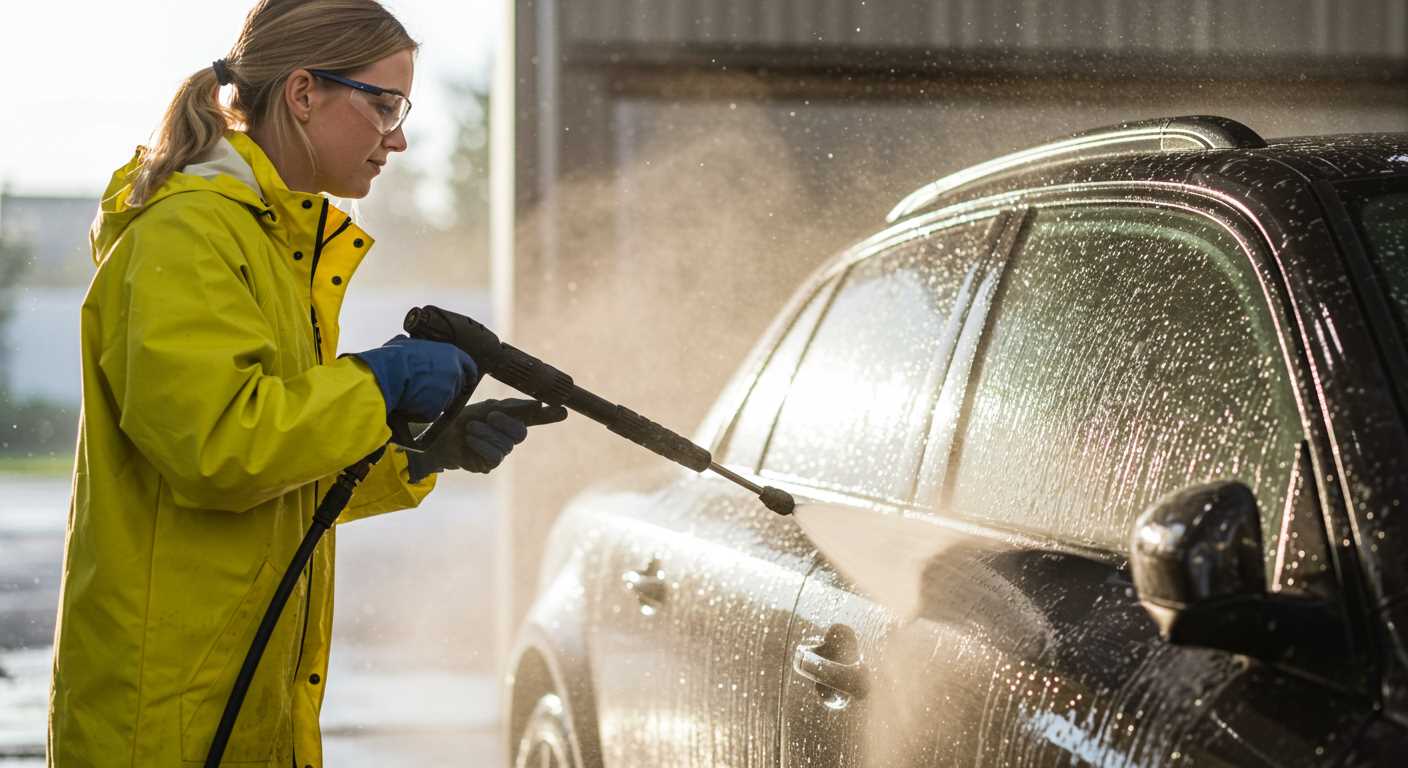
If the cleaning output varies, the nozzle might be clogged. Detach it and rinse under warm water to remove any dirt or debris. This happened to me during a car wash; one quick rinse fixed the issue and brought the power back. Additionally, ensure the detergent is properly mixed if you’re using it; a wrong ratio can lead to subpar results. For those looking to optimise their cleaning experience, checking the best car wash pressure washer psi can provide insights on maintaining effective performance.
.jpg)


