


For optimal results, mix a suitable cleaning agent with water in your machine’s detergent tank before tackling your outdoor surfaces. Ensure you’re using a product designed for compatibility with high-velocity systems to prevent damage while enhancing cleaning performance.
When applying the solution, select a low-pressure nozzle to prevent overspray and allow for even distribution. Start from the bottom and work your way up, ensuring thorough coverage. This method ensures that dirt and grime are lifted effectively without risking any damage to the surfaces.

After letting the cleaning solution sit for approximately 5 to 10 minutes, switch to a high-pressure nozzle. This transition is key; it allows you to blast away the loosened debris, leaving your surfaces spotless. Remember to maintain a safe distance of around 12 inches to avoid chipping or scratching the surface.
Finally, always rinse thoroughly with clean water to remove any residue and ensure that no harmful chemicals remain on the surfaces. This step not only protects the materials but also leaves them looking fresh and revitalised.
Selecting the Right Degreaser for Your Pressure Washer
Choosing the appropriate cleaning solution can dramatically enhance the results of your cleaning tasks. In my years of testing various models and brands, I’ve learned that not all products are created equal. It’s crucial to select a cleaner that complements the specific needs of the job.
For instance, if you’re tackling heavy grease in a garage, look for a heavy-duty formula specifically designed for automotive use. These tend to break down oil and grime more effectively. My go-to has always been a biodegradable option; not only is it powerful, but it’s also environmentally friendly.
For lighter tasks, such as cleaning outdoor furniture or patios, a multi-purpose cleaner works wonders. It’s less aggressive but still effective for everyday dirt and stains. I often recommend checking the pH level of the product; a balanced pH can prevent damage to surfaces while still getting the job done.
When selecting, consider the compatibility with your equipment. Some cleaners are foaming agents that attach better to vertical surfaces, making them ideal for walls or fences. Others might require a specific nozzle to work effectively. Always consult the manufacturer’s guidelines to avoid any mishaps.
For those dealing with clogged drains or sewer issues, pairing your equipment with a sewer jetter kit for pressure washer can be a game changer. This combination not only clears blockages but can also prep the area for deeper cleaning.
Lastly, I’ve found that testing a small area first can save a lot of hassle. Apply the cleaner on a hidden spot to check for any adverse reactions. With the right product, your cleaning tasks can become quick and effective, leaving surfaces spotless.
For those looking to maintain garden spaces, using tools like the best corded garden vacuum can complement your cleaning efforts. These devices are excellent for clearing debris before applying any cleaning solutions, ensuring a more thorough job.
Preparing Your Equipment for Degreasing
Before you begin, ensure your machine is on a flat surface, preventing any movement during the task. Disconnect the water supply and power source for safety. Next, inspect the nozzle; a 15° or 25° nozzle typically works best for stubborn grime. If necessary, swap it out to match the required pressure and cleaning angle.
Attach the detergent tank if your model includes one. If not, a foaming attachment can be beneficial. Make sure it’s securely fastened to prevent leaks. Always check the hoses for wear or damage; replace any frayed or cracked sections to avoid mishaps during operation.
Set the correct pressure level on your machine, usually between 1300 to 3000 PSI, depending on the type of surface you’re tackling. For delicate materials, start at a lower setting and test a small area first. This step prevents unintended damage and ensures you’re not blasting away paint or finishes.
When loading the cleaning solution, follow the manufacturer’s instructions. Dilution ratios can vary, so measuring accurately is key. If you’re unsure, a trial run on a less visible area can help you gauge the effectiveness without risking major surfaces.
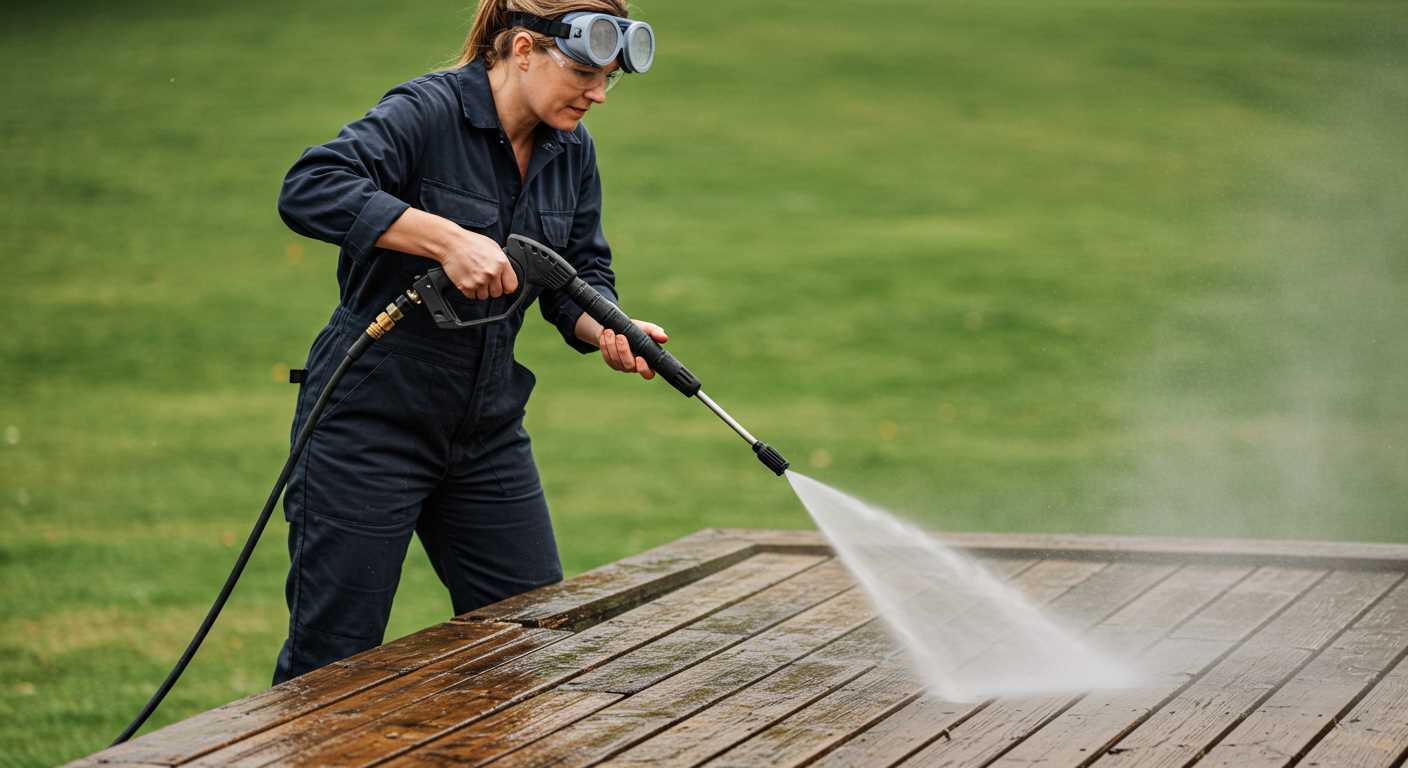
Finally, don your protective gear. Safety goggles and gloves are a must. I’ve seen too many people neglect this step, only to regret it later. A good pair of boots is also advisable to avoid slipping on wet surfaces. Preparation is half the battle won.
Applying Degreaser Properly on Surfaces
Always begin by selecting the right surface area for application. For instance, I’ve noticed that porous materials, such as concrete, absorb cleaners differently than non-porous surfaces like metal. A gentle misting is often sufficient for delicate areas, while more robust surfaces may require a thorough soaking.
Technique for Optimal Coverage
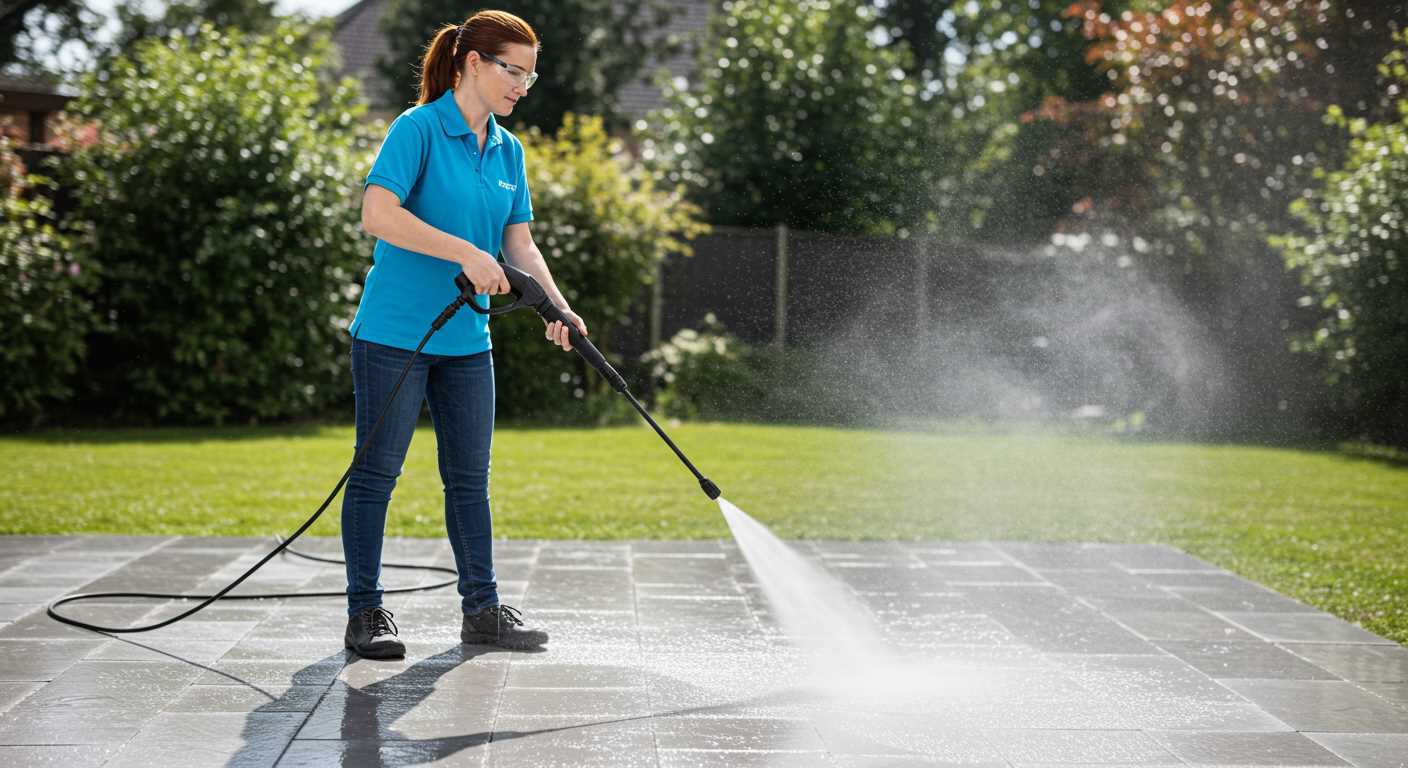
When applying the cleaning agent, use a low-pressure nozzle or fan spray to avoid damaging the surface. I often recommend starting from the bottom and working my way up. This prevents the cleaner from running down, which can lead to streaks. Applying in overlapping passes ensures even distribution. A consistent distance of about 12 inches from the surface helps achieve desired results without excessive waste.
Timing and Rinsing
After applying, allow the solution to dwell for a few minutes. This waiting time allows the cleaner to penetrate and break down the grime effectively. I’ve found that too long a wait can lead to drying, which makes rinsing more difficult. Once the time is right, rinse thoroughly from the top down, ensuring all residue is removed. Pay extra attention to crevices where dirt tends to accumulate.
Adjusting Pressure Settings for Optimal Cleaning
Start with the right nozzle to match the surface type. For delicate materials like wood, a wider spray angle reduces the risk of damage, while tougher surfaces like concrete can handle a higher pressure setting.
Here’s a quick guide on adjusting the settings:
- Light Cleaning: For painted surfaces or vehicles, aim for a low-pressure setting (around 1200-1500 PSI). This prevents chipping or scratching.
- Medium Cleaning: For driveways or patios, increase to about 2000 PSI. This level strikes a balance between power and safety.
- Heavy Cleaning: For industrial surfaces or heavily soiled areas, set it to 3000 PSI or more. Just ensure you’re using the right nozzle to prevent surface damage.
Always conduct a test spray on an inconspicuous area to assess the impact before tackling the entire surface. Adjusting the pressure accordingly based on the results can save time and effort.
During my years in the field, I learned the importance of patience. I recall a job where I rushed the settings, thinking higher pressure would speed things up. Instead, I ended up damaging the surface and had to start over. Take the time to fine-tune your equipment for the best results.
Monitor the distance between the nozzle and the surface. A closer distance increases intensity but also the risk of damage. Generally, maintaining a distance of 12-18 inches is advisable for most tasks.
Lastly, don’t forget to adjust for specific cleaning agents. Some require different pressure levels for optimal activation. Always refer to the manufacturer’s guidelines for the best outcomes.
Post-Cleaning Care and Maintenance Tips

After completing the cleaning task, immediate attention to your equipment ensures longevity and optimal performance. Rinse the components thoroughly to eliminate any residue from the cleaning agents. If not addressed, these residues can lead to clogs or damage over time.
Inspect hoses and connections for any wear or damage. A small crack can lead to leaks or diminished pressure. If you spot any issues, replace the damaged parts promptly to avoid further complications during future cleaning sessions.
Storing Your Equipment
Proper storage is critical. Store the machine in a dry, temperature-controlled environment to prevent rust and corrosion. If you live in a region with severe winters, consider winterising the equipment. This involves draining all water from the system and adding a stabiliser to the fuel, if applicable.
Wrap hoses neatly to prevent kinks and tangles. Use hose reels or holders to keep everything organised. This not only extends the lifespan of the hoses but also makes setup easier for your next project.
Regular Maintenance Checks
Schedule periodic maintenance checks. Clean the filter regularly and check the oil levels if the model requires it. Regularly inspect the nozzle for blockages; even a tiny obstruction can impact performance significantly. Keeping everything in top condition ensures that every cleaning session is as effective as possible.
Lastly, familiarise yourself with the manufacturer’s guidelines for maintenance. Following these recommendations helps you avoid mishaps and keeps your machine running smoothly for years to come.

FAQ:
What type of degreaser should I use with a pressure washer?
When choosing a degreaser for a pressure washer, it’s best to opt for a biodegradable and environmentally friendly option. Look for degreasers specifically designed for pressure washing, as they will be formulated to work with the high-pressure water and effectively break down grease and grime. It’s also important to check the manufacturer’s recommendations for your pressure washer to ensure compatibility.
How do I properly mix degreaser with water for my pressure washer?
To mix degreaser with water, refer to the instructions on the degreaser’s label, as different products may require different ratios. Generally, a common mixture ratio is about 1 part degreaser to 10 parts water. Use a clean bucket to measure and mix the solution thoroughly before adding it to the pressure washer’s detergent tank or applying it directly to the surface you intend to clean.
Can I use a pressure washer with degreaser on all surfaces?
While many surfaces can be cleaned with a pressure washer and degreaser, it’s crucial to consider the material and condition of the surface. Hard surfaces like concrete, metal, and some plastics can typically handle this combination well. However, softer surfaces such as wood or painted surfaces may be damaged by high pressure and harsh chemicals. Always test a small, inconspicuous area first to ensure the surface can withstand the cleaning method.
What safety precautions should I take when using degreaser with a pressure washer?
When using degreaser with a pressure washer, it’s important to wear protective gear, including gloves, goggles, and a mask to avoid inhaling fumes. Work in a well-ventilated area and avoid using degreasers in direct sunlight, as this can cause the solution to dry too quickly and become difficult to rinse. Always read the safety instructions on the degreaser label and keep children and pets away from the work area.

How do I rinse off the degreaser after using my pressure washer?
After applying the degreaser and allowing it to sit for the recommended time, switch to a high-pressure nozzle on your pressure washer. Start rinsing from the top of the surface down to ensure any remaining degreaser and dirt are washed away. Use a sweeping motion and keep the nozzle at a consistent distance from the surface to avoid damage. Make sure to rinse thoroughly to prevent any residue from remaining.
What type of degreaser should I use with my pressure washer?
When selecting a degreaser for use with a pressure washer, it’s important to choose one that is compatible with the surfaces you will be cleaning. Look for a degreaser that is specifically formulated for use in pressure washing applications. These degreasers are typically concentrated and can effectively break down grease, oil, and grime. Check the label for compatibility with your pressure washer and the surfaces you intend to clean, such as concrete, metal, or vehicles. Additionally, consider whether you want an eco-friendly option, as there are biodegradable degreasers available that are less harmful to the environment.
.jpg)


