


Begin by assembling all necessary components: the motor unit, hose, and nozzle attachments. Ensure that the water supply is connected securely to avoid leaks during operation. It’s a simple step but critical for achieving optimal performance.
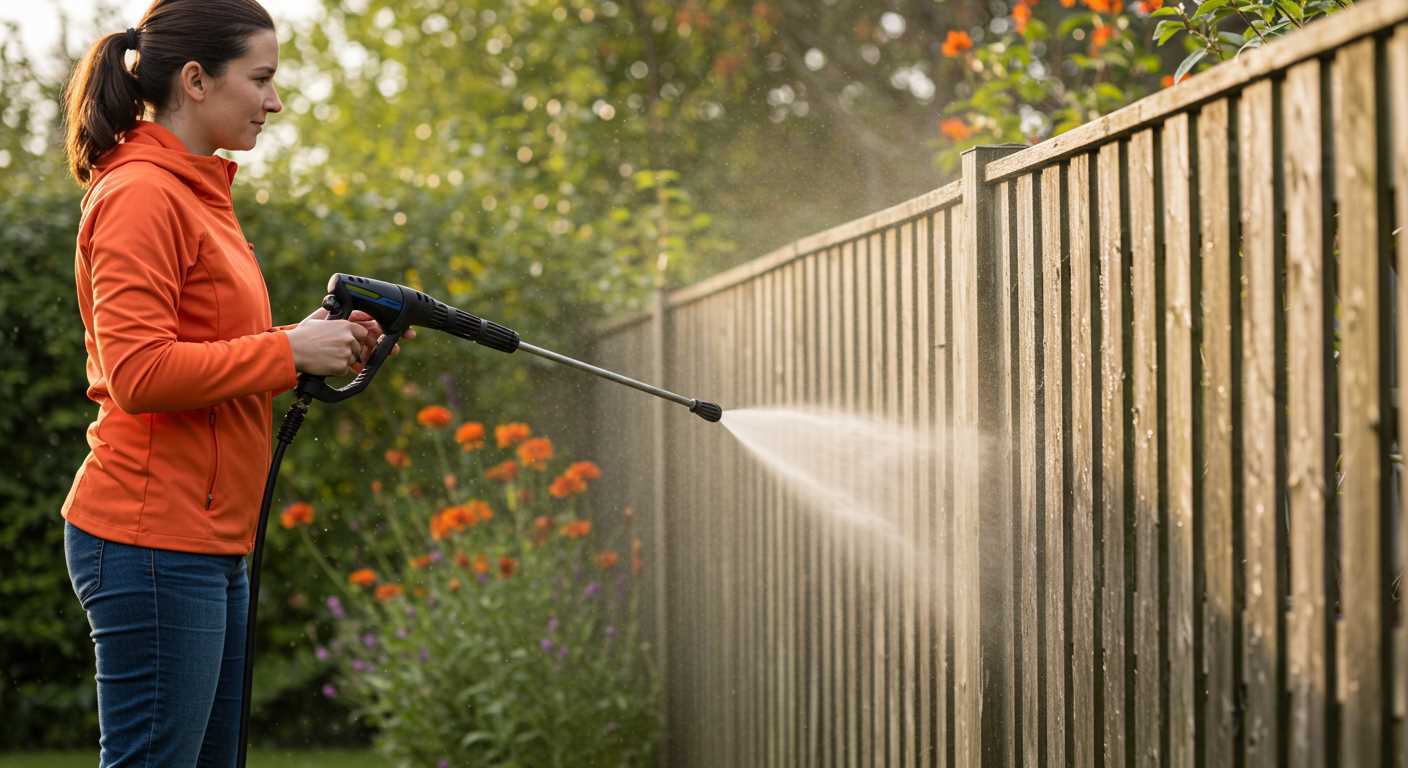
Next, select the appropriate nozzle for your task. A wider spray pattern is ideal for gentle cleaning of surfaces like decks, while a narrower stream effectively tackles stubborn grime on driveways. I’ve found that switching nozzles mid-task can save time and enhance results significantly.
When powering on the machine, always stand firmly and maintain a safe distance from the surface you’re cleaning. The force can be surprising, and it’s important to keep the nozzle pointed away from yourself and others. I’ve had my fair share of close calls when I underestimated the power of this equipment!
As you start cleaning, use a sweeping motion rather than a stationary blast. This technique ensures even coverage and prevents damage to the surface. I recall a time I focused too long on a single spot, which led to unintended wear on my patio. A steady hand and consistent movement are key.

After completing your task, don’t forget to flush the system with clean water to clear any debris. Regular maintenance extends the life of the machine and keeps it performing at peak levels. Trust me, taking this extra step pays off in the long run.
Using Your High-Pressure Cleaner Effectively
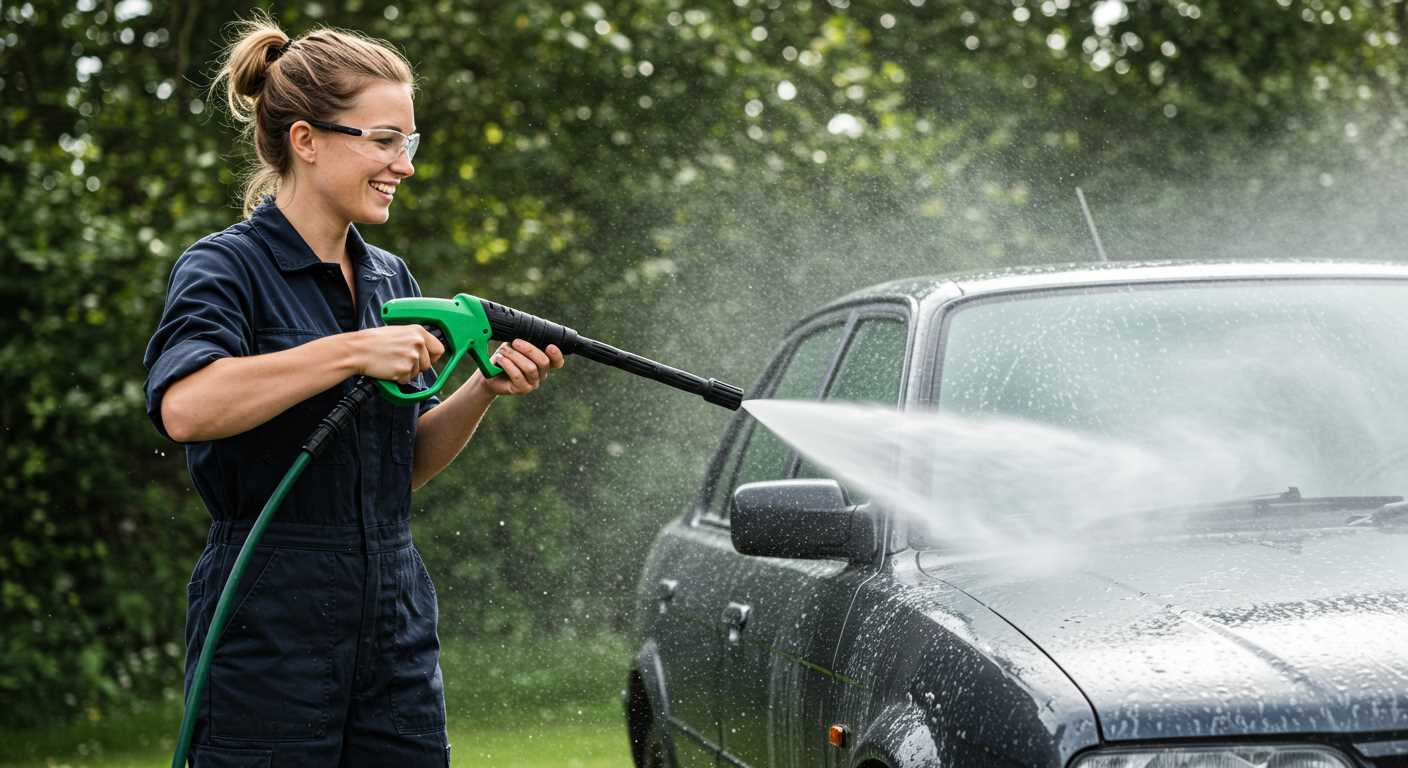
For a productive cleaning session, begin by selecting the correct nozzle. Each nozzle has a unique spray pattern, from a concentrated jet to a wide fan. For tough grime on concrete, the narrow nozzle is ideal. Conversely, for washing cars or delicate surfaces, opt for a wider spray to prevent damage.
Preparation Steps
- Check the oil level before starting the engine. Low oil can lead to engine damage.
- Ensure the fuel tank is filled with fresh fuel. Stale fuel can affect performance.
- Inspect hoses for cracks or leaks. Damaged hoses can reduce pressure and lead to further issues.
After checking these components, connect the water supply. Use a hose with a proper diameter to avoid pressure drops. Make sure the water source is clean to prevent clogs in the system.
Operational Tips
- Stand at a safe distance from the surface initially. Start with a wider spray to assess how the surface reacts.
- Maintain a consistent movement while cleaning. Avoid lingering too long in one spot to prevent damage.
- Adjust your distance based on the surface. Closer for tough stains, further away for general cleaning.
It’s useful to apply detergent using a dedicated nozzle if the unit supports it. Allow the cleaner to sit for a few minutes to break down dirt before rinsing with clean water. This makes the whole process more efficient.
After finishing, turn off the water supply before shutting down the motor. This prevents any potential backflow that could damage the machine. Lastly, store the equipment properly to extend its lifespan.
Preparing the Equipment for First Use
Before you begin, ensure you have everything ready. Check that you’ve got the correct fuel–unleaded gasoline is a must. I once made the mistake of using mixed fuel, which led to a frustrating day of troubleshooting. Always double-check your fuel type to avoid that headache.
Assembly and Connection
Assemble the components according to the manual. Pay close attention to the hose connections; a tight fit is crucial to prevent leaks. I recall a time when I was eager to start cleaning, only to find a spray of water shooting everywhere due to a loose connection. Take a moment to ensure everything is snug and secure.
Initial Testing
Once assembled, it’s time to perform a test run. Fill the tank with fuel and add the appropriate cleaning solution if needed. Start the engine and let it idle for a minute before engaging the trigger. This warms up the pump and allows the oil to circulate properly. I’ve found that this simple step can save a lot of wear and tear on the machine.
After running for a minute, test the spray nozzle on a small area to ensure the water pressure is set to your desired level. Adjust if necessary. This initial check can reveal any issues before you tackle larger cleaning tasks. Trust me, a little precaution goes a long way.
Selecting the Right Nozzle for Your Cleaning Task
Choosing the appropriate nozzle makes all the difference in achieving effective results. Each nozzle has a specific function, and understanding this can save time and effort. For instance, I remember tackling a particularly stubborn oil stain on a driveway. I opted for a 15-degree nozzle, which provided a concentrated spray that cut through the grime efficiently.
Nozzle Types
There are typically four types of nozzles: 0-degree, 15-degree, 25-degree, and 40-degree. The 0-degree nozzle delivers a pinpoint jet of water and is best for tough stains on durable surfaces. The 15-degree option is great for stripping paint or cleaning concrete. For general cleaning tasks, like washing patios or vehicles, the 25-degree nozzle is ideal. Meanwhile, the 40-degree nozzle is perfect for delicate surfaces such as wood or glass, as it offers a wider spray that reduces the risk of damage.
Adjusting Pressure
Some models allow for adjustable pressure settings. This feature can be particularly beneficial when switching between different tasks. For example, while cleaning a wooden deck, I often start with a lower pressure to avoid splintering the wood, then switch to a higher setting for stubborn spots. Always refer to the user manual for guidelines on pressure adjustments based on the nozzle selected.
If you’re considering a versatile solution, a multi purpose pressure washer might be worth exploring. It allows for seamless transitions between tasks without the need for multiple machines.
Connecting the Water Supply and Power Source
Begin by attaching a garden hose to the water inlet on your machine. Ensure the connection is tight to prevent leaks. I recommend using a hose with a diameter of at least 3/4 inch for optimal water flow. It’s wise to check for any kinks or blockages before turning on the water. I’ve often encountered issues when the hose was coiled too tightly, hindering the flow.
Next, connect the other end of the hose to a suitable water source, such as a tap. Turn the tap on to fill the system and eliminate air pockets. This simple step can save you from frustrating dry starts that could damage the unit. I learned this the hard way during a job; the equipment sputtered and struggled until I realised the hose wasn’t adequately primed.
For electric models, plug the power cord into a grounded outlet. Avoid using extension cords whenever possible, as they can lead to voltage drops, affecting performance. If an extension is necessary, opt for a heavy-duty cord rated for outdoor use. A friend of mine once used a lightweight extension cord and ended up with a burnt-out motor; a costly mistake that could have been avoided.
If your model runs on gasoline, ensure you have the correct fuel type and check the oil levels before starting. I’ve seen many users overlook this, leading to engine issues down the line. Always refer to the manual for specific fuel recommendations and maintenance tips. A small investment in proper upkeep goes a long way.
Lastly, once everything is connected, check for leaks. A quick inspection can save you time and effort later. I’ve often found that a little preventative maintenance can lead to a much smoother experience during operation.
Operating the Equipment Safely and Correctly
Before starting, always ensure you wear appropriate protective gear, including safety goggles and gloves. These will shield you from debris and chemicals while you work. I once had a friend who underestimated the power of the spray and ended up with a nasty cut. A simple pair of goggles could have prevented that.
Position the machine on a flat surface, avoiding slopes or unstable ground. This prevents tipping and potential accidents. In my experience, working on uneven terrain can lead to unexpected mishaps. Make sure the area is clear of obstacles and people, particularly children and pets, who may inadvertently wander into the spray zone.
Maintaining a Safe Distance
Maintain a safe distance from surfaces, especially delicate ones. I remember a time when I got too close to a wooden deck, and the force stripped the paint off. Keep a distance of at least two feet from the surface while cleaning. This allows for effective cleaning without causing damage.
Proper Shutdown Procedures
After completing your task, turn off the water supply first, followed by the motor. This sequence prevents water from being trapped in the hoses, reducing the risk of burst pipes. Disconnect the hoses and nozzles carefully to avoid any residual spray. I’ve seen hoses whip back dangerously when not handled correctly.
Finally, for those interested in enhancing their cleaning arsenal, check out this best air compressor for car tools. They can complement your cleaning efforts and make various tasks easier.
Maintaining Your Pressure Washer After Use
Always flush the detergent system immediately after completing your task. Run clean water through the system for a few minutes to prevent any residue from clogging the lines.
Next, drain the water from the unit. Disconnect the hose and spray gun, then release any remaining pressure. This step is crucial to avoid any damage from freezing temperatures if you store it outdoors.
Check the oil level if your machine has a gas engine. Change the oil according to the manufacturer’s guidelines, typically after every 50 hours of operation. A regular oil change keeps the engine running smoothly and extends its lifespan.
Inspect the spray gun and nozzles for blockages. A quick rinse under water can remove any debris. Replace any damaged components immediately to ensure optimal performance during your next cleaning session.
Store the equipment in a dry, protected area. If possible, cover it to shield from dust and moisture. A dedicated storage space will prevent rust and corrosion over time.
Regularly check the hoses for any signs of wear or damage. A cracked or frayed hose can lead to leaks or decreased pressure. Replace any damaged hoses to maintain efficiency.
Here’s a quick reference table summarising the maintenance tasks:
| Task | Frequency | Notes |
|---|---|---|
| Flush detergent system | After each use | Run clean water for a few minutes |
| Drain water | After each use | Prevent freezing damage |
| Check oil level | Every 50 hours | Change oil as needed |
| Inspect spray gun/nozzles | After each use | Clear blockages immediately |
| Store unit | After each use | Keep in a dry place |
| Check hoses | Regularly | Replace damaged hoses |
Adhering to these maintenance practices will ensure your equipment remains in prime condition, ready for your next cleaning project.
Troubleshooting Common Issues with Your Cleaning Equipment

If you encounter issues while operating your cleaning machine, follow these straightforward solutions to get back on track:
- Machine Won’t Start:
- Check the fuel level. Ensure the tank is filled with fresh fuel.
- Inspect the spark plug for any signs of wear or damage. Replace if necessary.
- Ensure the switch is in the ‘on’ position and that all connections are secure.
- No Water Flow:
- Examine the water supply. Ensure the source is turned on and the hose is not kinked.
- Inspect the inlet filter for clogs. Clean it thoroughly if blocked.
- Verify that the trigger gun is functioning properly. A faulty gun can prevent water flow.
- Low Pressure:
- Check the nozzle. A clogged or damaged nozzle can significantly reduce pressure.
- Ensure the correct nozzle is being used for your task. Using a wider spray can lower the pressure.
- Inspect hoses for leaks. Any damage can lead to a drop in water pressure.
- Engine Overheating:
- Allow the machine to cool down. Continuous use without breaks can cause overheating.
- Make sure it is not running dry; always have a water supply connected.
- Check for blockages in the cooling vents. Clear any debris that might be obstructing airflow.
- Excessive Vibration:
- Ensure all screws and bolts are tightly secured. Loose components can cause vibrations.
- Check the wheels and frame for any signs of damage or misalignment.
- Inspect the pump. A malfunctioning pump can lead to increased vibrations during operation.
- Streaks or Marks on Surface:
- Ensure you are using the right cleaning solution for your specific task.
- Adjust the distance from the surface. Too close can lead to streaks.
- Change the nozzle to a narrower spray for better precision on tough stains.
By addressing these common issues with targeted solutions, you can ensure your cleaning equipment operates smoothly and effectively, allowing you to tackle any job with confidence.
.jpg)


