


Begin by ensuring all water is drained from the pump and hoses. I remember the first time I neglected this step; the damage was significant, and it cost me time and money. Disconnect the water supply, start the machine for a few moments, and allow any residual liquid to exit the system. This simple act can prevent freezing and cracking during the harsh months.
Next, apply a suitable antifreeze solution. It’s a step I never skip now. After draining the system, introduce a non-toxic antifreeze through the water inlet. Run the unit briefly to circulate it throughout the pump. This creates a protective barrier against the cold, ensuring everything stays intact.
Don’t underestimate the importance of proper storage. I learned the hard way that leaving equipment outdoors invites trouble. Store your machine in a dry, climate-controlled area to protect it from extreme temperatures. If indoor storage isn’t possible, cover it securely with a weather-resistant tarp, making sure to keep it off the ground to prevent moisture accumulation.
Finally, check the oil levels and replace it if necessary. Cold weather can thicken oil, which may lead to inadequate lubrication. I’ve seen machines struggle to start in frigid conditions due to poor oil quality. Use an oil rated for lower temperatures to keep everything moving smoothly.
Preparing Your Equipment for Cold Weather
Begin by draining the fuel tank completely. I recall a time when I neglected this step, and the leftover fuel caused issues in the spring. After draining, run the engine until it stalls to ensure all fuel is out of the system.
Next, protect the pump by adding a solution designed for the task. This fluid prevents internal components from freezing and cracking. I’ve always chosen a product specifically formulated for this purpose, as it works wonders and saves the hassle of repairs later.
After that, disconnect the water supply and remove any hoses. Hang them up to drain completely. I made the mistake of leaving hoses coiled with water inside, which resulted in damage. Store them in a dry place away from the elements.
Cleaning the nozzle and spray gun is crucial. I’ve found that a simple mix of warm water and mild detergent does the trick. Make sure to flush out any debris or residue to prevent clogs when the next season rolls around.
Finally, cover your unit with a weather-resistant tarp. This simple step keeps dust and moisture at bay, prolonging its life. I’ve seen too many machines fall victim to rust and corrosion due to lack of protection.
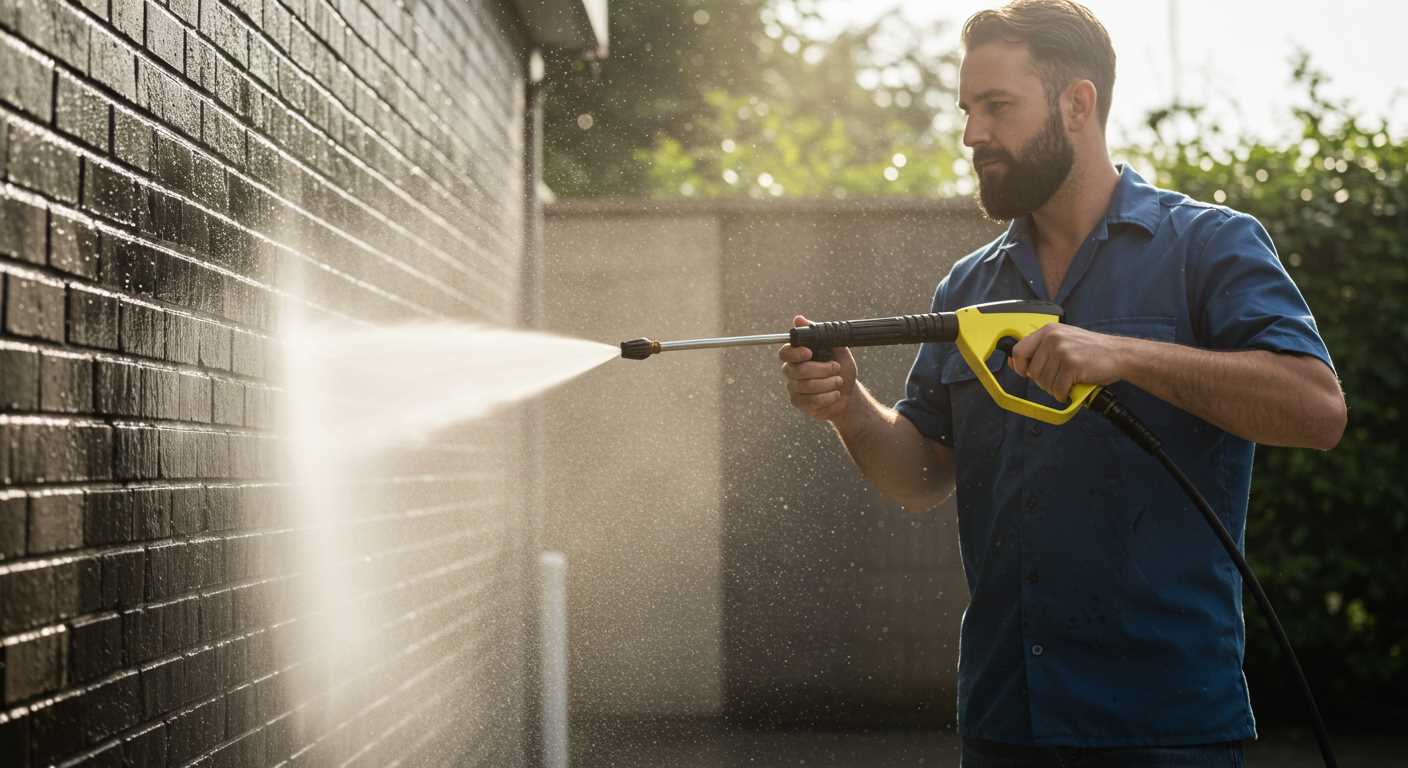
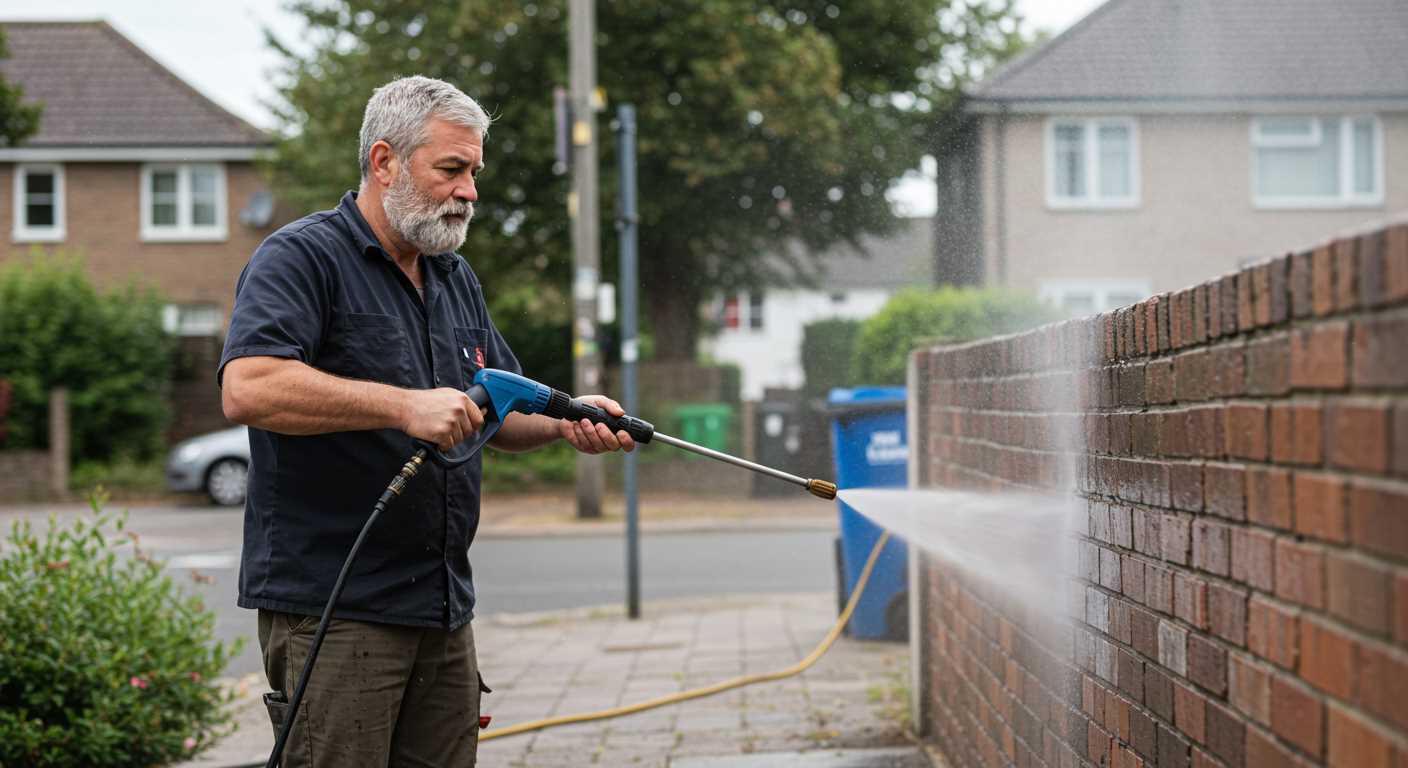
Draining the Water from the Pump
To prevent damage from freezing temperatures, it’s crucial to remove any water trapped in the pump. Here’s a straightforward method to accomplish this effectively.
Step-by-Step Process
- Start by disconnecting the water supply hose from the unit.
- Position the pressure cleaner on a flat surface, ensuring the pump is level.
- Locate the drain plug, typically found at the bottom of the pump assembly. Use a wrench if necessary to loosen it.
- Allow the water to flow out completely. You may need to tilt the machine slightly to ensure all liquid is expelled.
- Once drained, replace the drain plug securely to avoid any debris entering the pump.
Final Checks
After draining, it’s wise to inspect the pump for any signs of wear or damage. This routine maintenance can extend the life of your equipment significantly. If you feel your projects require more power, consider checking out the best air compressor for engraving for enhanced capabilities.
Always store the equipment in a dry area to prevent any moisture buildup. Following these steps will ensure your machine is ready for the next use without any issues during the colder months.
Adding Pump Protector to Prevent Freezing
To safeguard your equipment during the colder months, incorporating a pump protector is a wise move. This product acts as an antifreeze solution, preventing water in the pump from freezing and causing potential damage. I remember the first time I encountered freezing temperatures with a machine that wasn’t protected. It was a disaster that took time and money to fix. Since then, I’ve made it a point to use pump protectors every winter.
Before applying the protector, ensure the pump is thoroughly drained. Once you’ve done that, follow the manufacturer’s instructions for the pump protector you’re using. Typically, you’ll need to pour the liquid directly into the pump inlet. Make sure to let the protector circulate by running the unit briefly. This step is crucial, as it ensures every part of the pump is coated and protected from the cold.
After application, store the equipment in a dry, sheltered area. I’ve found that keeping it indoors or in a garage significantly reduces the risk of exposure to harsh weather. If you follow these steps, you can enjoy peace of mind, knowing your equipment is well-protected and ready for action when spring arrives.
Cleaning the Nozzle and Hose
Begin with the nozzle. Detach it from the wand and inspect it for clogs. A simple method to clear out debris is to soak the nozzle in a solution of warm water and dish soap. After a short soak, use a soft brush or an old toothbrush to scrub the inside gently. Rinse thoroughly with clean water to ensure no soap remains, as this could affect performance during the next use.
Next, focus on the hose. Thoroughly inspect it for any signs of wear, such as cracks or bulges. If you notice any damage, consider replacing it. To clean the hose, fill a bucket with a mixture of warm water and a mild detergent. Submerge one end of the hose in the solution and use a high-pressure setting on the other end to push the soapy water through the hose. This process helps to remove any built-up grime or mildew.
Tips for Maintaining the Nozzle and Hose
| Task | Frequency |
|---|---|
| Inspect for wear and tear | Before each use |
| Clean the nozzle | After every 5 uses |
| Flush the hose | Every season |
After cleaning, make sure to let everything dry completely before reassembling. Moisture left in the nozzle or hose can lead to rust or corrosion, affecting the equipment’s longevity. I’ve seen a few cases where neglecting this step led to costly repairs. Keeping these components clean and dry will ensure they perform optimally for years to come.
Storing the Pressure Washer in a Dry Place
Choose a sheltered location for your equipment, ideally a garage or shed, to keep it safe from moisture and temperature fluctuations. After years of working with cleaning machinery, I’ve seen how even a small amount of humidity can lead to rust and other damage. Ensure the area is well-ventilated to prevent condensation build-up.
Before placing the unit in storage, elevate it off the ground if possible. Using a wooden pallet or a similar surface can help avoid contact with any moisture that may seep in. I recall a colleague who stored his machine directly on a concrete floor, and it resulted in significant corrosion after just one winter.
Cover the equipment with a breathable tarp or cover. Avoid plastic coverings that trap moisture inside. I learned this lesson the hard way when a tightly sealed plastic cover led to mould growth on another unit. Proper ventilation is key to prolonging the life of your tools.
Lastly, keep the unit away from direct sunlight and extreme temperatures. Excessive heat can warp plastic components, while severe cold can affect the internal mechanisms. Finding the right balance in your storage environment will keep your device in excellent condition until you’re ready to use it again.
Checking and Changing the Oil
Regular oil maintenance is critical for the longevity of your equipment. Begin by ensuring the washer is turned off and cool. Locate the oil dipstick, which is usually positioned on the engine. Remove the dipstick and wipe it clean with a cloth. Reinsert it without screwing it in, then remove it again to check the oil level. The oil should be between the minimum and maximum marks.
If the oil is dark and gritty or below the minimum mark, it’s time for a change. Place a suitable container underneath the oil drain plug, usually found at the bottom of the engine. Open the plug and allow the old oil to drain completely. Make sure to dispose of the used oil properly, following local regulations.
Adding New Oil
Once drained, close the drain plug securely. Using a funnel, pour in the recommended oil type, which can usually be found in the user manual. Fill it until it reaches the maximum mark on the dipstick. After filling, replace the dipstick and start the engine for a few minutes. This helps circulate the new oil throughout the engine. After a short run, check the oil level again, adding more oil if necessary.
Taking these steps extends the life of your equipment and ensures optimal performance. For those interested in maintaining their motorbikes, consider using motorcycle pressure washer foam for a thorough clean.
Preparing the Fuel System for Winter
To protect the fuel system during the colder months, start by using a fuel stabiliser. Add it to the fuel tank as per the instructions on the product label. This helps prevent the fuel from breaking down and forming deposits that can clog the fuel lines and carburettor.
Draining the Fuel Tank
After adding the stabiliser, run the engine for a few minutes. This ensures the treated fuel circulates through the entire system. Once that’s done, if you’re not planning to use the equipment for an extended period, it’s best to drain the fuel tank completely. Locate the fuel shut-off valve and turn it off before removing any remaining fuel. This step reduces the risk of stale fuel causing issues when you start it up again in the spring.
Inspecting Fuel Lines
Check the fuel lines for any signs of wear or damage. Cracks or leaks can lead to fuel loss or contamination. If you notice any issues, replace the affected sections before storing the device. Keeping the fuel system in top condition prevents headaches when it’s time to use the equipment again.
Lastly, ensure that the fuel cap is tightly secured. A loose cap can allow moisture to enter the tank, leading to rust and further complications. By taking these steps, you’ll set yourself up for a smooth start when warmer weather returns.
Inspecting Electrical Components for Damage
Start with a thorough visual inspection. Look for any frayed wires, burnt connectors, or signs of corrosion. Pay special attention to the power cord and the connections at the motor and pump. If you spot any wear, these components should be replaced to prevent further issues.
Steps for a Detailed Check
- Unplug the Unit: Ensure safety by disconnecting the power supply before you begin.
- Examine the Power Cord: Check for cuts or abrasions that might expose the wires inside.
- Inspect Connectors: Look for any discoloration or melting that indicates overheating.
- Check the Motor: Listen for unusual noises when the unit is powered on, which could signify internal damage.
Testing Components
Using a multimeter can help confirm functionality. Test the switch and motor for continuity. If the readings are off, replacements may be necessary. Always consult the owner’s manual for specific electrical specifications.
If you’ve experienced any electrical issues in the past, take a moment to reflect on those instances. For example, I once overlooked a minor corrosion issue on the connector, which led to unexpected shutdowns during a crucial job. Taking the time to inspect these elements carefully can save you from future headaches.
Finally, once you’ve completed your inspection and any necessary replacements, ensure everything is securely connected before storing the unit away. Proper maintenance here can extend the life of your equipment significantly.

.jpg)


