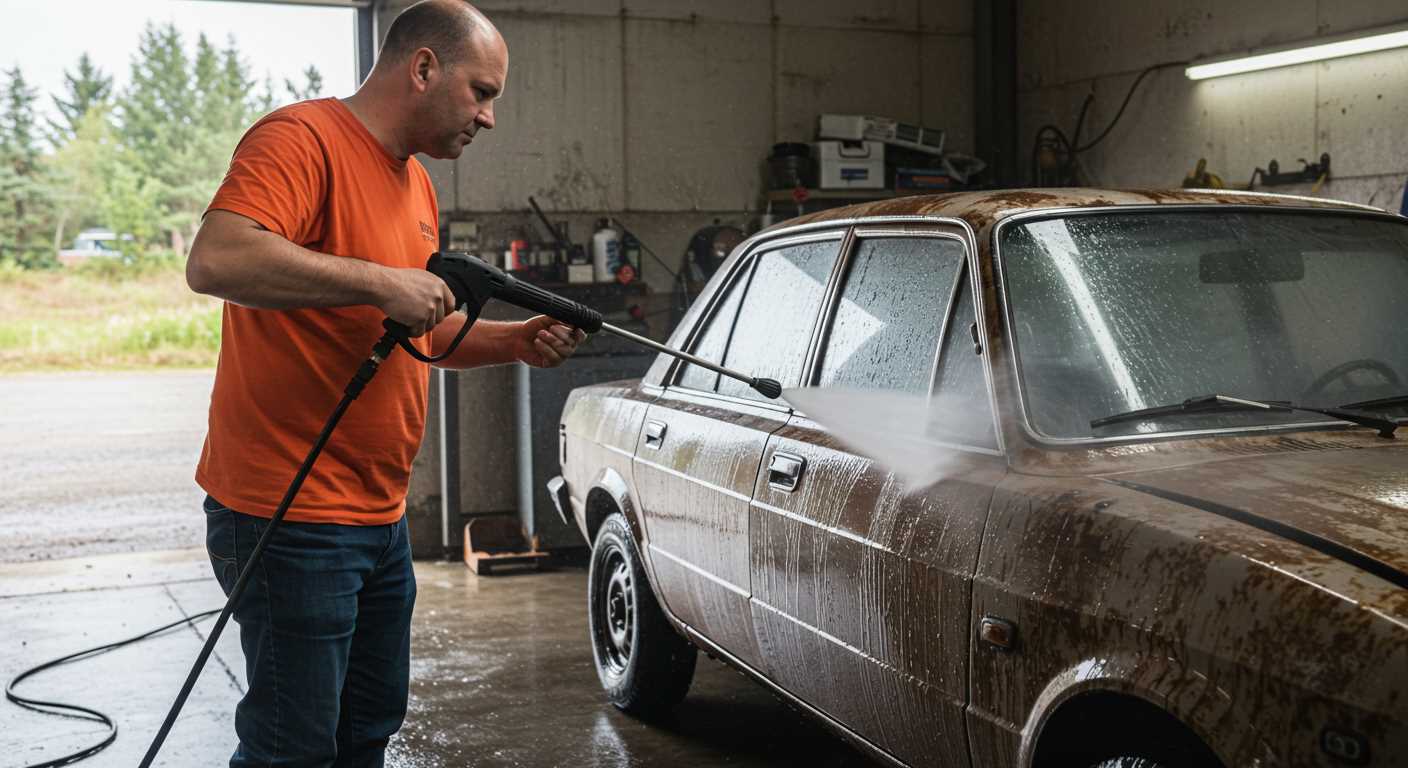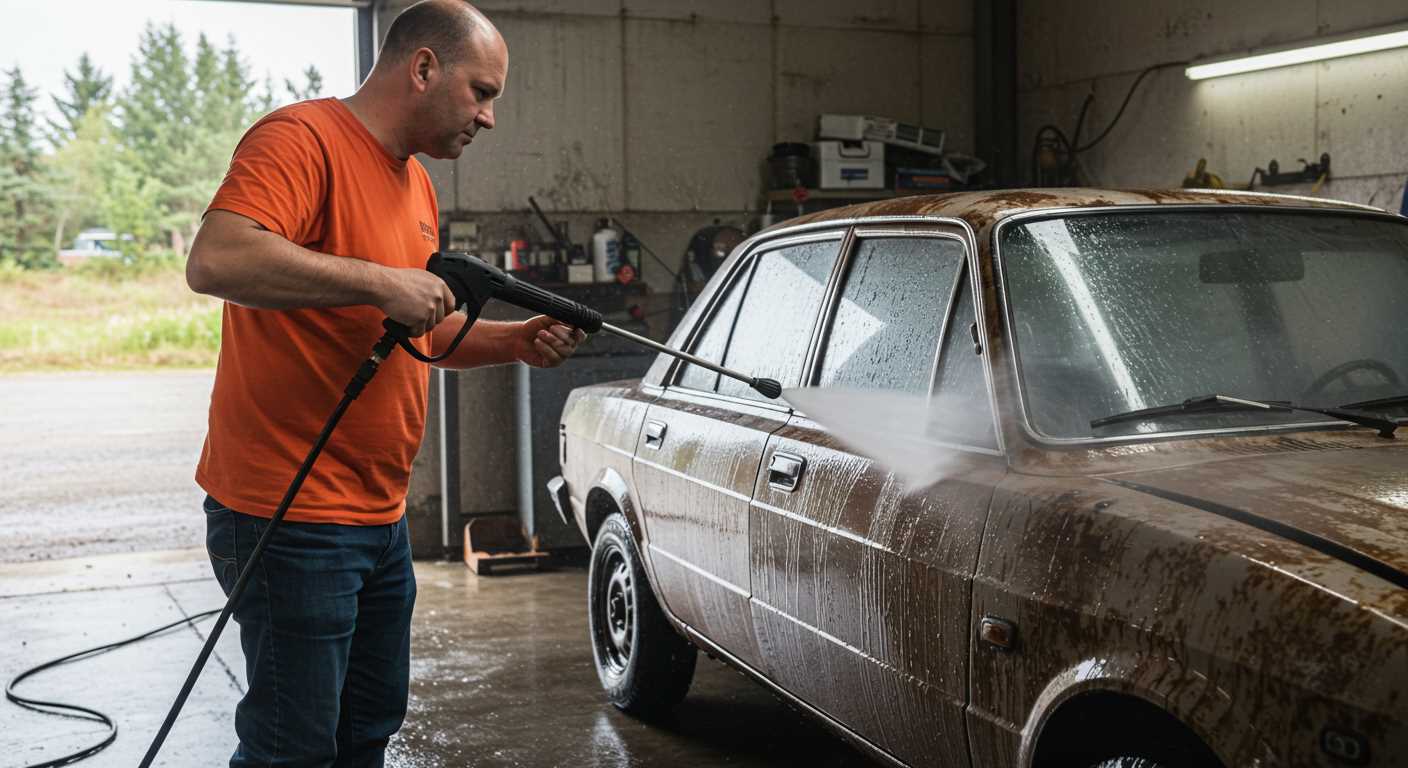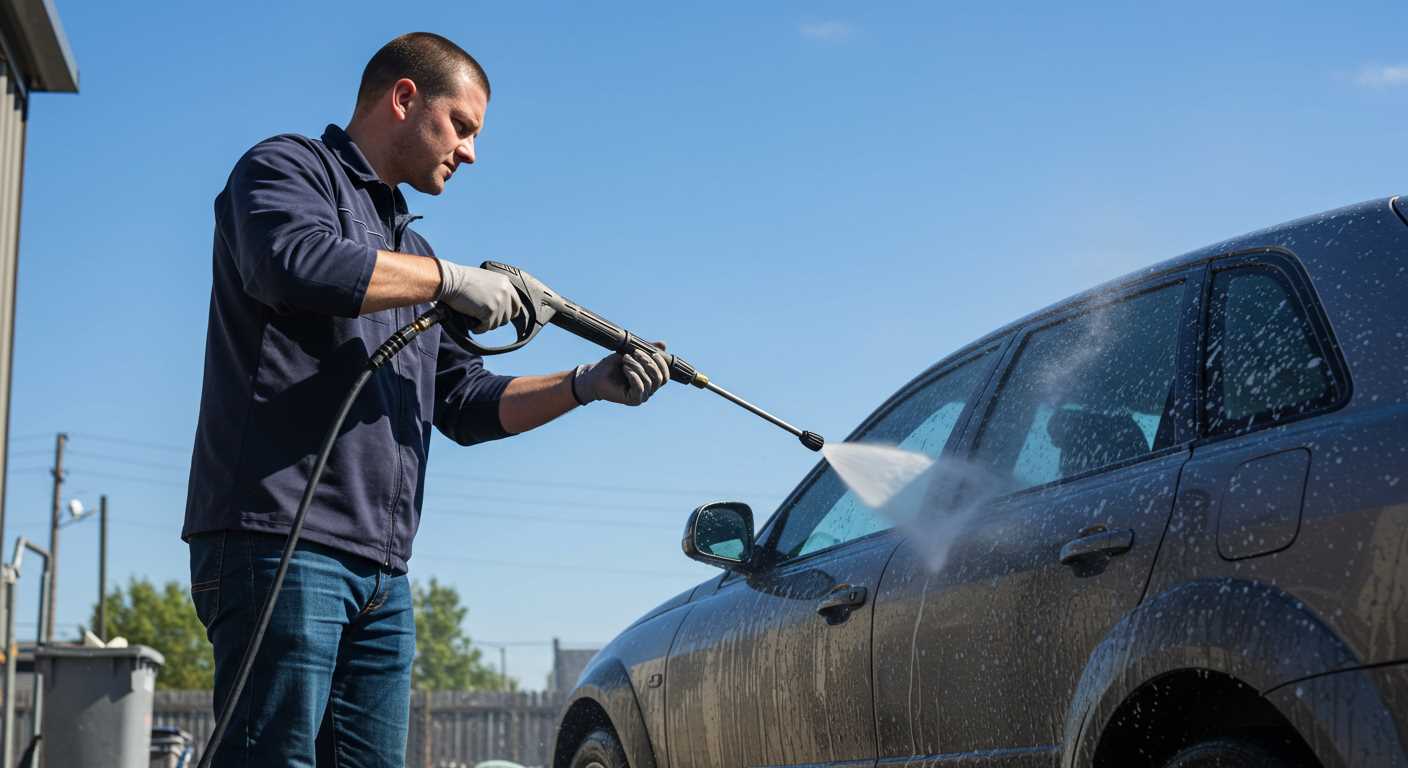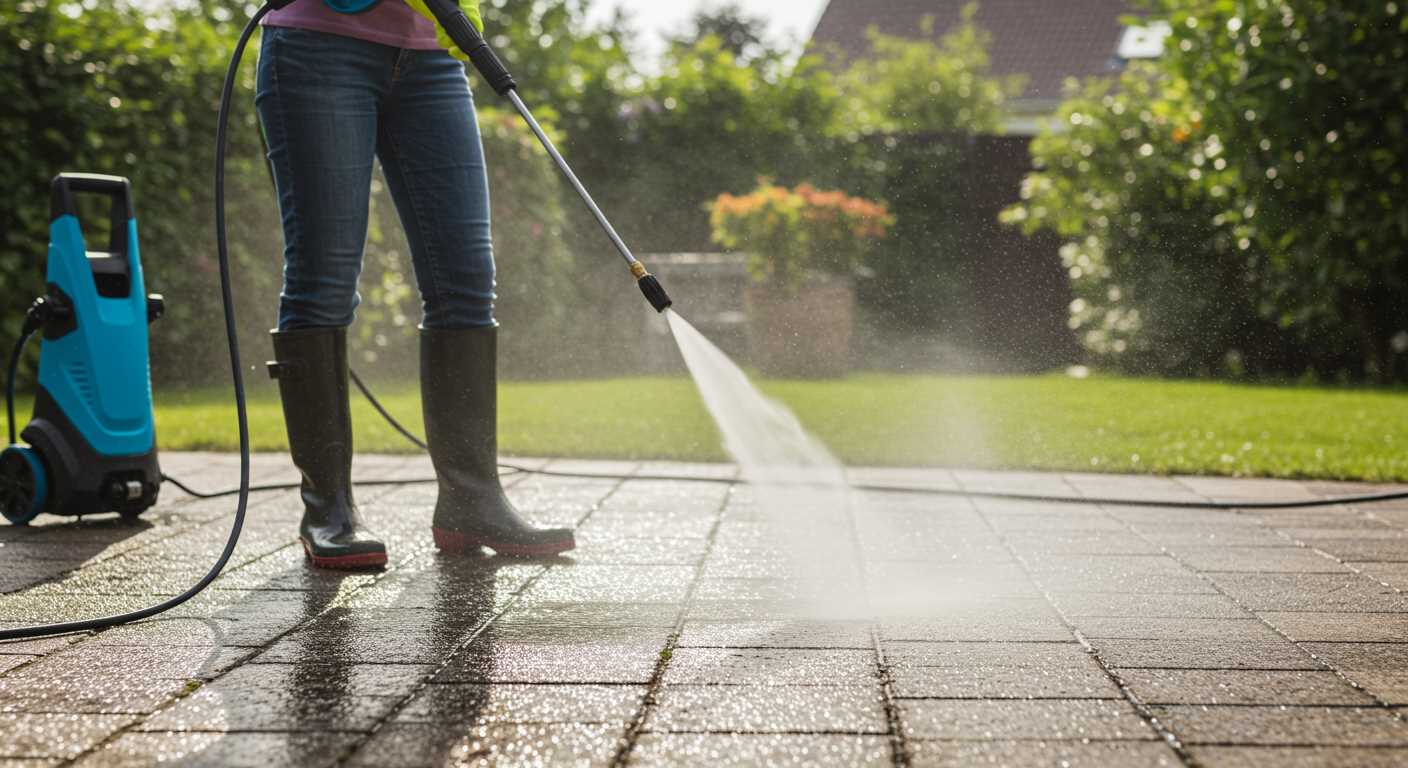


To effectively refresh your outdoor surfaces, aim for a machine delivering between 2000 to 3000 PSI. This level strikes a balance, providing enough force to dislodge grime without risking damage to the material itself. I’ve personally found that a setting around 2500 PSI works wonders, allowing for thorough cleaning while maintaining the integrity of the stone or concrete.
When choosing a nozzle, the 25-degree tip is my go-to. It offers a wide spray pattern that’s perfect for large areas, ensuring even coverage without causing wear. I recall a time when I attempted to use a narrower nozzle on a particularly dirty patio; the concentrated force left unsightly marks on the surface, a mistake I won’t make again.
Don’t underestimate the importance of distance. Keeping the nozzle at least 12 inches away from the surface will help prevent chips or cracks. I learned this the hard way–too close, and I damaged a beautiful walkway. Always keep a steady hand and maintain that safe distance for optimal results.
Finally, consider adding a detergent designed for outdoor surfaces to the mix. It can significantly enhance cleaning power, especially when tackling stubborn stains. My experience shows that pre-treating with soap before rinsing can yield impressive results, making your hardscape look brand new.
Understanding PSI Ratings for Paver Cleaning
For optimal results, select a unit with a rating between 2000 and 3000. This range strikes a balance between power and safety, preventing damage to delicate surfaces while effectively removing grime and stains.
From my experience, a machine with a lower rating, around 1500 to 2000, might suffice for light cleaning tasks, but it can struggle with stubborn dirt and moss. Conversely, models exceeding 3000 can risk chipping or eroding the surface material, especially on softer stones.
Here’s a quick breakdown of ratings and their suitability:
| Pressure Rating | Best For | Risks |
|---|---|---|
| 1500 – 2000 | Light dirt and dust | May not remove tough stains |
| 2000 – 3000 | General cleaning | Safe for most surfaces |
| 3000+ | Heavy-duty tasks | Potential damage to softer materials |
Always remember to start with the lowest setting and gradually increase the pressure as needed. This approach helps protect the surface while ensuring thorough cleaning. Additionally, using the right nozzle can enhance effectiveness; a 25-degree or 40-degree nozzle is typically ideal for this type of work.
Recommended PSI Range for Different Paver Types
For concrete slabs, I recommend a setting between 2,500 and 3,000 for optimal results. This range effectively removes grime without risking damage to the surface. During one of my projects, using 2,800 proved ideal for a heavily stained driveway, restoring its original appearance without chipping.
When dealing with clay bricks, a gentler approach is necessary. Approximately 1,500 to 2,000 will suffice. I recall a job where a higher setting caused some chipping, so I adjusted to 1,800, which efficiently removed moss and dirt without compromising the integrity of the bricks.
For natural stone, such as flagstone or slate, maintaining a pressure of around 2,000 to 2,500 is advisable. I once worked on a patio made of slate; I used 2,200, which effectively eliminated stains while preserving the stone’s texture and colour.
For delicate surfaces, like porous tiles, staying below 1,500 is wise. During a restoration of an outdoor area with such tiles, I chose 1,200, which cleaned effectively without causing erosion or wear.
Always remember to test on a small, inconspicuous area first. I’ve learned from experience that small adjustments can make a significant difference in the outcome and longevity of the surface. Each material reacts differently, so tailoring the approach is key to achieving the best results.
Choosing the Right Nozzle for Paver Surfaces
For optimal results on stone surfaces, I recommend using a fan nozzle attachment, specifically a 25-degree or 40-degree option. The angle of the spray allows for thorough cleaning without risking damage to the material. A narrow nozzle, such as a 0-degree tip, delivers a concentrated blast that can etch or chip the surface–something I’ve witnessed firsthand when I was a novice. It’s crucial to select the right angle to achieve a balance between power and safety.
Understanding Nozzle Types
Each nozzle type serves a unique purpose. For example, the turbo nozzle combines the power of a narrow stream with a rotating motion, providing an excellent option for tough grime while remaining gentle enough for softer materials. During my years testing different models, I found the turbo nozzle particularly useful for cleaning moss and algae from stone walkways without causing any harm. Always remember to maintain a safe distance from the surface to avoid any unwanted wear.
Additional Tips for Paver Maintenance
When using any nozzle, start from a distance and gradually move closer as needed. This approach allows you to gauge the impact without risking damage. Additionally, if your goal is gentler methods, consider techniques like cleaning the terrace gently without a pressure washer. It can be beneficial for delicate materials or if you prefer a more manual approach. Remember, while high-pressure tools are effective, the right attachment makes all the difference in preserving the integrity of your surfaces.
Investing in quality attachments is worthwhile. I once tried a low-cost nozzle that ended up being more trouble than it was worth. The spray pattern was inconsistent, leading to streaks and uneven cleaning results. A good-quality nozzle ensures a uniform spray pattern, and don’t underestimate how much that matters for aesthetics. Lastly, if you’re also interested in learning about specifications, consider how a digital camera’s image quality is determined by the cameras–the principle of quality applies here too. Choose wisely, and your hard surfaces will thank you for it.
Common Mistakes When Using a Pressure Cleaner on Pavers
One frequent error is selecting an incorrect nozzle. Using a narrow nozzle can lead to damage, while a wide one may not remove dirt effectively. I once witnessed a homeowner ruin their patio by using a zero-degree nozzle, which stripped the surface and caused costly repairs.
Another common oversight is maintaining an improper distance from the surface. Standing too close can etch the material, while being too far may not achieve the desired results. I recommend keeping a distance of around 12 to 18 inches for optimal performance. This distance allows for effective cleaning without risking harm to the surface.
Ignoring the Right Technique
Many people overlook the importance of technique. Sweeping motions are more efficient than stationary blasts. I recall a client who scrubbed their driveway using a back-and-forth motion, which resulted in inconsistent results. Instead, I advised them to move in a steady, overlapping pattern for even cleaning.
Another mistake is neglecting to pre-treat stains. If you encounter stubborn marks, applying a suitable cleaner before pressure washing can make a significant difference. I’ve found that letting the cleaner sit for about 10 to 15 minutes allows it to penetrate the grime, making the cleaning process smoother.
Failure to Protect Surrounding Areas
Not covering nearby plants and surfaces can lead to unintended consequences. The intense force can displace soil or damage delicate flowers. I learned this the hard way when a client had their garden beds sprayed with debris, leading to a lengthy clean-up process. Always shield surrounding areas with tarps or plastic sheeting to prevent collateral damage.
Finally, disregarding the weather conditions can affect outcomes. Washing on a sunny day may cause cleaning solutions to dry too quickly, leaving streaks. I prefer overcast days for outdoor tasks, as the cooler temperatures allow for better control and results.
Safety Precautions While Cleaning Pavers with Pressure Washers
Always wear appropriate protective gear, including safety goggles and gloves. I recall a day when I was cleaning a driveway and a small pebble flew up, narrowly missing my eye. That moment reinforced the importance of eye protection. Sturdy footwear is also essential, as wet surfaces can be slippery.
Keep a safe distance from the surface while operating the machine. Aiming too close can cause damage not only to the stones but also to yourself. I once got too close while trying to remove stubborn stains, and the force chipped a corner off a brick. Trust me, it’s not a pleasant surprise.
Ensure the area is clear of obstacles and debris. I learned this the hard way when I accidentally knocked over a decorative pot while manoeuvring the equipment. Take a moment to survey the space before starting; it can save you from potential accidents.
Pay attention to electrical hazards. Always check for exposed wires or electrical outlets in proximity to the area you’re working on. I remember a colleague who had a close call when water splashed onto an outlet. It’s critical to avoid any risk of electrocution.
Be aware of your surroundings. If you’re working outdoors, consider wind direction. I’ve had water spray back at me because I didn’t account for the breeze. Move with the wind instead of against it to prevent unnecessary soaking.
Don’t operate the device for extended periods without breaks. Overexertion can lead to accidents or injuries. I’ve found that taking regular breaks not only helps maintain focus but also reduces fatigue-related mistakes.
Lastly, always read the manufacturer’s instructions. Each model has specific safety guidelines. I made it a point to familiarise myself with every unit I operated; it saved me from many unnecessary challenges.
Post-Cleaning Care for Pavers After Pressure Washing
After you’ve finished rinsing the surface, it’s crucial to take a few steps to maintain the integrity of your stones and ensure they look their best. Here are some recommendations based on my extensive experience:
- Allow Proper Drying: Give the area sufficient time to dry completely. This process may take several hours, depending on the weather conditions. Avoid foot traffic until the surface is dry to prevent any potential damage.
- Inspect for Damage: After drying, check for any chips or cracks. Addressing these issues promptly can prevent further deterioration. I’ve seen small cracks turn into significant problems if left unattended.
- Re-Sand Joints: If your stones have joint sand, consider replenishing it. Over time, the sand can wash away, leading to instability. Use polymeric sand for added durability, as it hardens when wet, helping to keep the stones in place.
- Seal the Surface: Applying a sealant can protect your stone from stains and weathering. I recommend waiting at least 24-48 hours after cleaning before sealing to ensure that the surface is entirely dry. Choose a breathable sealant to avoid trapping moisture beneath the surface.
- Regular Maintenance: Incorporate a routine maintenance plan. Regular sweeping and occasional light washing can prevent dirt build-up and reduce the need for heavy cleaning. I’ve found that a simple maintenance schedule can extend the lifespan of your stones significantly.
- Observe Weather Conditions: Be mindful of the weather. Heavy rain or extreme temperatures can affect the curing process of sealants. Plan your maintenance around favourable conditions for best results.
Implementing these steps post-cleaning can significantly enhance the longevity and appearance of your stones. It’s not just about the initial clean; it’s what you do after that makes all the difference.


.jpg)


