
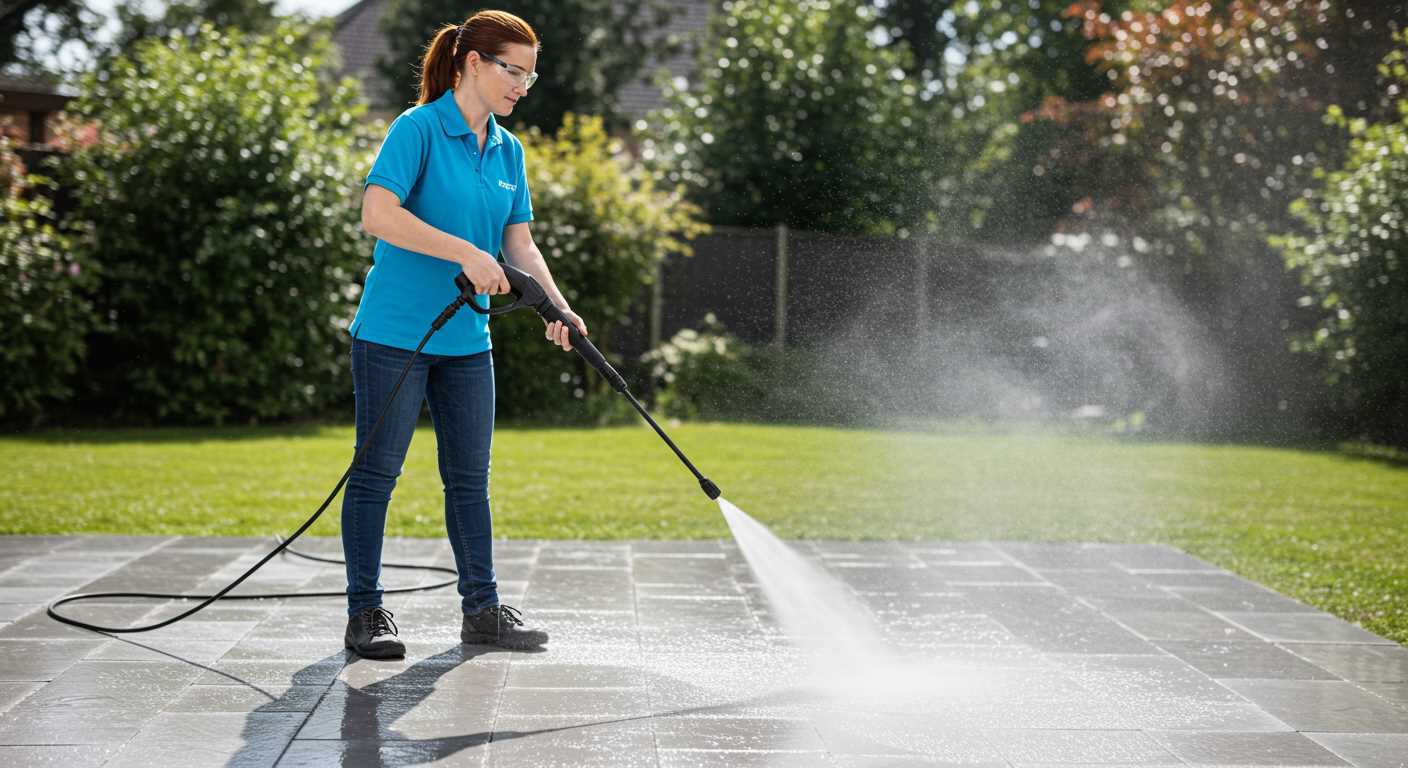

Replacing the O-ring in your high-pressure cleaning unit can lead to a significant boost in performance. Having spent over a decade in the cleaning equipment industry, I’ve seen first-hand how such a small component can make a world of difference. A worn or damaged O-ring often leads to leaks, reducing the overall efficiency of the machine and diminishing the force of the water stream.
In my experience, many users overlook this simple fix, assuming that performance issues stem from more complex problems. However, upon inspecting the O-ring, I often found that a quick replacement could restore functionality and enhance the cleaning power. I recall a case where a customer was frustrated with their unit’s lack of effectiveness. After a brief inspection, we discovered the O-ring was cracked. A quick swap, and the unit was back to delivering a robust jet of water, making light work of stubborn grime.
It’s crucial to choose the right size and material for the O-ring to ensure a proper fit and optimal performance. I recommend checking the manufacturer’s specifications or consulting with a professional if you’re unsure. This small yet impactful upgrade can save time and effort, allowing you to tackle cleaning tasks with renewed vigour.
Improving Performance with a New Seal
Installing a new seal often leads to noticeable enhancements in the functioning of your high-pressure cleaning device. During my years in the cleaning equipment industry, I frequently encountered situations where a worn or damaged seal caused a significant drop in output. Replacing it restored the unit’s ability to deliver a strong stream of water, essential for effective cleaning.
Signs of Wear and Tear
Look for indicators such as leaks or inconsistent flow. These symptoms typically signal that the current seal has degraded. I remember one instance where a client reported weak performance; after inspecting the unit, I found the seal was compromised. A simple replacement resulted in a dramatic improvement, and the customer was thrilled with the results.
Choosing the Right Replacement
Always opt for a seal that matches the specifications of your device. Different models require specific dimensions and materials. In my experience, investing in high-quality replacements pays off in the long run. It not only enhances the machine’s effectiveness but also prolongs its lifespan. I often recommend OEM parts, as they tend to be more reliable than generic alternatives.
In summary, a new seal can significantly boost the output of your cleaning equipment, making it a worthwhile maintenance step. Don’t overlook this simple yet impactful upgrade!
Understanding the Role of Washers in Pressure Washers
Replacing the rubber component can significantly enhance the performance of your cleaning unit. During my time as a consultant, I often encountered units that struggled due to worn or damaged seals. A properly functioning seal not only prevents leaks but also ensures optimal water flow, which is critical for efficient cleaning.
In my experience, the size and material of these components are paramount. For example, high-quality materials, such as Viton, can withstand higher temperatures and pressures, leading to fewer issues over time. I recall a situation where a client upgraded to a premium seal, resulting in a noticeable increase in cleaning power. The difference was remarkable–tasks that once took hours were completed in a fraction of the time.
Regular inspection of these components is advisable. I recommend checking for signs of wear every few months, especially if you use your unit frequently. A simple visual inspection can save you from potential headaches down the line. Look for cracks, flattening, or any signs of degradation. Replacing them proactively can help maintain consistent operation.
Additionally, maintaining the correct tension in the fittings is crucial. Loose connections can lead to pressure drops and reduced efficiency. I’ve seen many cases where a tight fitting resolved performance issues that were initially attributed to other factors. If you suspect a lack of performance, inspect these areas before considering more complicated repairs.
For those considering a specific model, I highly recommend checking out the Briggs and Stratton pressure washer. Their designs often incorporate robust seals that enhance longevity and performance, making them a wise investment for serious users.
Identifying Signs of a Worn Washer
Look for specific indicators that signal a need for replacement. A worn component can lead to inadequate performance and frustration during use.
Visual Inspection
- Cracks or tears: Examine the part for any visible damage. Cracks can lead to leaks, affecting efficiency.
- Discolouration: Fading or unusual colour changes often indicate wear. A healthy component should maintain its original appearance.
- Deformation: If the part appears misshapen or compressed, it may not create a proper seal, leading to diminished functionality.
Performance Issues
- Inconsistent flow: Notice fluctuations in water output during operation? This could signal wear affecting sealing.
- Unusual noises: Listen for hissing or whistling sounds. These can indicate air leaks, often a result of a compromised component.
- Excessive vibrations: If the unit shakes more than usual, it might be a sign of an improper fit due to wear.
Regular checks can save time and enhance performance. Stay proactive to ensure optimal operation and longevity of your equipment.
How to Properly Replace a Washer in a Pressure Washer
Remove the old component using a flathead screwdriver to pry it out carefully. Make sure to turn off the device and disconnect it from the power source to avoid any accidents. Pay close attention to the orientation of the worn part; this will guide you in installing the new one correctly.
Before inserting the new piece, clean the seating area thoroughly. Any remnants of debris or old material can compromise the seal and lead to leaks or inefficiencies. I’ve seen this many times in my career, where a simple oversight in cleaning led to continued issues despite using new components.
Once the area is ready, place the replacement part in the same orientation as the original. Ensure it fits snugly without forcing it. If it doesn’t fit easily, double-check the size and type. Using the wrong component can lead to further problems down the line.
After installation, reassemble any parts you removed during the process. Ensure all connections are tight and secure. I’ve had instances where a loose connection caused a significant drop in performance, so it’s worth taking the time to double-check everything.
Finally, reconnect the machine to the power source and conduct a test run. Monitor for any unusual noises or leaks. A well-installed replacement will restore functionality, giving you optimal performance once again. If you notice any issues during the test, revisit your installation steps to ensure everything is in order.
Impact of Washer Condition on Water Pressure
Worn or damaged components can significantly influence the performance of your cleaning device. A key area to examine is the condition of seals and gaskets. If these parts are compromised, they can cause leaks, leading to a drop in water flow and, consequently, reduced effectiveness during cleaning tasks.
How Wear Affects Performance
In my years of experience, I’ve found that even minor deterioration in seals can lead to noticeable changes in output. For instance, I once worked with a model that had a slight tear in the O-ring. The machine struggled to maintain consistent flow, which hindered its ability to tackle stubborn grime. After replacing that small part, the improvement was remarkable, restoring both the flow rate and cleaning power.
Table of Common Washer Issues and Their Effects
| Issue | Effect on Performance |
|---|---|
| Worn Seals | Causes leaks, lowers flow rate |
| Cracked Gaskets | Inconsistent water delivery, weak cleaning force |
| Frayed Hoses | Reduced pressure, potential for bursts |
| Blocked Inlets | Decreased water supply, inefficient operation |
Regular inspections and timely replacements can prevent these issues from escalating. I recommend checking these components at the start of each season. Keeping your device in top shape not only ensures optimal performance but also extends its lifespan, saving you money in the long run.
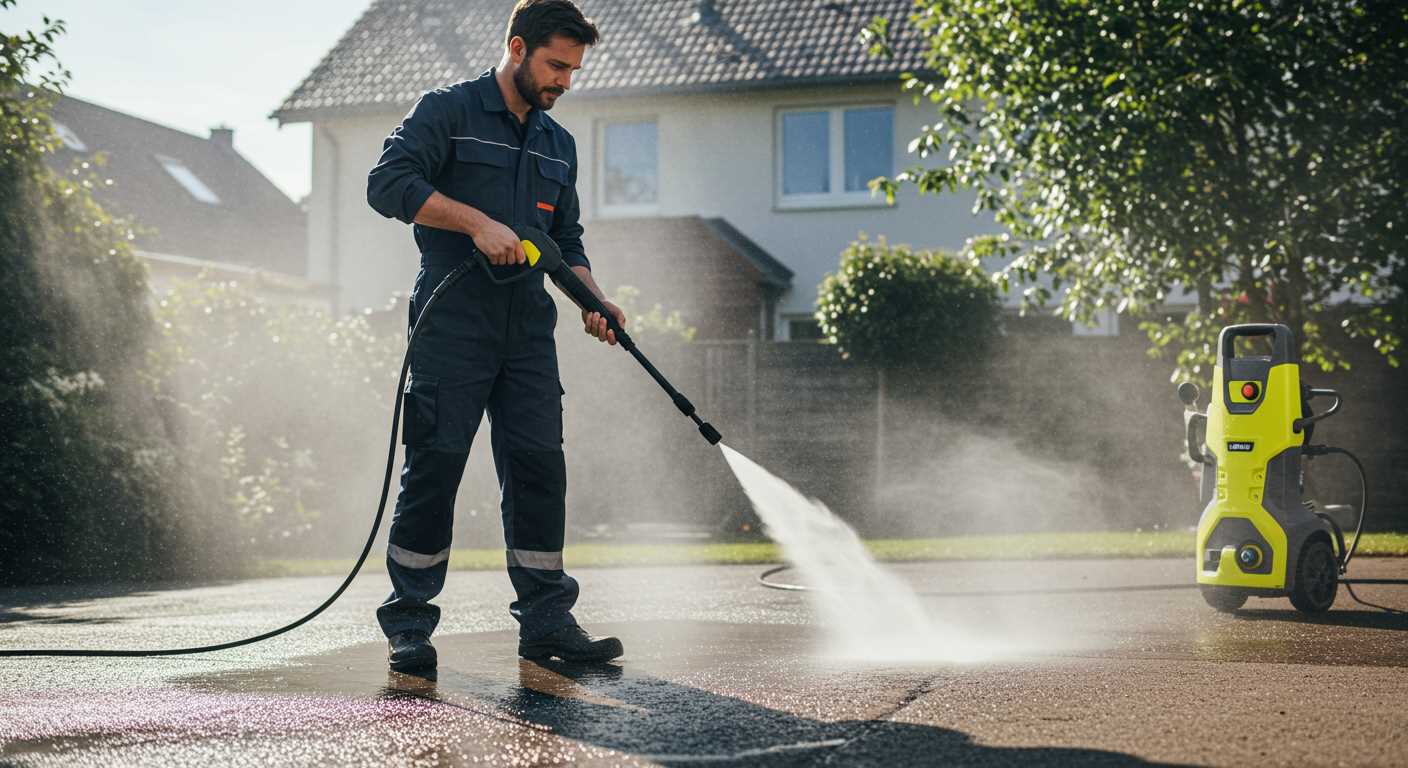
Testing Pressure Before and After Washer Replacement
Always conduct a pressure test before and after replacing components in your cleaning device to gauge performance changes accurately. Use a pressure gauge attached to the outlet of the machine. Turn on the unit and note the reading. This baseline measurement will help you understand the impact of any adjustments.
After you’ve swapped out the worn-out part, repeat the same procedure. Attach the gauge securely, power on the machine, and record the new reading. A noticeable increase indicates successful improvement, while little to no change suggests other issues may be at play.
From my experience, I’ve seen significant shifts in output after replacing various components. One time, I replaced a deteriorated seal in a unit, and the difference was astonishing–what was once a weak stream transformed into a powerful blast. Documenting these changes not only helps in troubleshooting but also builds a clearer picture of your equipment’s health over time.
Make it a habit to keep a log of your tests and findings. This record will assist in diagnosing problems in the future and can guide maintenance schedules, ensuring your equipment operates at its best. If the output remains low despite a successful replacement, consider checking for clogs in the hose or nozzles, as these can also hinder water flow significantly.
Common Mistakes When Changing Washers
Using the wrong size or type is a frequent error. I recall a time when a friend of mine replaced a seal with one that didn’t match the original specifications. Instead of boosting efficiency, it led to leaks and a significant drop in output. Always check the manufacturer’s guidelines for the correct measurements.
Neglecting to Clean the Component
Another common oversight is failing to clean the area where the seal fits. I remember rushing through a maintenance task and skipping this step. Residue and debris can interfere with the new seal’s performance, resulting in subpar operation. Make it a habit to thoroughly clean the fitting before installation.
Improper Installation Techniques
Incorrect installation can lead to damage or malfunction. I’ve seen people force seals into place, thinking it would ensure a tighter fit. This often causes tears or deformation, diminishing the component’s lifespan. Always ensure the seal sits evenly and gently press it into position.
- Double-check the alignment of the seal before securing it.
- Use appropriate tools to avoid unnecessary pressure.
Additionally, overlooking the need for lubrication is another mistake. A small amount of lubricant can ease the installation process and extend the seal’s life. I’ve learned this the hard way after a few frustrating attempts.
Finally, don’t forget to test the system after making replacements. I once skipped this step and ended up with a disappointing surprise later on. Running a quick test can save time and ensure everything is functioning as intended.
For those looking to enhance their outdoor maintenance tasks, exploring options for the best blower and vacuum for garden can also be beneficial.
Additional Maintenance Tips for Pressure Washers

Regular inspection of the nozzle can significantly enhance performance. A clogged or damaged nozzle reduces water flow, leading to subpar cleaning results. I recommend checking the nozzle for debris and wear, cleaning it with a soft brush or replacing it if necessary.
Keep an eye on the pump oil level. Low oil can lead to pump failure, which is costly. I always check the oil before each use, ensuring it’s at the recommended level to maintain optimal operation.
Consider using a water filter to prevent debris from entering the system. I installed one on my unit years ago, and it has saved me from numerous headaches caused by clogged components. This simple addition can prolong the lifespan of your equipment.
Inspect hoses for signs of wear or damage. A small crack can lead to significant leaks and loss of force. Replacing a damaged hose promptly can prevent further issues and maintain efficiency during use.
Regularly cleaning the intake screen can prevent blockages. I make it a habit to check it after heavy use. A clean screen ensures a smooth flow of water, which is essential for effective cleaning.
Store the equipment properly when not in use. I always drain the system completely and store it in a dry place to prevent freezing and other weather-related damage. This practice has extended the life of my machines significantly.
Lastly, keep an eye on the belts and connections. Regularly check for tightness and wear. Loose or worn belts can lead to operational issues, which I’ve experienced firsthand. A quick adjustment or replacement can keep everything running smoothly.
FAQ:
Will changing the washer in my pressure washer really improve the water pressure?
Yes, changing the washer in your pressure washer can significantly improve water pressure. A worn or damaged washer may not create a proper seal, leading to leaks and a drop in pressure. By replacing it with a new, properly sized washer, you can restore the seal and enhance the performance of the machine.
How often should I replace the washer in my pressure washer?
It is recommended to check and potentially replace the washer in your pressure washer at least once a season or after heavy use. Regular maintenance helps prevent pressure loss and ensures the machine operates efficiently. If you notice a decrease in pressure or any leaks, it’s a good idea to inspect and replace the washer immediately.
What type of washer should I use for my pressure washer?
The type of washer you should use depends on the model of your pressure washer. Most washers are made from rubber or plastic, and it’s important to select a washer that matches the specifications of your machine. You can refer to the user manual or consult with a retailer to find the correct washer for your specific model.
Can I use any washer in my pressure washer, or do I need a specific one?
Using any washer may not be advisable, as washers are designed specifically for certain pressure washer models. A washer that doesn’t fit properly can lead to leaks and reduced pressure. Always check the manufacturer’s recommendations for the right washer size and material to ensure optimal performance.
What signs indicate that the washer needs to be changed in my pressure washer?
Several signs may indicate that the washer in your pressure washer needs changing. These include visible wear or cracks in the washer, a significant drop in water pressure during operation, and leaks around the connection points. If you experience any of these issues, it is wise to replace the washer to maintain the machine’s efficiency.

.jpg)


