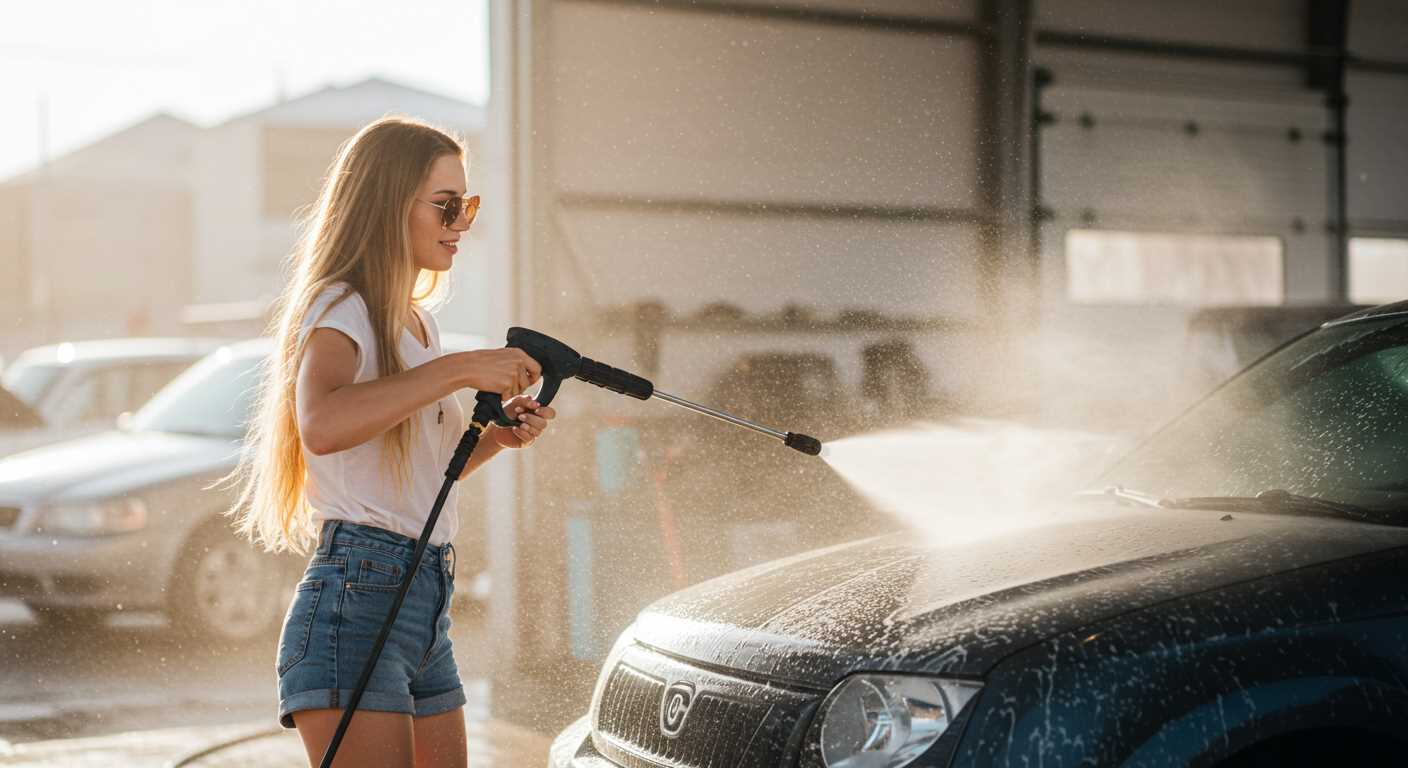
The first step in this simple task is to ensure that the machine is completely powered down and disconnected from any water source. This not only guarantees your safety but also protects the equipment from accidental activation during the process.
Once you’ve confirmed that everything is safe, locate the release mechanism on the current nozzle. Most models feature a button or lever that secures the attachment in place. Press or lift this mechanism, and gently pull the nozzle away from the lance. It should come off easily without excessive force.
Now, take your new attachment and align it with the opening of the lance. Ensure that any locking features are aligned properly for a secure fit. Push the nozzle firmly until you hear a click or feel it lock into place. This indicates that it’s secured and ready for use.
Before you start cleaning, double-check that all connections are tight and that there are no leaks. It’s always a good practice to run a quick test on a small area to make sure everything is functioning as expected. This will save you time and ensure optimal performance during your cleaning tasks.
Replacing the Nozzle on Your Karcher Machine
Detach the existing accessory by pressing the release button located at the base of the handle. A gentle pull will free the nozzle from its connection. Ensure that the device is powered down and the water supply is turned off prior to this step to avoid any accidents.
Once removed, take your new attachment–perhaps a snow foam lance–and align it with the connector. Push firmly until you hear a click, indicating it’s securely attached. This ensures a proper seal, preventing leaks during operation.
Testing the New Accessory
After installation, turn on the water supply and power up the machine. Test the functionality by activating the trigger. Observe for any irregularities such as leaks or inconsistent pressure. If everything operates smoothly, you’re ready to tackle your cleaning tasks with enhanced effectiveness.
Maintenance Tips
Regularly inspect the connection point for wear or debris. Keeping the nozzle clean will prolong its life and maintain optimal performance. If you notice any damage, consider replacing it promptly to ensure your cleaning tasks remain efficient.
Identifying the Correct Wand for Your Karcher Model
Begin by checking the model number of your device, usually found on a label near the motor or on the base. This number is crucial for determining compatibility with various attachments. Each model corresponds to specific accessories, so ensure you have this detail at hand.
Next, refer to the manufacturer’s website or your user manual for a list of compatible accessories. This resource typically includes diagrams and part numbers, making it easier to pinpoint the exact attachment you need. Pay close attention to the specifications; some models require specific connectors or fittings.
If you have access to a local retailer, take advantage of their expertise. Staff members often possess valuable knowledge about different models and can help you select the right accessory. Bring along your device or a photo for better assistance.
Consider the purpose of your cleaning tasks. Different attachments are designed for various applications, such as surface cleaning, detailing, or tackling stubborn grime. Identifying your primary cleaning needs will lead you to the most suitable option.
Finally, if you’re still uncertain, online forums and user groups can provide insights from fellow users. Many enthusiasts share their experiences and recommendations, which can be particularly helpful in making the right choice.
Preparing Your Device for Nozzle Replacement
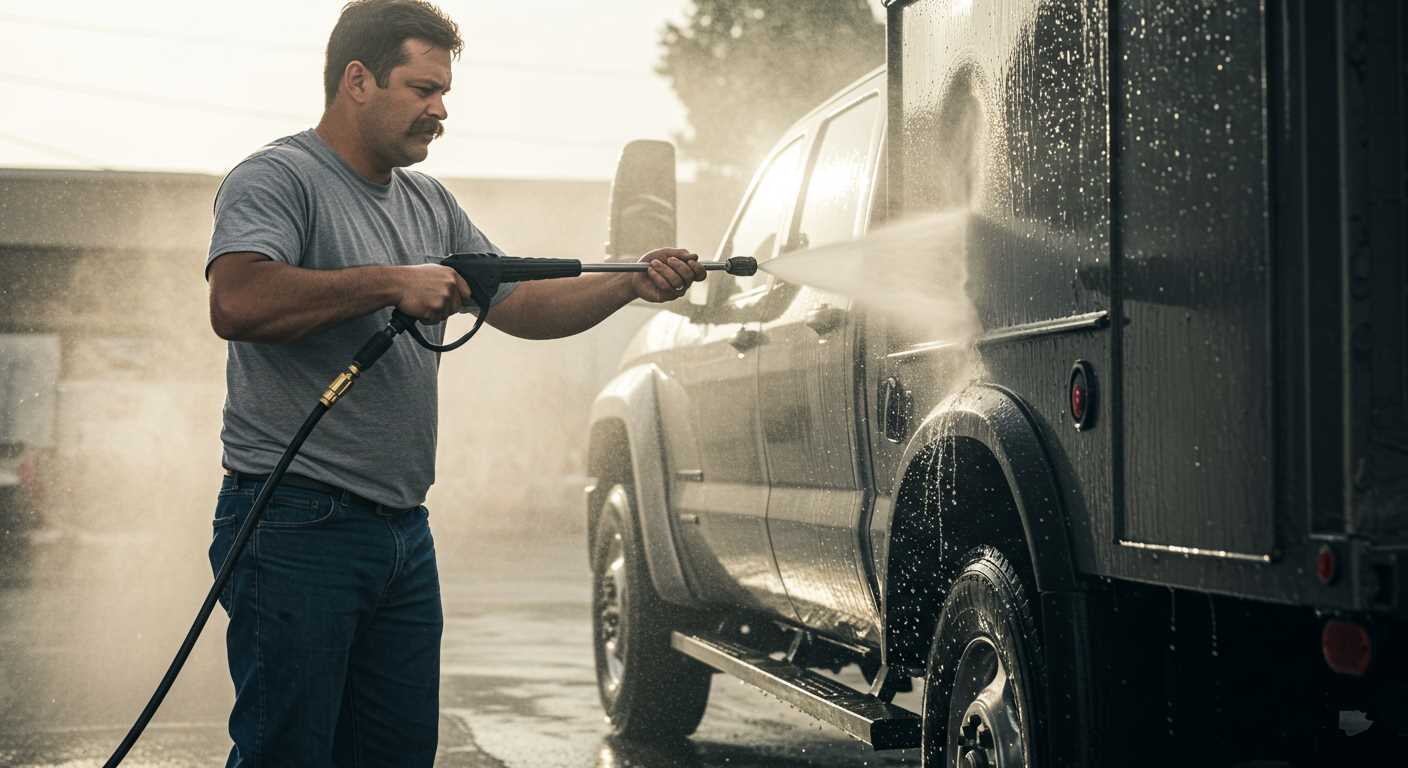
Before you swap out the nozzle, ensure the unit is completely powered down and disconnected from any power source. This step is non-negotiable; it prevents accidental activation and potential injuries.
Next, relieve the pressure in the system. To do this, simply squeeze the trigger on the spray gun after disconnecting the power. Water should flow out, indicating that pressure has been released. If you skip this, you may experience a sudden burst of water when you detach the nozzle.
Gather your tools and any necessary replacement parts. Make sure you have the correct attachment compatible with your model. A quick check of the user manual can save time and frustration.
Here’s a handy checklist to follow:
| Step | Action |
|---|---|
| 1 | Disconnect from power source |
| 2 | Release pressure by squeezing the trigger |
| 3 | Gather tools and replacement parts |
| 4 | Inspect the connection points for wear or damage |
Inspect all connection points for any signs of wear or damage. A worn-out fitting can lead to leaks or reduced performance. If you notice any issues, consider replacing those parts before proceeding with the nozzle swap.
Once you’ve completed these preparations, you’re ready to proceed with the replacement. This groundwork ensures a smooth and hassle-free process, allowing you to maximise the performance of your cleaning equipment.
Step-by-Step Process to Remove the Old Wand
First, ensure the equipment is turned off and disconnected from the power source. Safety is paramount before starting any maintenance task.
- Locate the trigger gun, which is where the attachment connects. This is typically at the end of the hose.
- Look for the release mechanism. Depending on your model, it could be a simple button or a collar that needs to be pulled back.
- Press the release button or pull the collar towards you to disengage the current attachment. You should feel or hear a click indicating it’s ready to be removed.
- Carefully pull the old attachment away from the trigger gun. If it seems stuck, double-check that the release mechanism is fully activated.
- Inspect the connection point for any debris or damage. Clean it gently with a cloth to ensure a proper fit for the new attachment.
After following these steps, the old attachment should be completely detached, making way for the new one. I recall a time when I struggled with a stubborn piece, but patience and ensuring I had the release fully activated did the trick. Always remember to check for wear and tear on the connection points while you’re at it; it can save you a headache down the line.
Installing the New Wand Securely
Align the new attachment with the connector on your unit. Ensure that the grooves match up perfectly; this is critical for a secure fit. I recall a time when I rushed this step and ended up with a loose connection, leading to unwanted leaks during operation. Take a moment to inspect the alignment before proceeding.
Locking Mechanism Engagement
Once aligned, engage the locking mechanism. This may require a simple twist or press, depending on the model. I’ve seen users overlook this step, resulting in the attachment detaching mid-cleaning. Listen for a click or feel for a secure lock as you complete this action.
Final Checks and Testing
After securing the attachment, double-check the connection by gently tugging on the wand. If it feels sturdy, you’re set. Before starting your cleaning task, I recommend running a quick test with the unit at a low pressure to ensure everything holds securely. A small leak at this stage can save you a larger headache later on. Trust me, spending those few extra moments on verification pays off significantly in the long run.
Testing the New Wand for Proper Functionality
After fitting the new attachment, the first step is to check for leaks. Turn on the unit and observe the connection point carefully. Any signs of water escaping indicate a poor seal that must be addressed before proceeding. Tightening the attachment slightly can often resolve minor leaks, but if it persists, re-examining the connection and ensuring it’s fitted correctly is essential.
Performance Evaluation
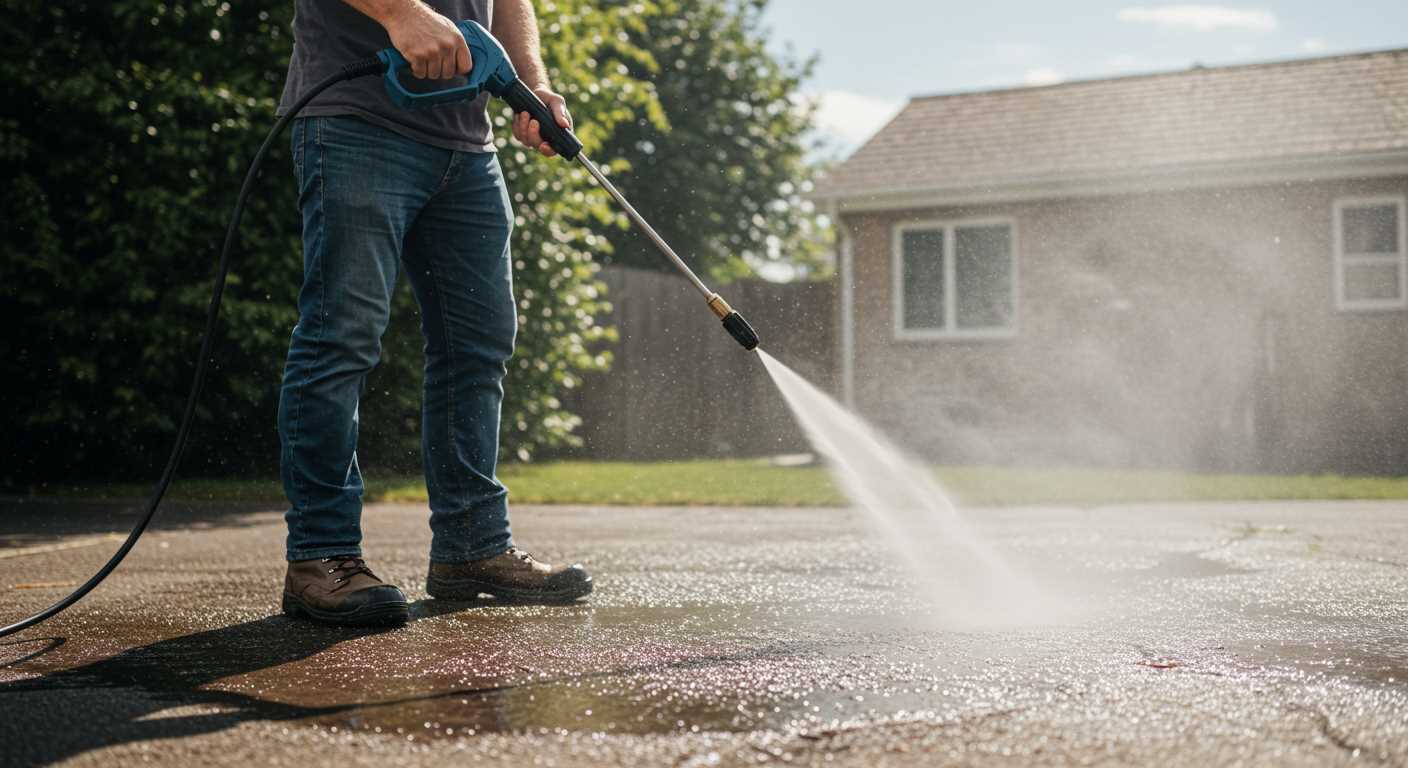
Next, it’s time to assess the performance. Select a surface like a patio or driveway and test the pressure output. Start from a distance, gradually moving closer to see how the tool handles different angles and distances. You should notice a consistent stream without fluctuations. If the spray pattern appears uneven or weak, inspect the filters for blockages or consider cleaning them to restore optimal function.
Durability Check
Finally, observe how the tool feels during use. A well-made attachment should feel sturdy without excessive wobbling. After the test, clean the nozzle thoroughly. Any residue can affect performance in future applications. Store the equipment properly to prolong its lifespan, ensuring the attachment is secured and protected from environmental damage.
Maintaining Your Pressure Washer Wand for Longevity
To extend the life of your cleaning tool attachment, regular maintenance is key. I’ve seen firsthand how a little care can make all the difference in performance and durability.
- Rinse After Use: Always rinse the attachment with clean water after each use. This removes dirt and debris that can cause blockages and deterioration over time.
- Inspect for Damage: Regularly check for cracks or wear on the attachment. If you notice any damage, it’s best to replace it before it affects your equipment.
- Store Properly: Store the attachment in a dry, cool place to prevent rust and corrosion. Avoid leaving it in direct sunlight or extreme temperatures.
- Use Compatible Accessories: Ensure that any additional nozzles or accessories are compatible with your model. Using mismatched accessories can lead to poor performance or damage.
- Clean the Nozzle: If you notice a decrease in pressure, clean the nozzle with a fine wire or needle to remove any blockages. This simple step can restore functionality.
- Check O-rings: Inspect the O-rings for wear. Replacing them can prevent leaks and ensure a tight seal, maintaining optimal pressure during use.
Applying these tips from my personal experience with various models will keep your attachment working efficiently. For those looking to enhance their cleaning regimen, consider pairing your tool with a best antimicrobial body scrubber, which can elevate your cleaning tasks significantly.


.jpg)


