

The most straightforward way to link a storage unit to your high-pressure cleaner is by using a reliable hose connector. Ensure the connector fits snugly to prevent leaks while maintaining a steady flow. I’ve encountered numerous models, and I’ve consistently found that quality connectors make all the difference in performance and ease of use.
Next, consider the water source. If you’re pulling from a reservoir, position it at a higher elevation than your cleaner. This gravity feed can enhance the flow rate, reducing strain on the unit. I once worked with a setup where the reservoir was placed on a platform, and it significantly improved the efficiency of the entire system.

Don’t overlook the importance of filtration. Debris can clog the system and shorten its lifespan. A simple inline filter can save you from frequent maintenance. I always recommend investing in a good filter; it’s a small expense that pays off in the long run. My personal experience has shown that clean water means fewer headaches down the line.
Lastly, ensure all connections are secure and test the system before diving into your cleaning tasks. A quick run-through can highlight any potential issues, saving you time and frustration. I’ve learned the hard way that a couple of minutes spent checking connections can prevent hours of troubleshooting later.
Connecting a Reservoir to Your Cleaning Equipment
First, ensure that your supply source is reliable. I’ve encountered numerous situations where inconsistent flow caused more frustration than a dirty driveway. A sturdy, well-constructed container will provide a steady supply, reducing the need for frequent refills. Look for a model that holds at least 50 gallons; this capacity strikes a balance between weight and usability.
Attaching Hoses and Fittings
Using quality hoses is crucial. Invest in reinforced hoses to withstand pressure without bending or cracking. I’ve found that a 3/4-inch diameter works best for most setups. Make sure to use appropriate fittings that prevent leaks. A simple twist-on connector often saves time and hassle. Double-check all connections before you start; there’s nothing worse than a surprise leak mid-task.
Maintaining Water Quality
Don’t overlook the quality of the liquid. I recommend using filtered or clean tap water to avoid clogging filters and damaging internal components. Occasionally, I add a few drops of biodegradable soap to help with tough stains, but ensure that it’s compatible with your machine. Regularly inspect the reservoir for debris or algae buildup; a quick rinse can save you from significant issues down the line.
Finally, keep an eye on the level in your reservoir during operation. I’ve learned the hard way that letting it run dry can lead to pump damage. A simple float valve can prevent this problem and keep your equipment running smoothly.
Selecting the Right Water Tank Size
Choosing the appropriate size for your reservoir is crucial for optimal operation. A general rule is to match the capacity with the demands of your equipment. For most residential use, a 100-200 litre container suffices, while larger jobs may require 500 litres or more.
- Flow Rate: Understand your device’s flow rate, typically measured in litres per minute (LPM). If your machine uses 10 LPM, a 200-litre reservoir will last approximately 20 minutes of continuous use.
- Usage Duration: Consider how long you typically operate the device. If you perform longer tasks, opt for a larger size to avoid frequent refills.
- Job Type: For heavy-duty tasks like cleaning vehicles or surfaces, a bigger reservoir is beneficial to maintain consistent operation without interruptions.
- Portability: If you need to transport your setup, consider a smaller, more manageable size that still meets your needs without being cumbersome.
Personally, I found that a 300-litre unit was ideal for my larger projects. It ensured I could work without worrying about running out. Additionally, integrating a pump with adjustable flow settings can help manage the usage efficiently.
Don’t forget to factor in the best air compressor for continuous use if your cleaning tasks involve air tools, as that can further influence the size and type of reservoir you choose.
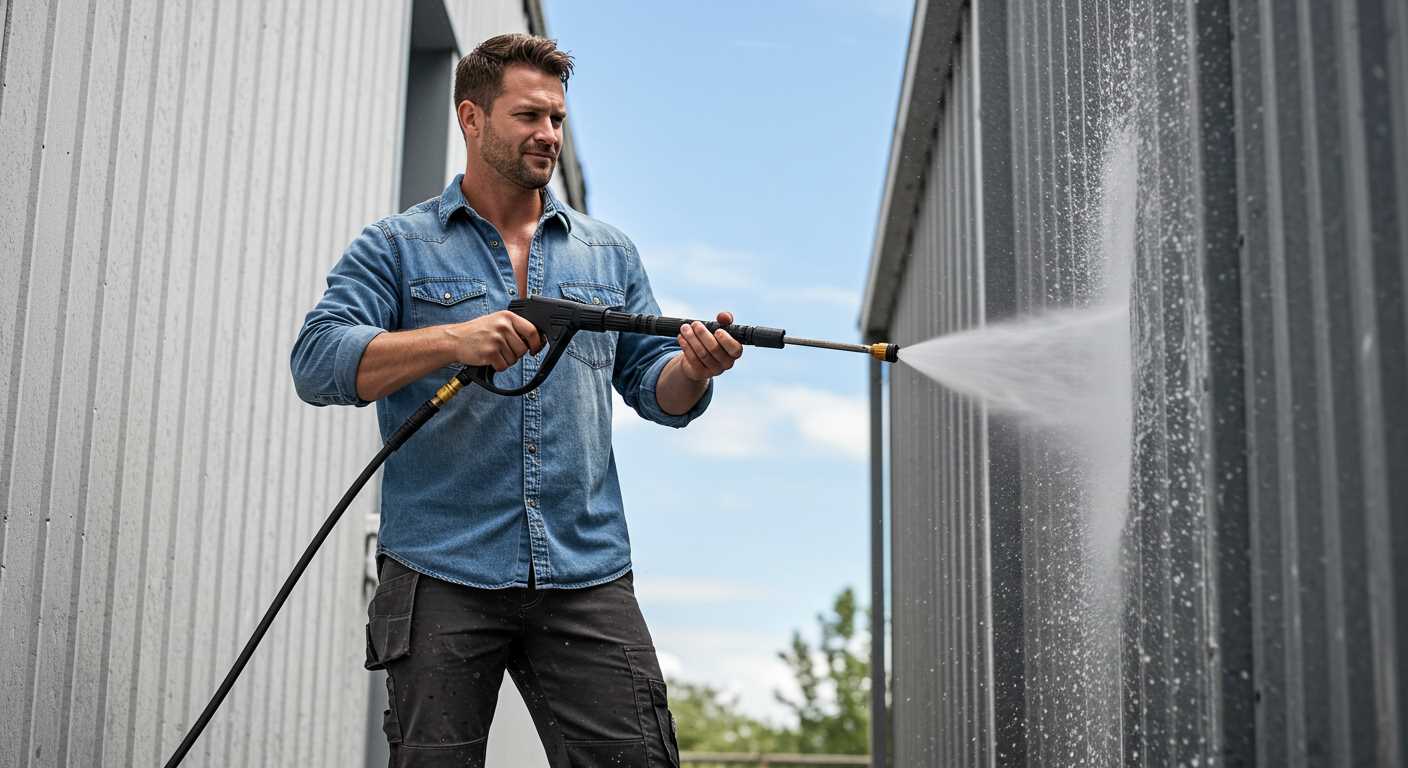
Connecting the Water Supply to the Pressure Washer

Begin with a quality hose. A robust, reinforced hose is essential to avoid kinks and leaks. I’ve seen too many setups fail due to flimsy hoses that simply can’t handle the pressure.
Attach the hose securely to the inlet of your high-pressure cleaner. Ensure that the connection is tight; a loose fitting can lead to a frustrating mess. I recommend using pliers to give it a gentle twist, but be careful not to overtighten, as this can damage the fittings.
For the other end of the hose, connect it to your water source. If you’re using a standard tap, make sure you have the right adaptor. I often keep a few different sizes on hand to make sure I’m always prepared, as not every tap fits the same. If you’re using a more permanent setup, consider installing a quick-connect fitting for ease of use.
Before turning on the water, check for any blockages in the hose. I once experienced a frustrating delay because I overlooked this simple step. A blocked line can lead to reduced performance or even damage to your equipment.
Once everything is connected, turn on the water supply gradually. This helps to avoid any sudden pressure surges that can affect the machine’s components. I’ve learned to listen for any unusual sounds during this process; they often signal that something is amiss.
After establishing the connection, bleed the system by pulling the trigger on the gun until water flows freely. This ensures that there’s no air trapped in the line. I can’t stress enough how important this step is; it’s a simple action that can save you from potential issues later on.
Finally, always check for leaks. A quick visual inspection can save you a lot of hassle down the road. If you spot any drips, it’s best to address them immediately rather than risking further damage or inefficiency.
Installing a Filter to Prevent Clogging
Incorporating a filter is a straightforward yet vital step to avoid blockages in your system. Based on my experience, installing a high-quality filter at the inlet can save you time and frustration. It acts as a barrier, catching debris and particles before they enter the unit.
Selecting the Right Filter
Choose a filter with a mesh size appropriate for your setup. A mesh size of around 100 microns is generally effective for preventing dirt from entering the equipment while allowing adequate water flow. Make sure to consider the flow rate of your specific model to maintain optimal performance.
Installation Tips
When installing the filter, place it as close to the inlet as possible. This positioning ensures maximum protection. Regularly check and clean the filter to maintain its efficiency; a clogged filter can reduce flow and decrease performance. Additionally, if you’re using a deck cleaner to use with pressure washer, be mindful of the cleaning agents to avoid any potential damage to the filter.
By following these guidelines, you can significantly reduce the risk of clogging and enhance the longevity of your equipment.
Setting Up the Pump for Optimal Performance
Ensure the pump is primed properly before use. After connecting the hoses, fill the inlet with water to eliminate air pockets. I recall a time when I overlooked this step; the machine struggled and ultimately failed to build pressure, costing me valuable time.
Check the pressure settings according to the manufacturer’s specifications. Each model has its ideal range, and exceeding it can lead to equipment failure or damage. I once adjusted the pressure on a unit incorrectly, and it resulted in a blown seal that required costly repairs.
Inspect the pump’s filters regularly. Clogged filters can restrict flow and reduce efficiency. I’ve found that cleaning them after every few uses prolongs the pump’s lifespan significantly. It’s a small task that makes a big difference.
Ensure all connections are tight. Loose fittings can cause leaks, reducing the effectiveness of the entire setup. I learned this the hard way during a critical job when I had to stop and tighten everything mid-operation.
Consider the temperature of the liquid being used. Some pumps can handle heated water, while others cannot. Using water outside the recommended temperature range can lead to performance issues. I remember using hot water in a unit that wasn’t designed for it, resulting in a thermal breakdown.
Lastly, regularly lubricate moving parts as per the guidelines. This maintenance step keeps the pump operating smoothly and extends its life. I’ve seen too many units suffer premature wear due to neglecting this simple task.
Ensuring Proper Hose Connections
Begin with correctly attaching hoses to avoid leaks and performance issues. Always inspect the fittings for damage; even minor wear can lead to significant problems during operation.
- Use high-quality connectors. They should match the size of the hose and fitting on your device.
- Ensure that the hose is clean before connecting. Debris can cause blockages and affect flow rates.
- Secure all connections tightly by hand. Avoid using tools, as overtightening can cause damage.
During my time in the cleaning equipment sector, I encountered numerous situations where improper connections led to frustrating setbacks. I recall one instance where a loose fitting caused a significant loss of pressure, making a simple task take far longer than necessary. This taught me the importance of double-checking each connection.
- Begin with the inlet hose. Attach it to the water source, ensuring it’s fitted snugly.
- Connect the outlet hose to the machine, again ensuring a tight fit.
- For additional assurance, consider using thread tape on the threads of the connections to prevent leaks.
Regularly inspect hoses for signs of wear, such as cracks or kinks, which can impede water flow. Replacing damaged hoses promptly can save time and enhance performance. Always keep spare hoses on hand; they’ve saved me from unexpected delays more times than I can count.
Lastly, remember that the configuration of your setup can impact efficiency. Keep hoses as straight as possible to reduce friction and ensure a smooth water supply. This simple adjustment can significantly enhance the overall effectiveness of your cleaning tasks.
Testing the System for Leaks and Functionality
Begin by filling your reservoir to the recommended level. After that, it’s crucial to check for any leaks in the connections. A simple visual inspection is often enough, but I recommend using a towel or cloth to wipe areas where hoses connect. This helps to identify any moisture that may indicate a leak.
Pressure Check
Next, activate the motor and allow the unit to run for a few minutes. Listen for any unusual noises, which can indicate a problem. Keep an eye on the pressure gauge, if available. It should reach the standard operating pressure without fluctuating drastically. If it does, this might suggest an issue with the pump or connections.
Flow Rate Verification
To assess flow rate, position a bucket under the nozzle and time how long it takes to fill to a specific volume, such as 10 litres. This will give you a good idea of the efficiency of the setup.
| Volume (Litres) | Time (Seconds) | Flow Rate (L/min) |
|---|---|---|
| 10 | 60 | 10 |
| 15 | 90 | 10 |
| 20 | 120 | 10 |
If the flow rate is below the manufacturer’s specifications, inspect for blockages in the intake filter or hose. These can significantly reduce performance. Regular maintenance of these components is essential for longevity.
After completing these checks, test the system under actual operating conditions. This will confirm that everything works seamlessly. If you notice any issues during this phase, revisit the connections and components to ensure everything is properly installed and functioning as intended.
Maintaining Your Water Storage and High-Pressure Cleaning Setup
Regular inspection is key. Check for any signs of algae growth or sediment buildup in your reservoir. A simple scrub with a non-toxic cleaner can help prevent issues that could affect performance. Make this a part of your seasonal maintenance routine.
Inspect hoses and connections frequently. Look for cracks, leaks, or signs of wear. Replacing damaged components promptly can save time and frustration during your cleaning tasks. I learned this the hard way when a worn hose burst mid-job, leaving me scrambling to fix the situation.
Keep the filtration system clean. A clogged filter can reduce flow rate and pressure. Depending on usage, cleaning or replacing your filter every few months is advisable. I recommend a quick visual check before every major cleaning session; it’s a small effort that pays off significantly.
Ensure the pump is lubricated according to the manufacturer’s instructions. A well-maintained pump operates smoothly and prolongs its lifespan. I’ve seen too many people ignore this step, leading to costly repairs.
Store your equipment properly after use. Protect hoses from sunlight to prevent degradation, and keep everything in a dry, sheltered location. I once left my gear out in the rain, which led to rust forming on connectors. Avoid that mistake for a longer-lasting setup.
Finally, perform a test run every couple of months. This helps identify any potential issues before you need to use your system for a big job. I always do this; it’s a straightforward way to ensure everything is functioning as it should. Trust me, it beats the panic of discovering a fault when you need your gear most.


.jpg)


